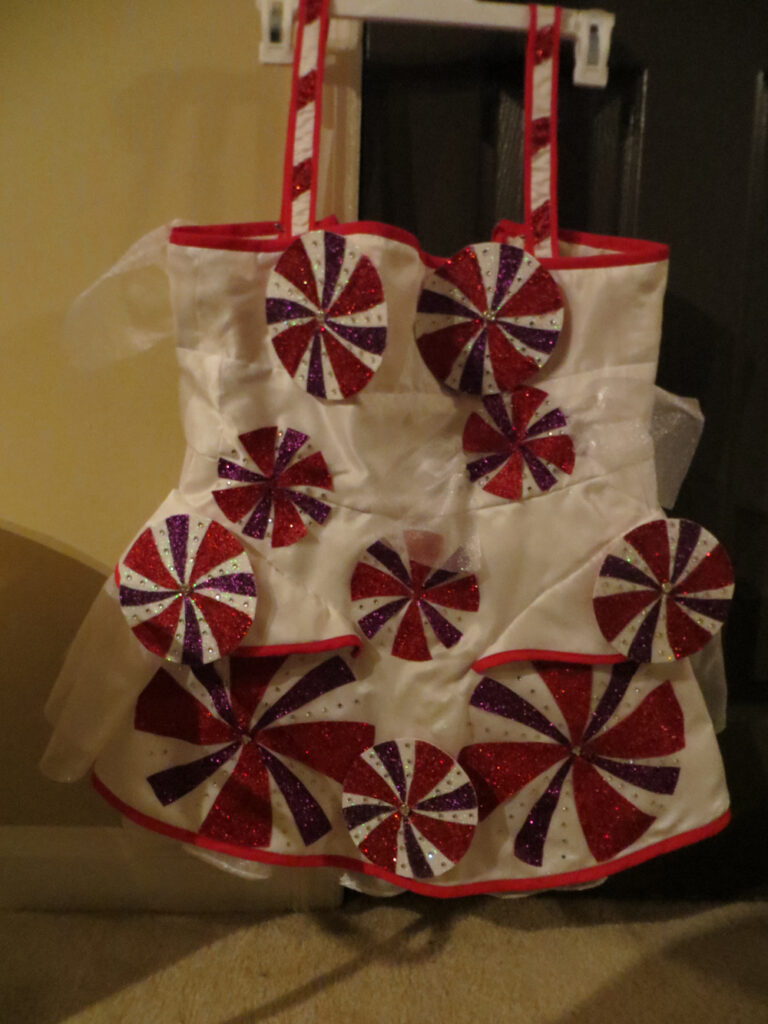
For Halloween 2012, I made Katy Perry’s famous spinning Peppermint dress from her most recent tour. Since I’m super into costuming now, and I always need an excuse to hone my skills, I took advantage of Halloween and decided to go all out! …Even though all I did was go to some bars with friends… too old to Trick or Treat or do anything really fun. 🙁 Anyway, here’s a site with good reference pics, since I don’t want to get in trouble for stealing images. My gallery is at the end of this post!
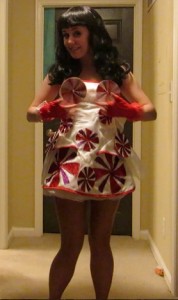

So I started out by getting materials. For the base of the dress I got a white, slightly shimmery middle-of-the-line satin (not the good stuff, but not the crappy costume stuff). I also got white sheer organza for the candy wrapper accents and “petticoat,” red bias tape, a red zipper, and lots and lots of glitter and stick on rhinestones!
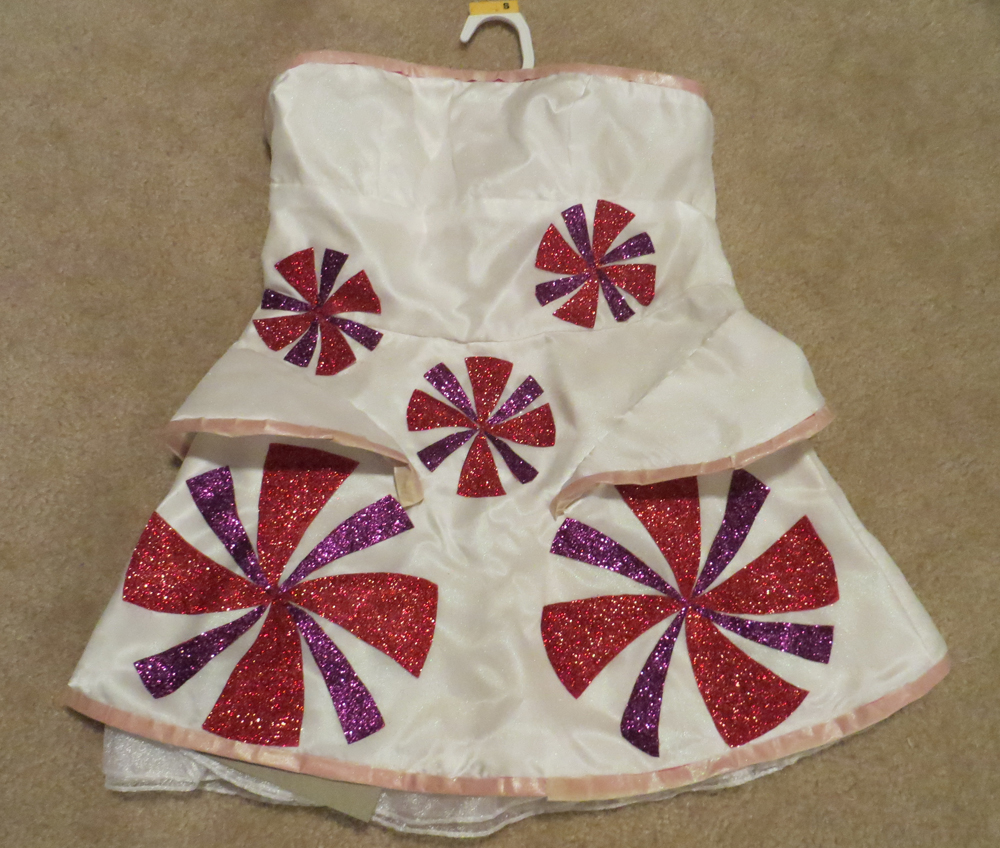
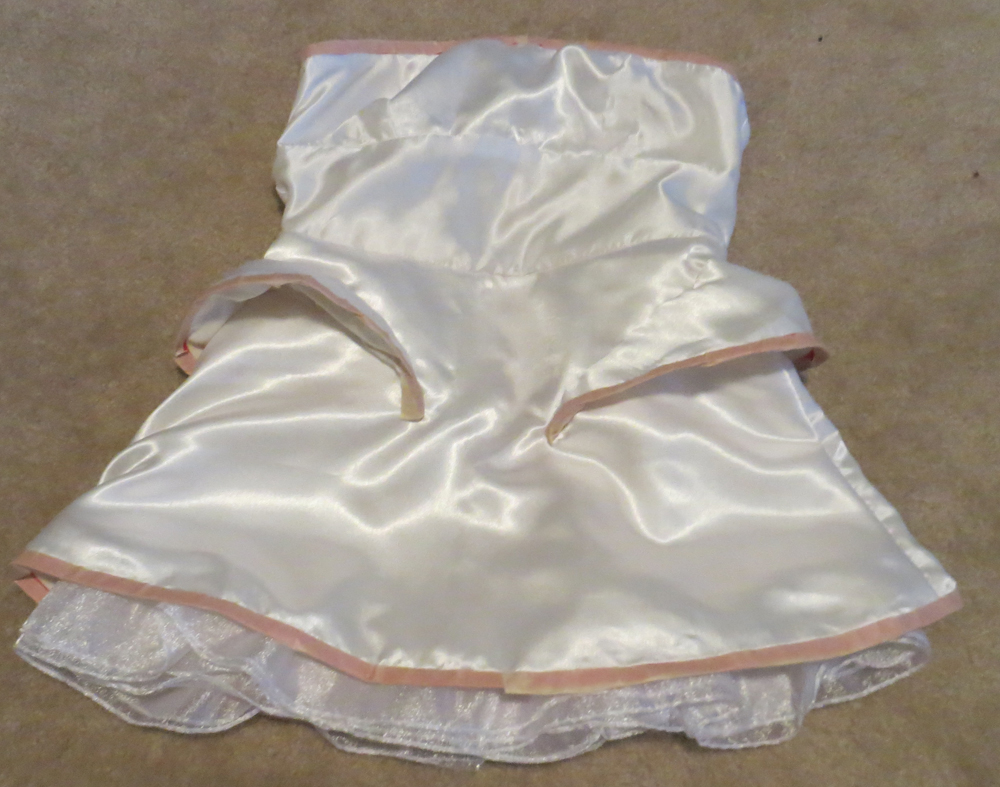
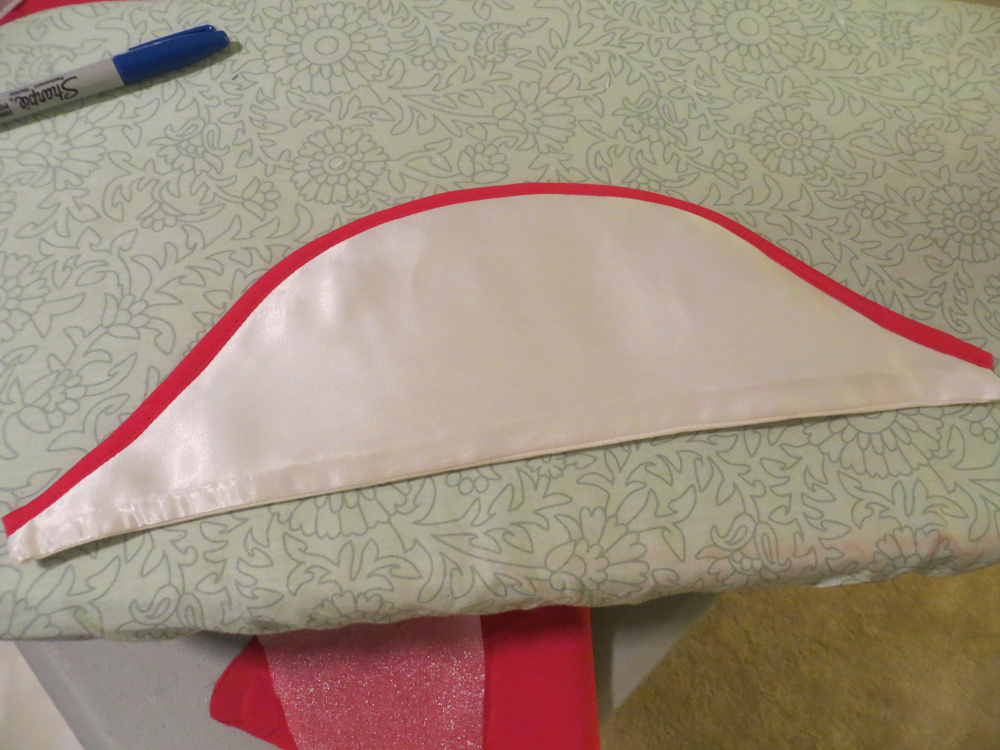
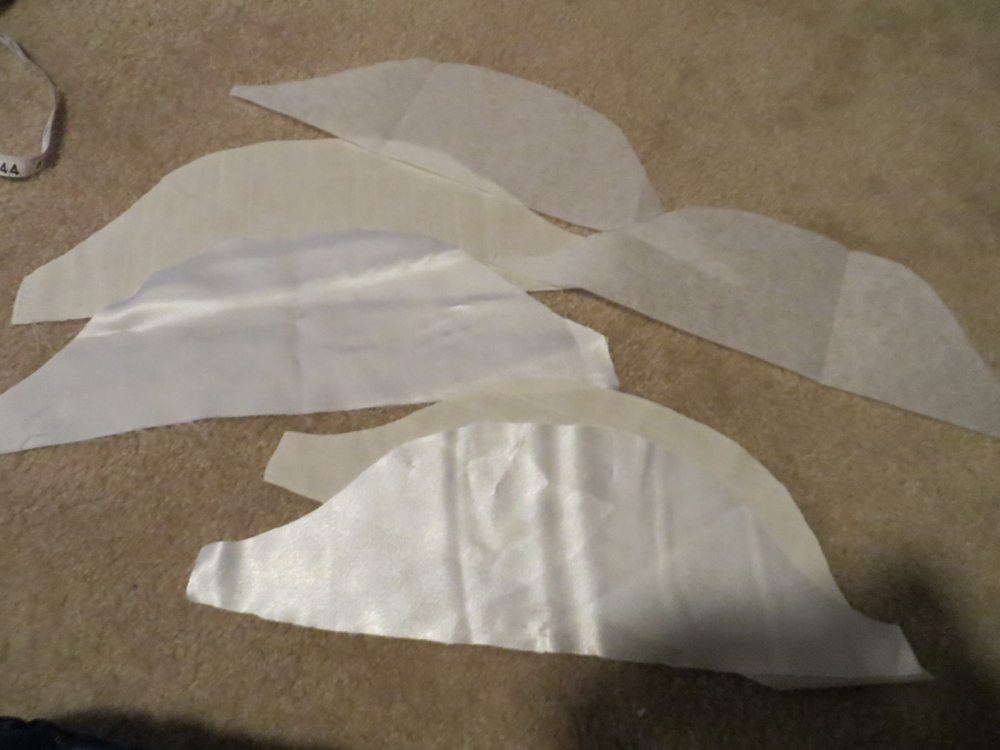
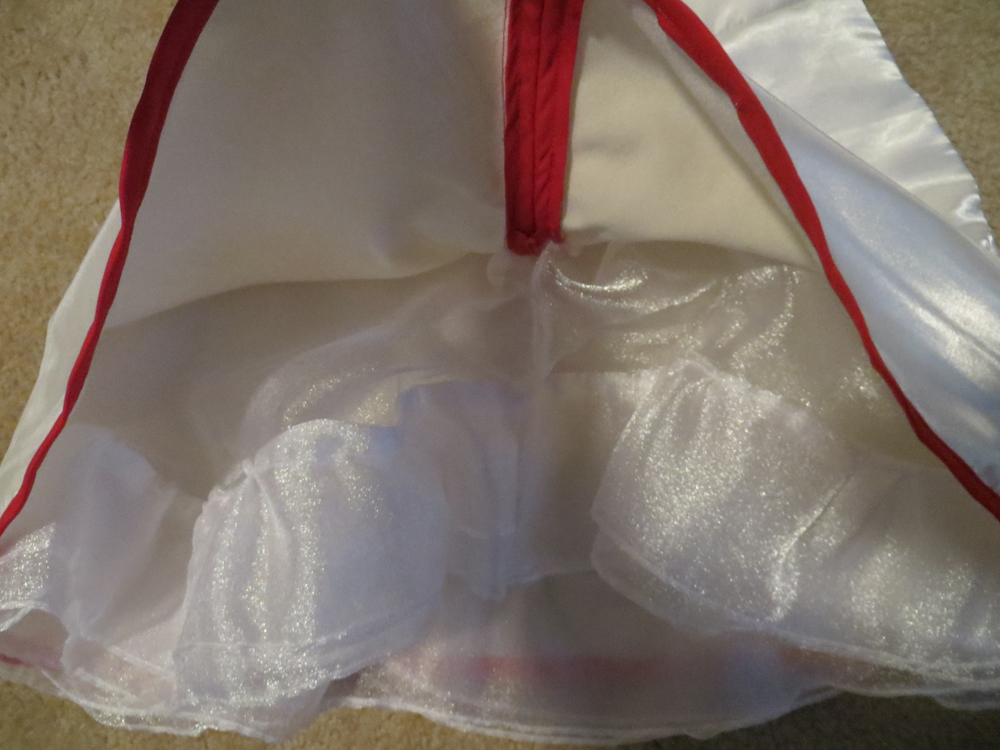
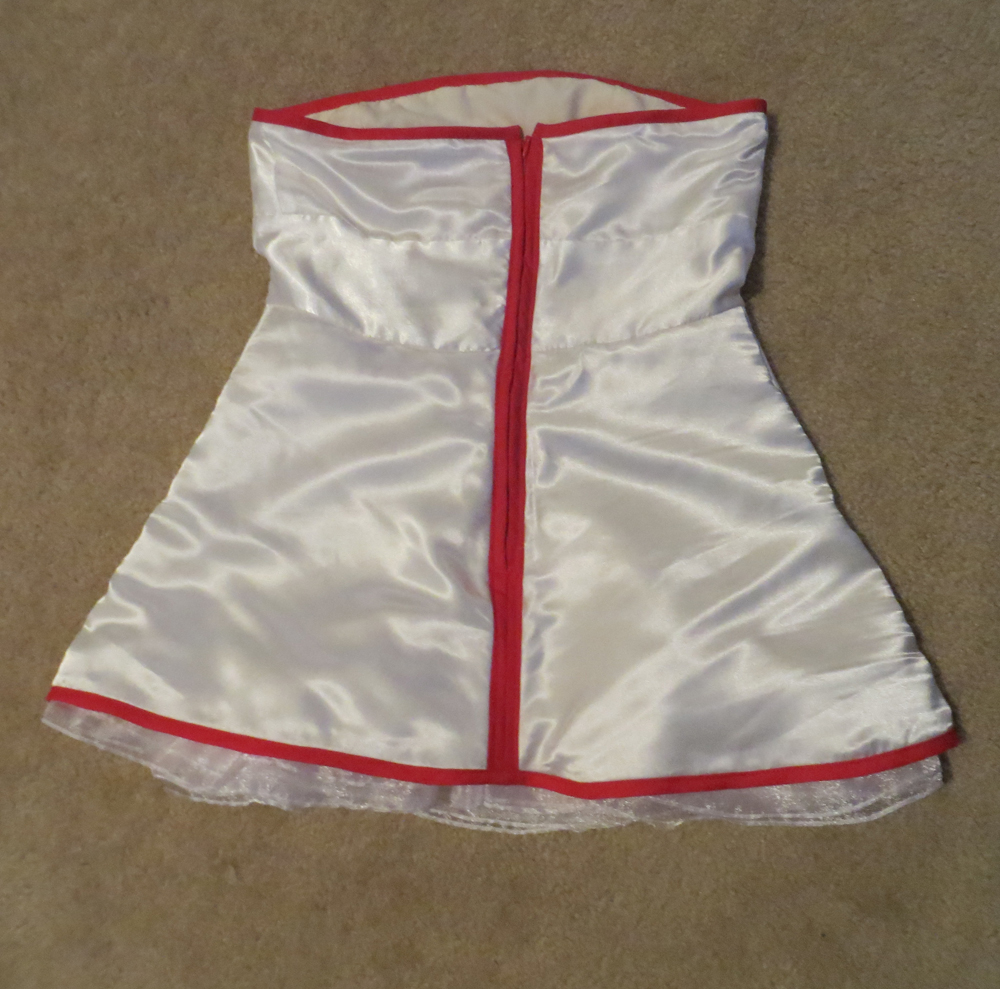
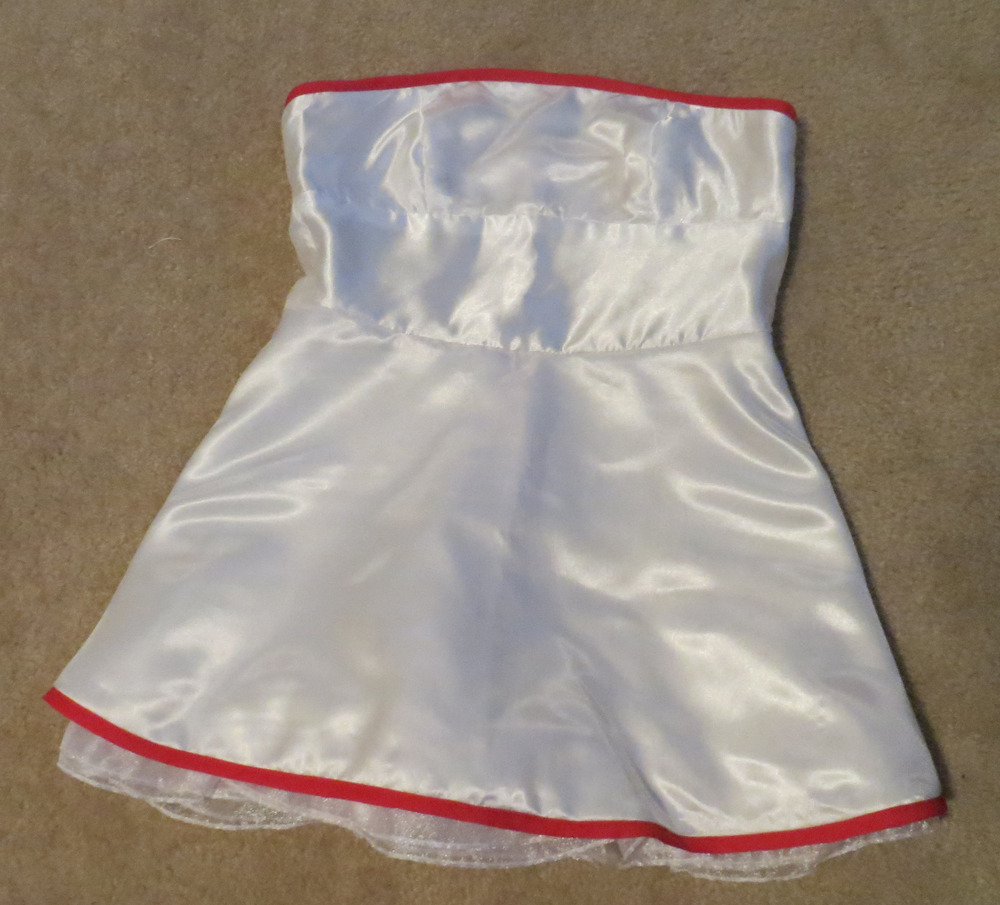
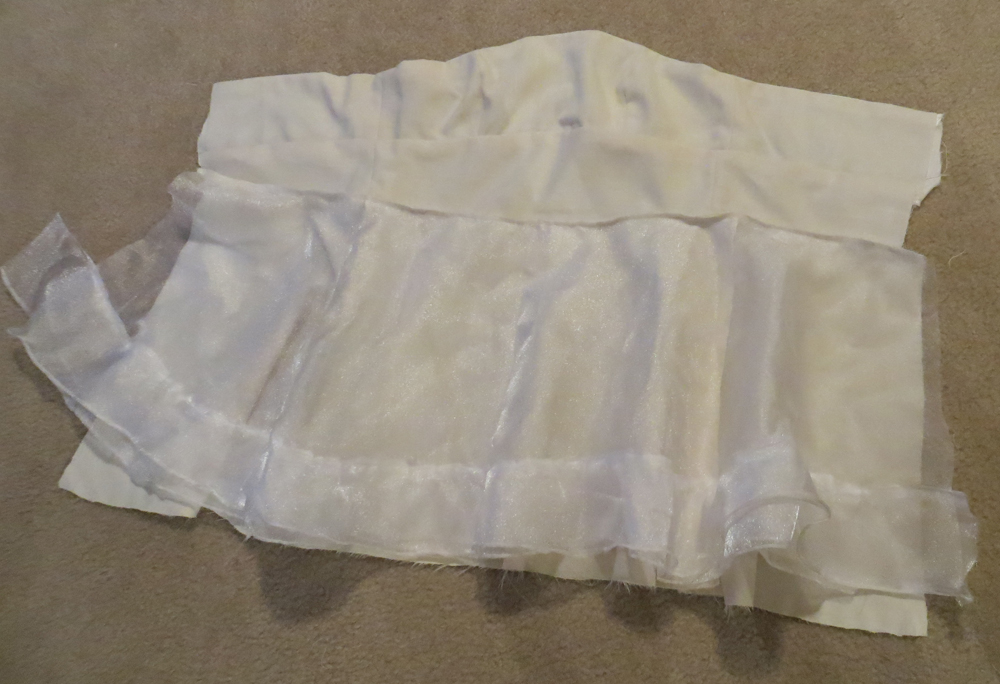
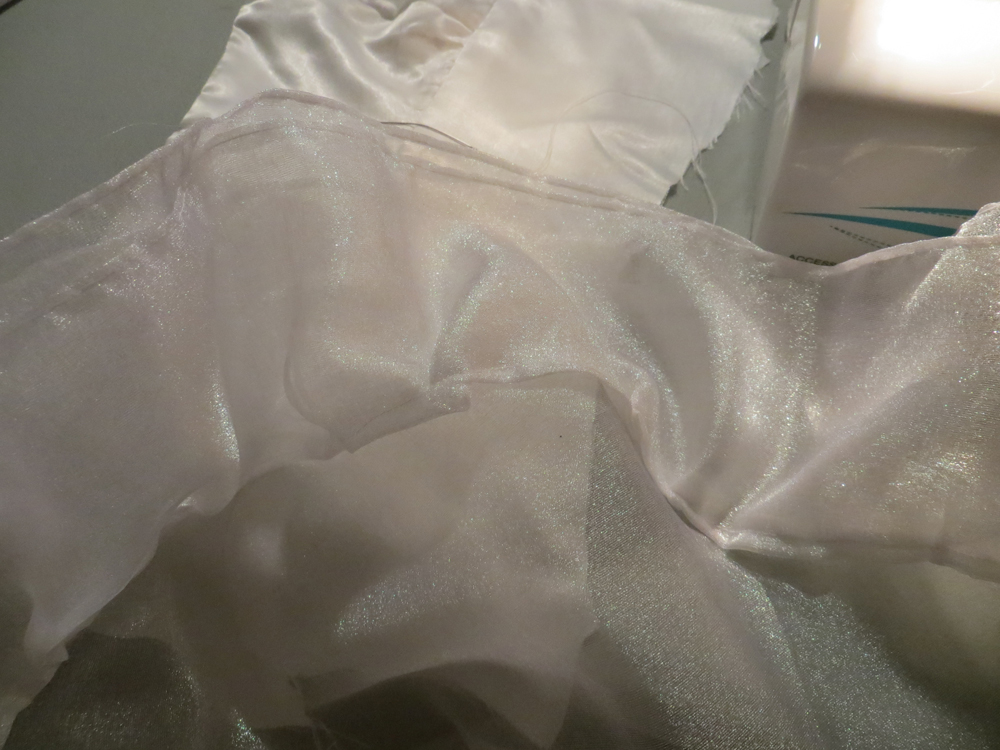
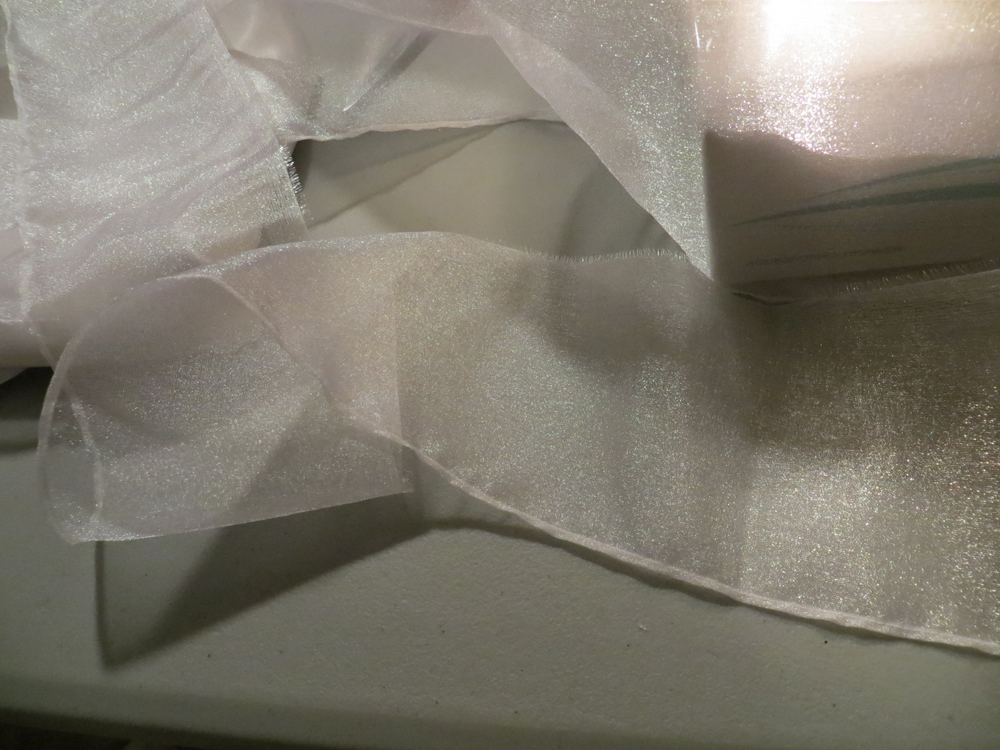
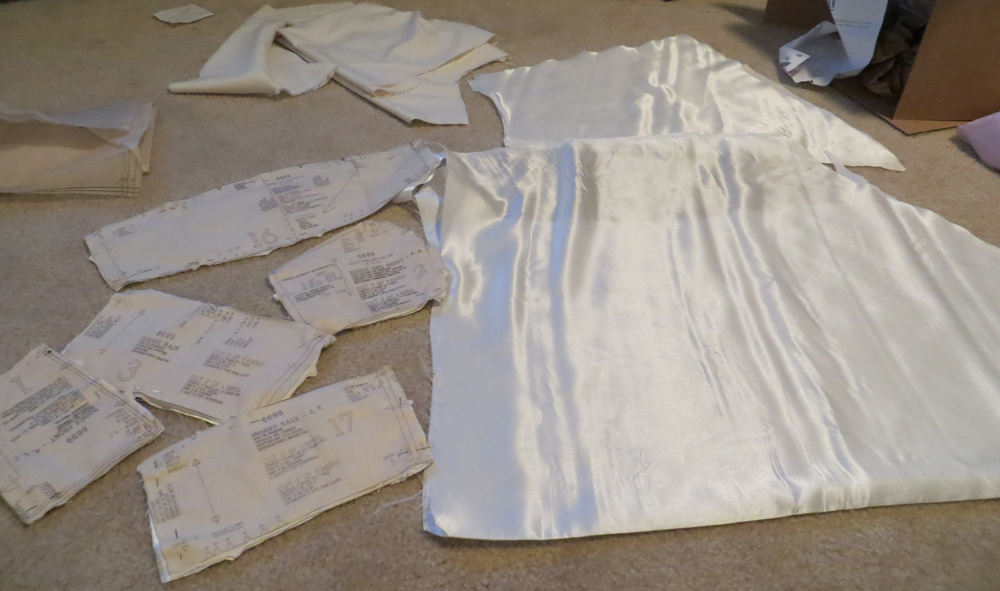
I started with the base dress. I happened to have a basic dress pattern set that I break out every now and then. I just modified it by making it shorter. I used leftover linen as my lining, and of course the satin as the outer fabric. The satin SUUUUUCKED. It snagged very easily, the fibers moved around as I cut it, and of course it frayed a lot. I wonder if its because I didn’t get the good stuff, or if all satin is this way. (I have plans to use bridal satin for my Anju dress next year, so I may be in for a rough ride!) Anyway, below are the progress photos of the base dress. I don’t have a real serger (yet) so I “fake-serged” some of the seams by doing a normal straight stitch, then used a zig zag stitch next to it and trimmed it. I also made a simple “petticoat” out of the organza by layering pieces together that I hemmed with my brand new rolled hem foot (squee!). I attached it at the waist. I then made the weird hip flare things and sewed them on by hand.
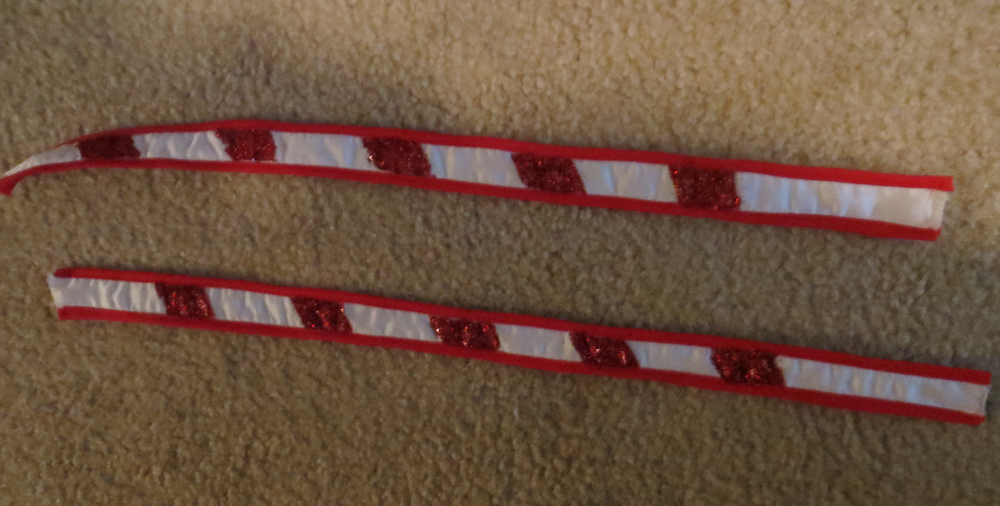
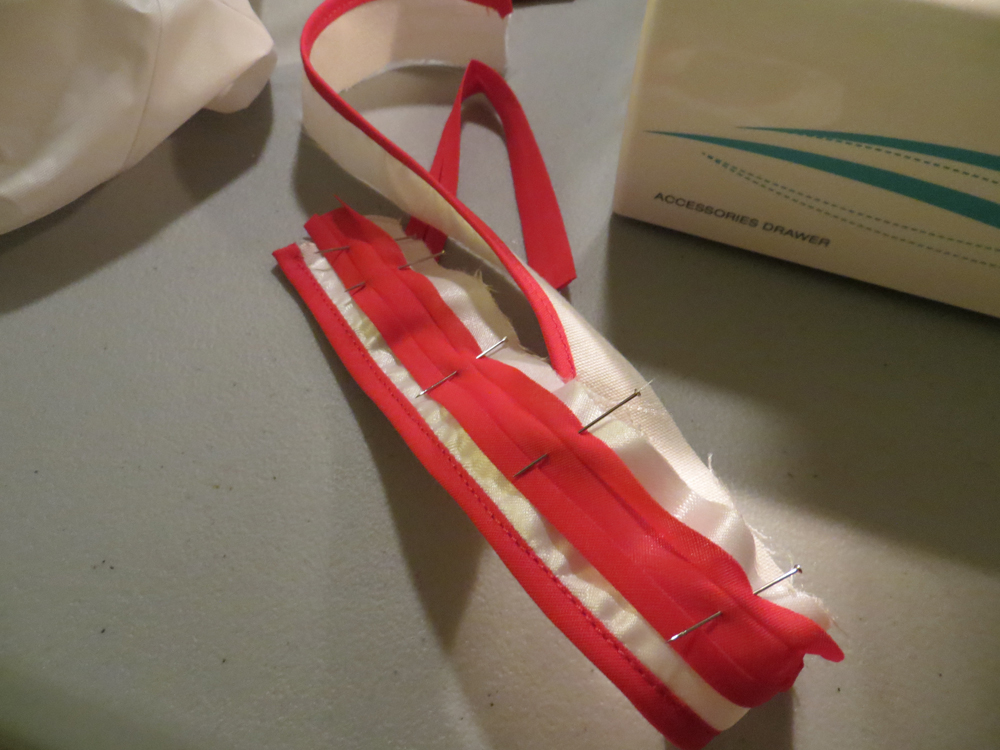
Then on to the bias tape. The real dress had nice satin trim, but I couldn’t find satin in the pre-made stuff, and there was no way I was making it on my own for a Halloween dress, so I settled for the matte stuff. So I started by lining the front of each side of the back seam, all the way down. Then I treated it like one piece of fabric and sewed the entire thing shut along the middle of the tape. (This is hard to explain in words, sorry!). Then I turned the dress inside out and sewed the back of the bias tape down on each side (making sure to mark the spot where the bottom of the zipper needed to be according to the darts in the pattern). So what I ended up with was a back seam lined with bias tape. Obviously in order to get in the dress it needed a zipper… all in the plan! I sewed the zipper on the underside of the seam from the top down to where I had marked. Once secured, I just ripped out the seam covering the actual zipper. This was my way of trying to do an invisible zipper, I’m still working on making it actually look nice though, my zipper foot skills are lacking. 😛 Then I lined the top and bottom of the dress with more bias tape. To finish off the dress, I made thin straps and lined them with thin bias tape (but did not attach them yet).
On to glittering! Glitter sucks btw, if you didn’t already know that. I will probably never ever do such a glittery monstrosity again. Anyway…
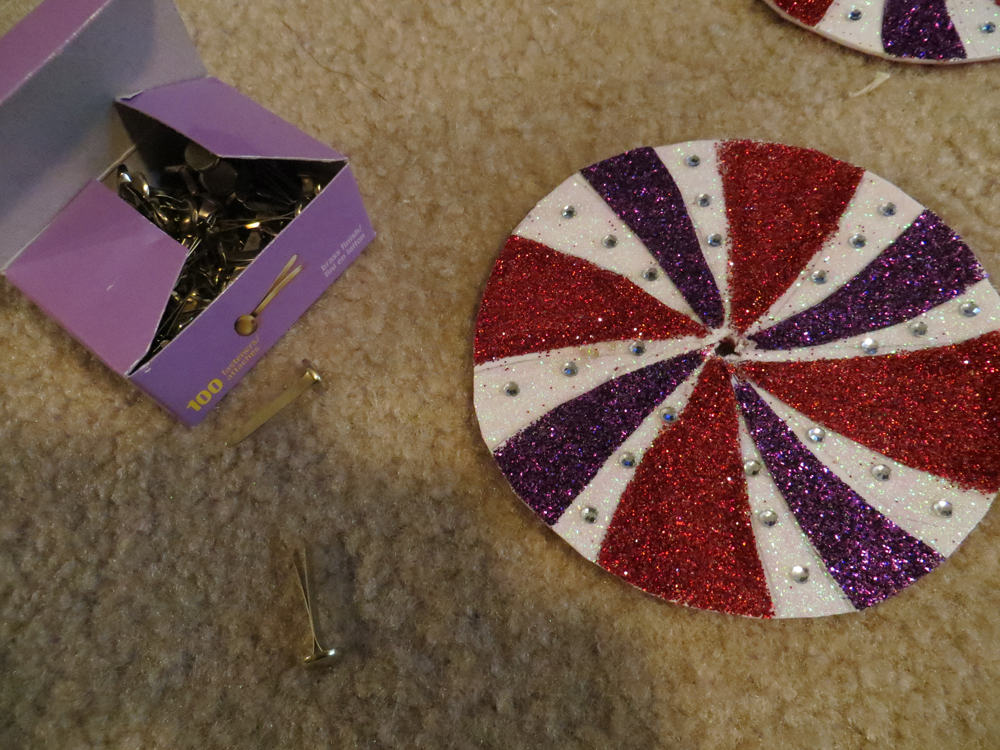
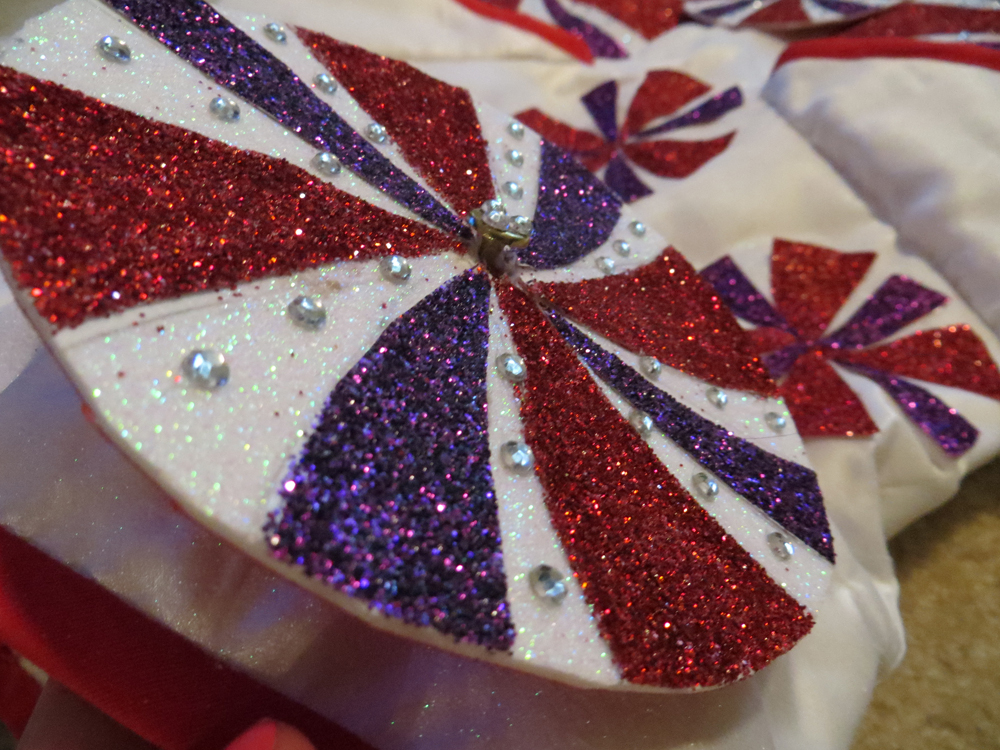
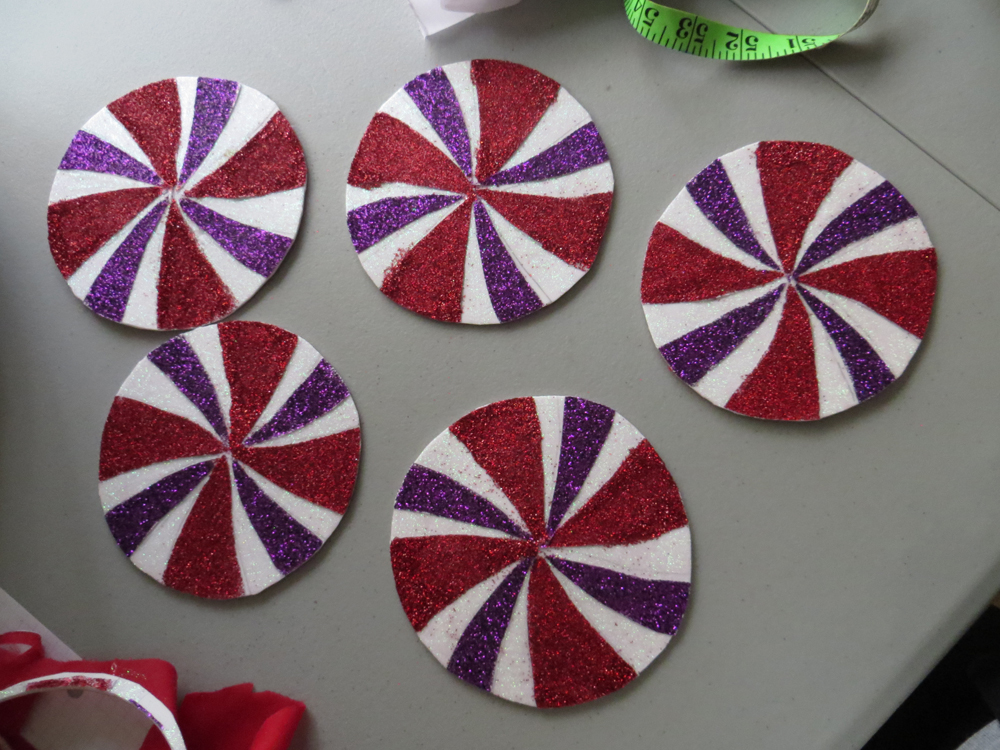
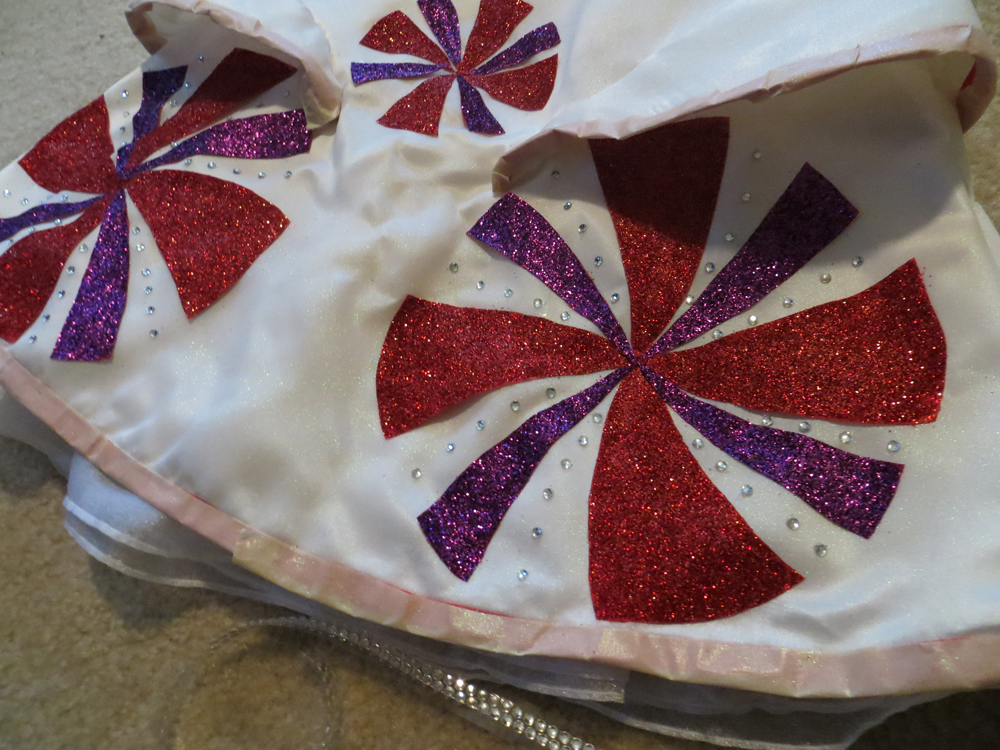
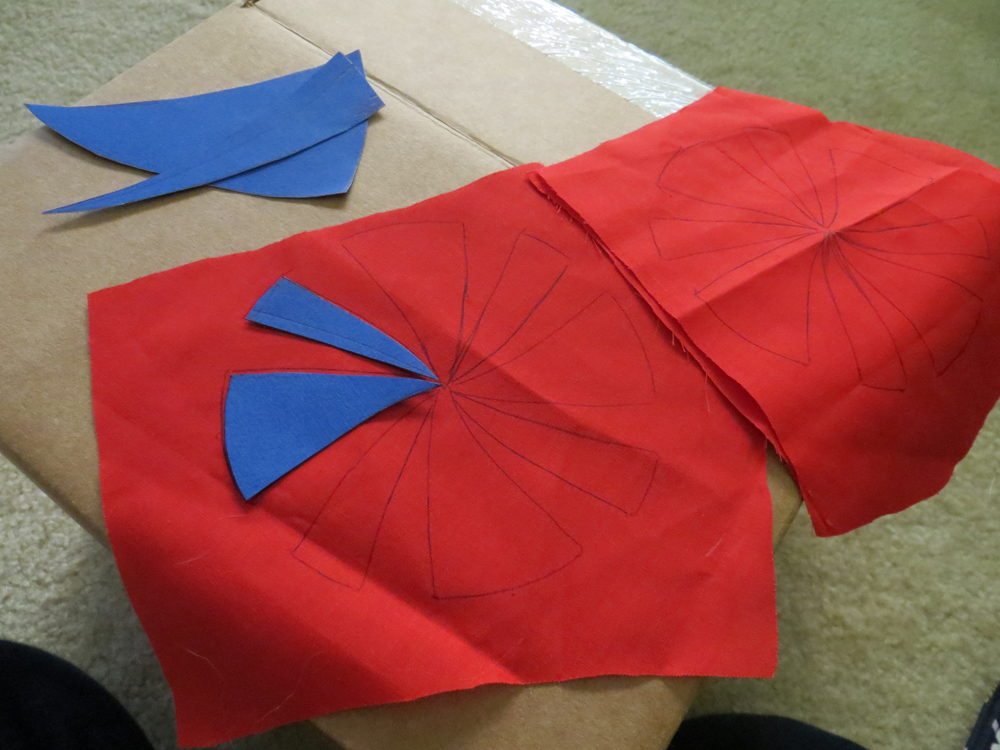
I began by covering the red trim with masking tape to keep it safe, then sprayed the whole dress with a white glittery spray several times. While that was drying outside, I worked on the insane glitter accents. I started by cutting out circle sizes on posterboard using bowls as references, then traced the swirly parts. Out of this I made templates. I traced 6 small and 2 large swirly circles on red scrap fabric, and 5 medium circles on paper. I then began the process of gluing and glittering the red, white, and purple glitter on them (white for paper only). Afterwards I sprayed the f*** out of these with glitter sealant. I cut out the fabric pieces and glued them on the dress in the right spots. And sealed the f*** out of it again. For the paper, I glued them to craft foam circles I had already cut out. (In hindsight, for these foam circles, I should have bought pre-glittered craft paper, would have been soooo much easier.)
I then went over all the peppermints and added tons of bling. Should have used glue, but I was lazy and just dealt with the sticky back rhinestones. This was bad as many fell off throughout the night. But next time I’ll know better. Then I quickly sewed on the wrapper accents with leftover organza. I attached the foam circles with brass pin thingies to let them spin. Then I was lazy/running out of time and safety pinned the straps on (if this was for a con, I would’ve attached them in a more legit way) to finish it off. In the end, the sealant actually did a pretty good job. I did not shed glitter wherever I walked/sat/moved like I thought I would.
For the gloves I bought $5 red costume gloves, cut the fingers off, and hemmed the finger holes by hand. Then I added red and white lace to the edges. This created the overall look of her gloves decently enough. If this was for a con, I’d try making the nice leather gloves version. When I finally decided to get a black wig, I couldn’t find the right one anywhere (even though I saw it several times when I was looking for my Saturn wig.) So I got stuck with a really crappy wig I had to shorten and thin out. Oh well.
There are too many progress images to place in the post, so here is a gallery!
