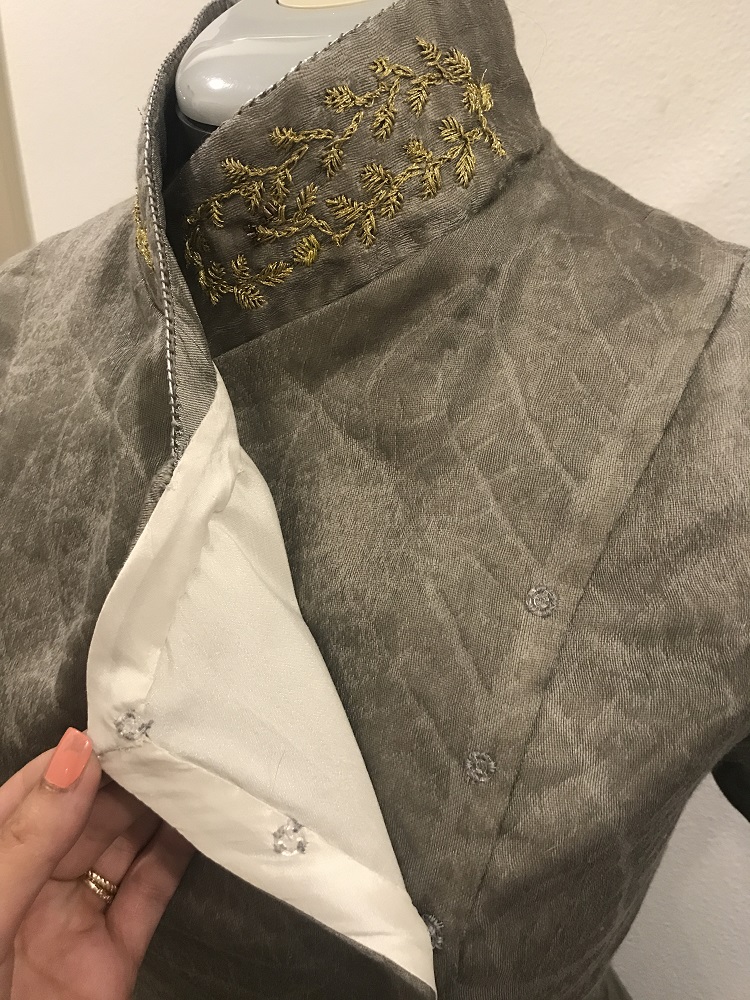
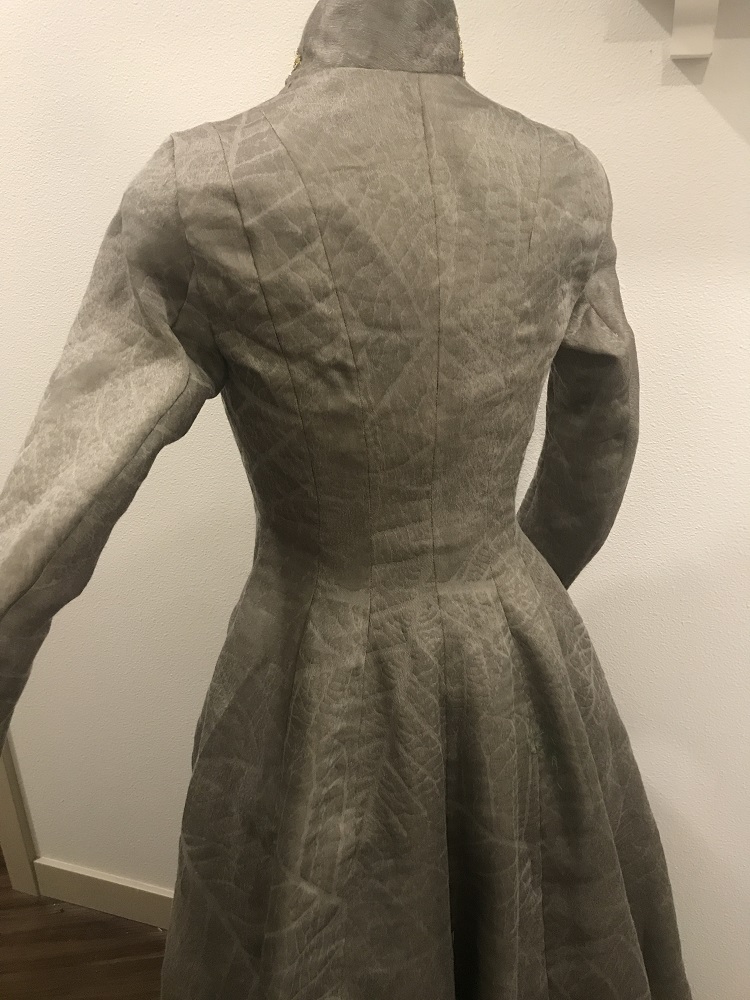
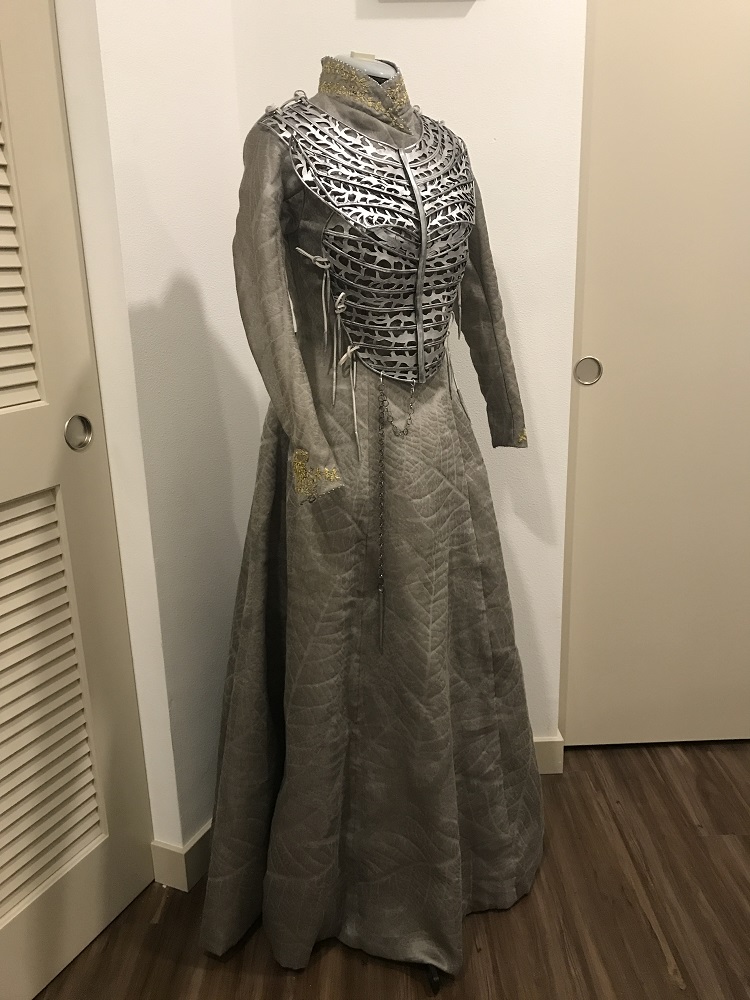
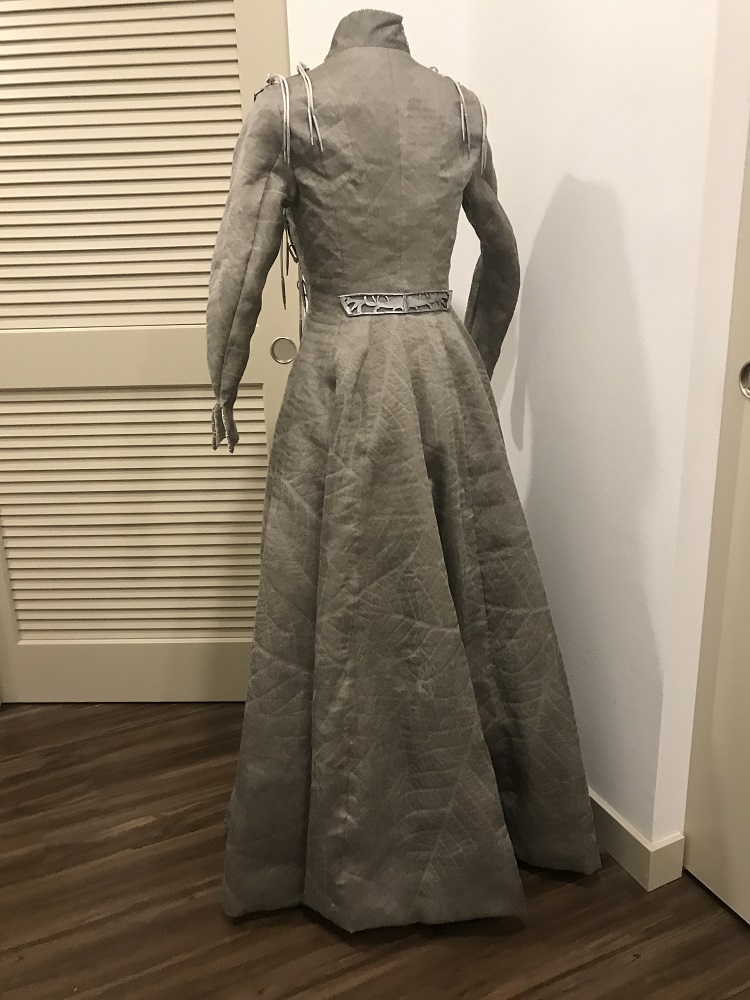
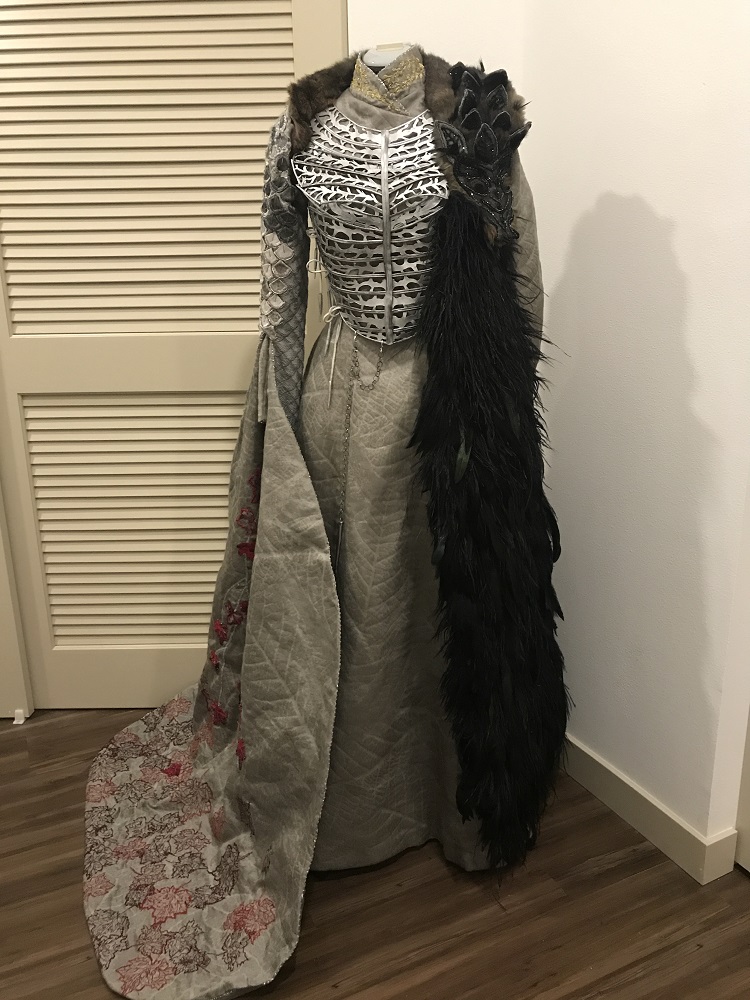
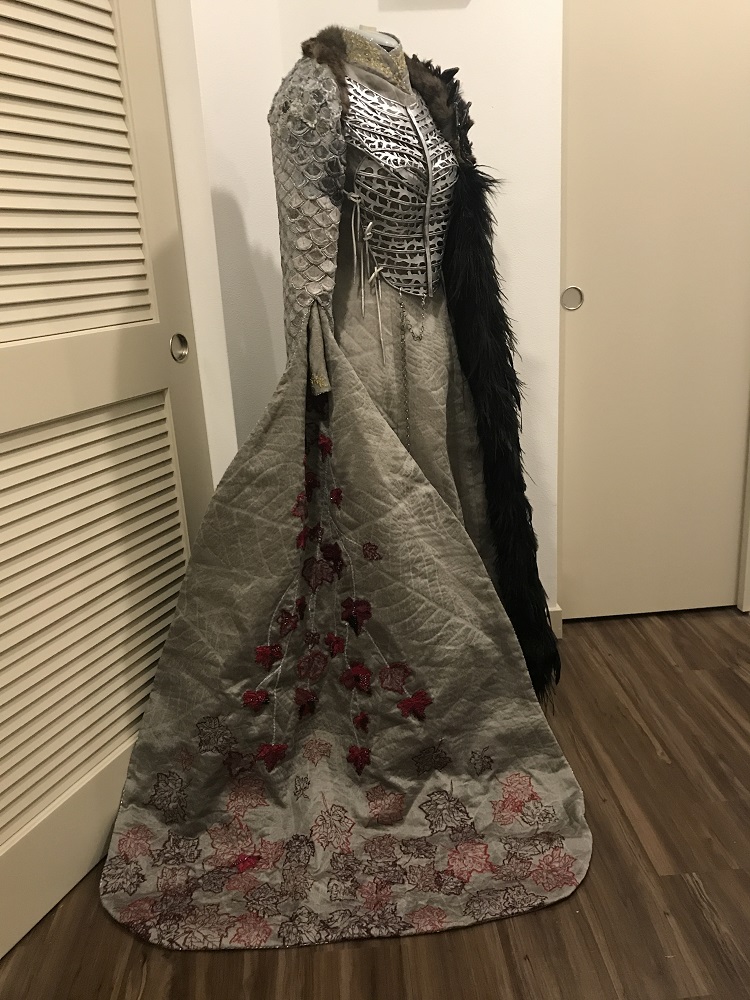
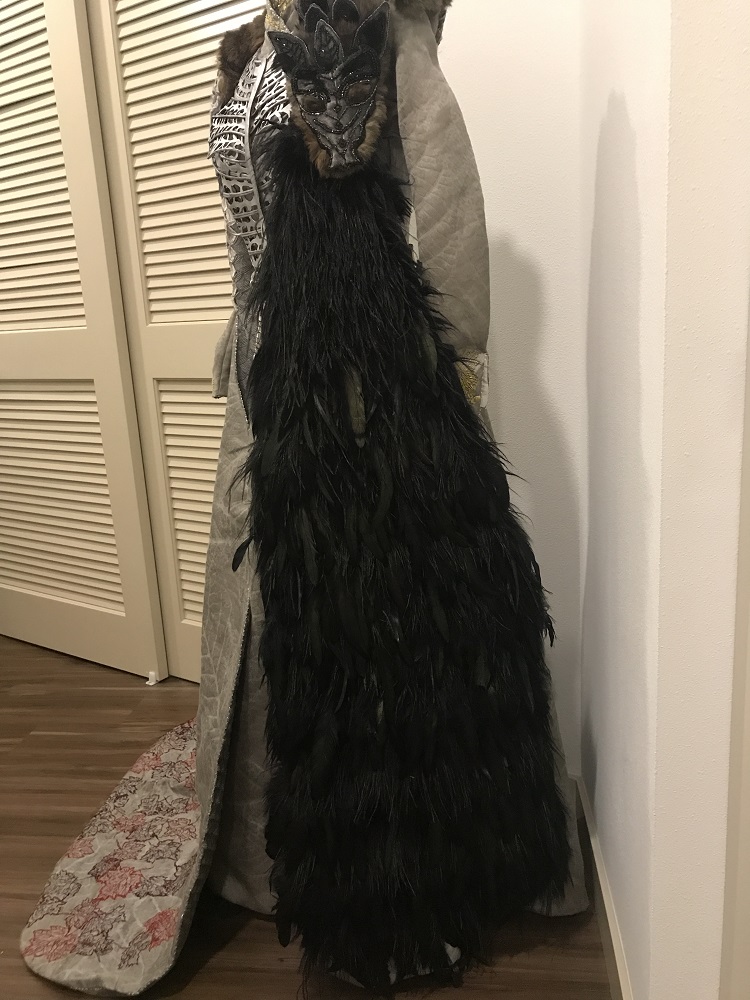
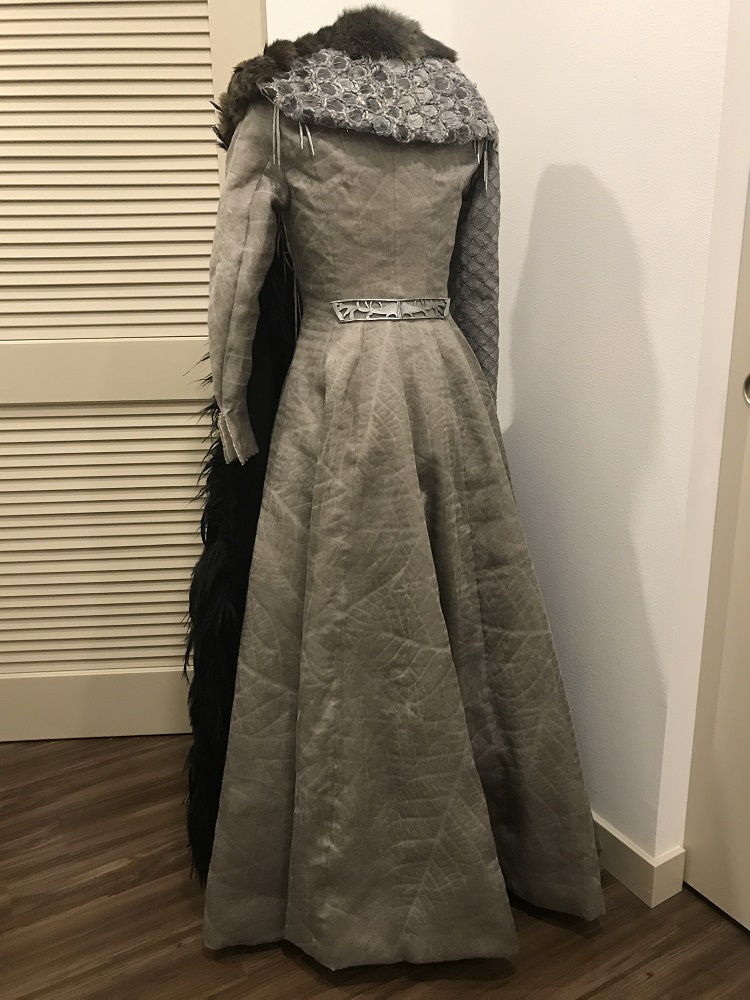
I made Sansa Stark’s Queen of the North coronation outfit in 2019. This costume was designed by Michele Clapton. It was in the series finale episode of Game of Thrones, which aired some time during the Summer of 2019. Despite the fact that Dragon Con was only a few months away, I was absolutely possessed and HAD to make it. One reason is because Sansa had become my favorite character in the series. But the other is because it was so beautiful, and also because of THAT fabric.
A quick note on accuracy and execution
I do not normally make a note like this on my costume builds, but I feel like some context might be helpful. Because of its beauty and complexity, Sansa’s Coronation ensemble has become incredibly popular for costumers to recreate, especially for competitions. I have seen multiple people win big awards / best in show for this costume, because its just SO amazing 🤩. Many of those costumers were patient and gave themselves ample time not only to complete the work properly, but to wait for all of the reference photos to come out. (If you know about GOT costumes, the designers tend to eventually release amazingly detailed photos of their work).
(Below: some references I had at the time)
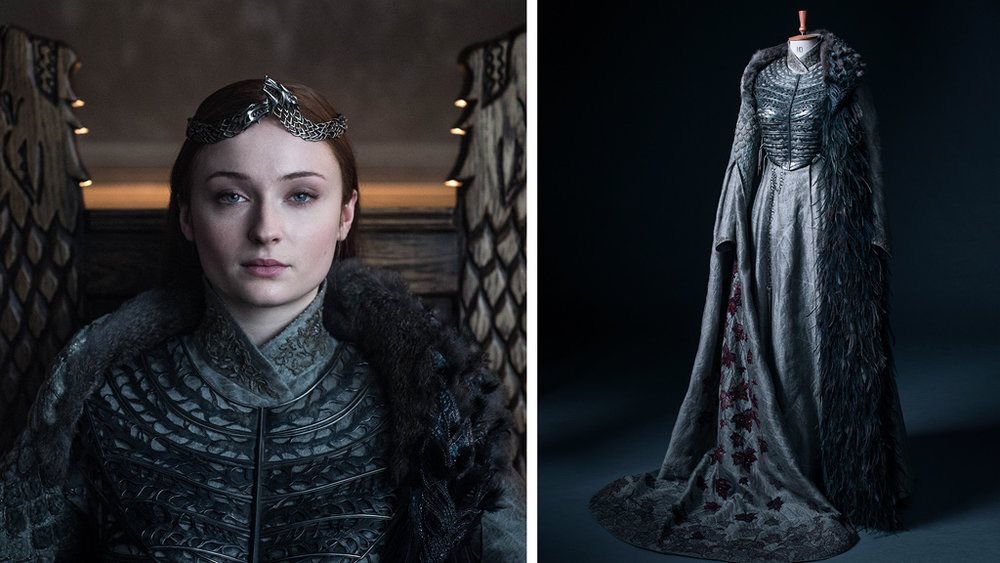
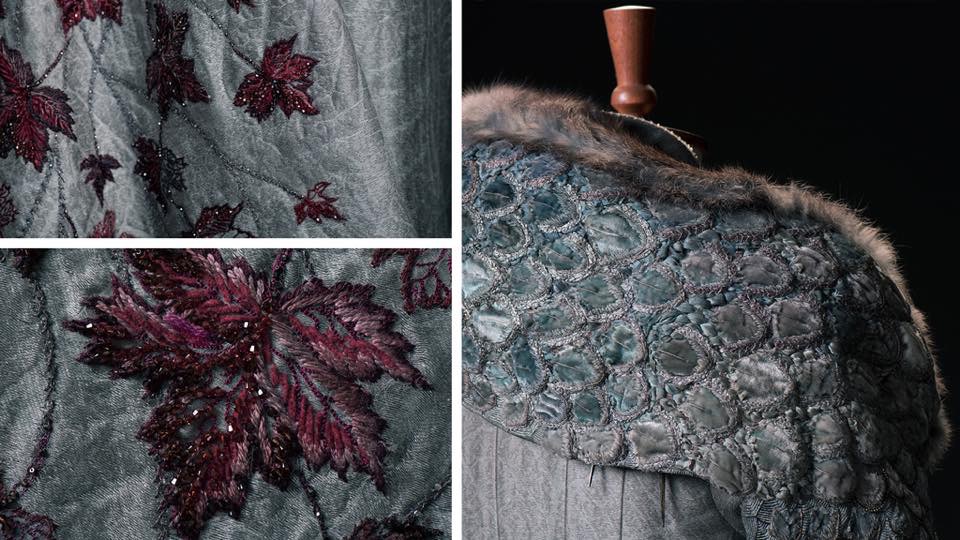
I, dear reader, was not patient, and did not learn from my past mistakes about crunching too hard on a difficult costume. I made mine in 3 months, but it needed WAY more time that that. I say this because I was indeed trying to be screen accurate (otherwise, a simply “inspired” costume would have been fine in that timeline). And that was literally impossible (no matter how fast I was) because there were so many details I just did not have access to yet. Like hidden intricate embroidery, and the amazing beading on the wolf’s head.
So I guess my point is, I know I made some mistakes, and I know its not the most accurate. But I am proud of what I accomplished in such a short time period, and still in love with how this costume turned out.
The fabric
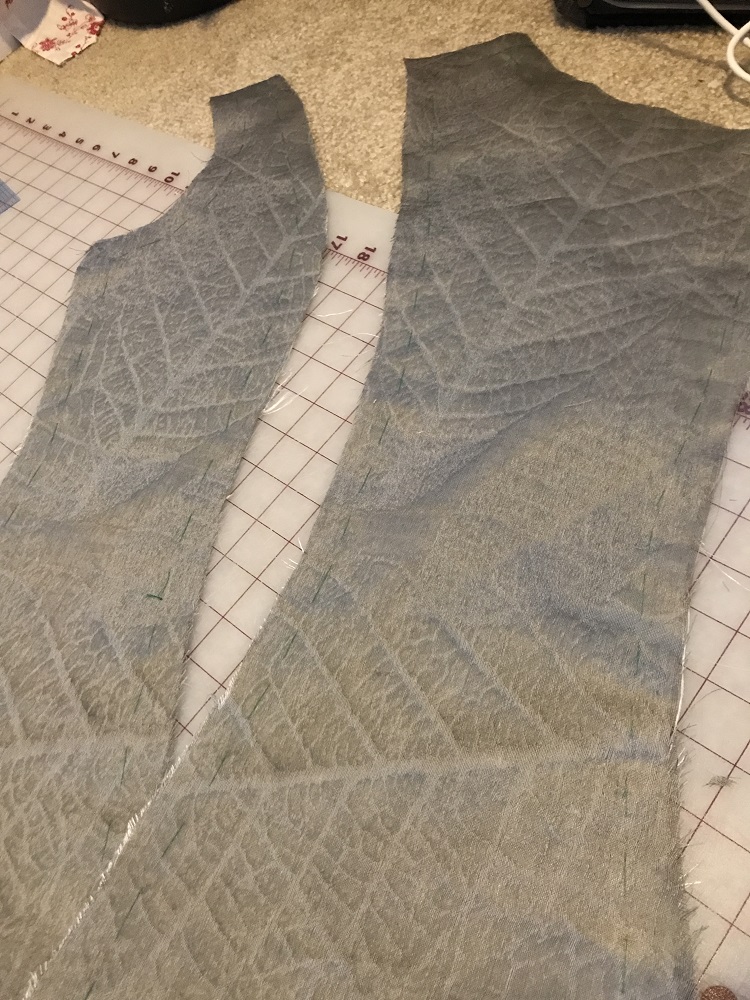
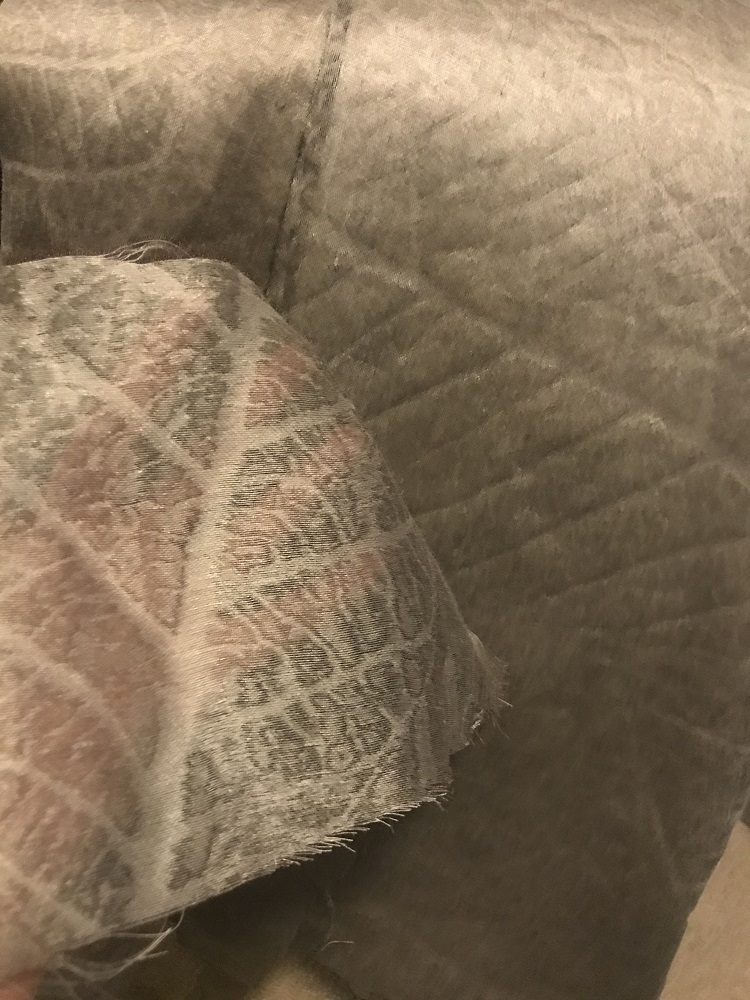 I knew what the main fabric was immediately when I saw it. It was the same woven leaf fabric from Margaery’s season 4 purple wedding gown (which I also made). Back then I couldn’t find the screen accurate fabric and hand-painted my own silk. (This REALLY plagued me because I tried so hard to find it and failed.) But years later, I knew now that it was Sahco’s “Fossil” (some amazing GOT fans found it). I looked it up right away but unfortunately it was incredibly hard to find for purchase due to being discontinued. There was one dealer left that was still selling the last remains of it in the gray colorway, and by some miracle I snagged what I needed. (They actually ended up producing more later because this costume was so popular!)
The gown
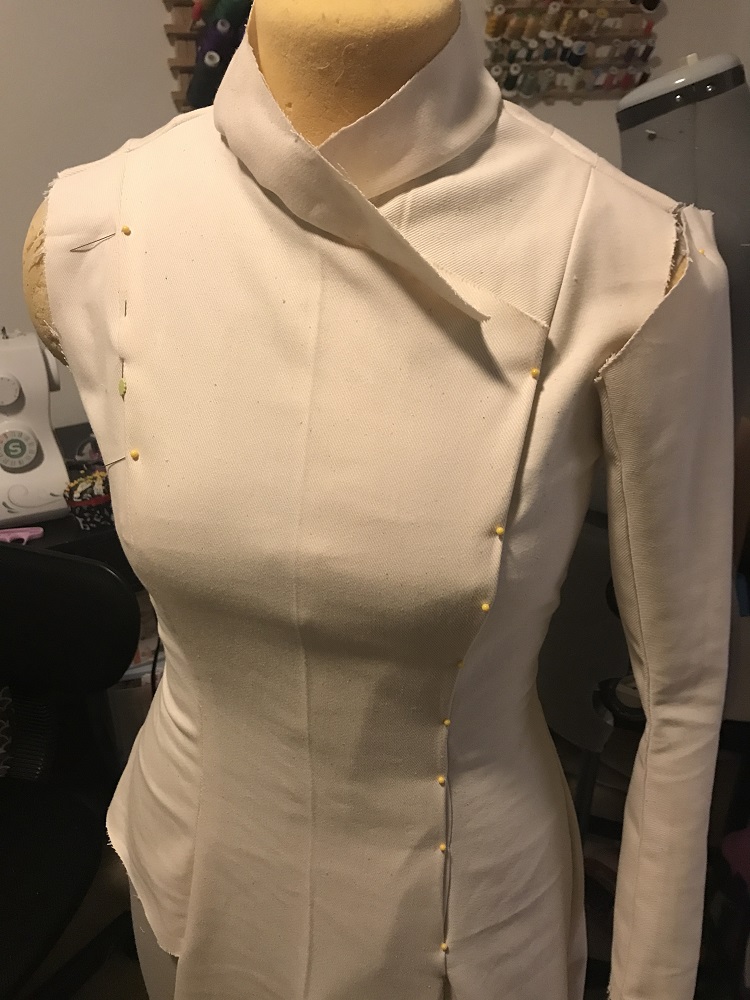
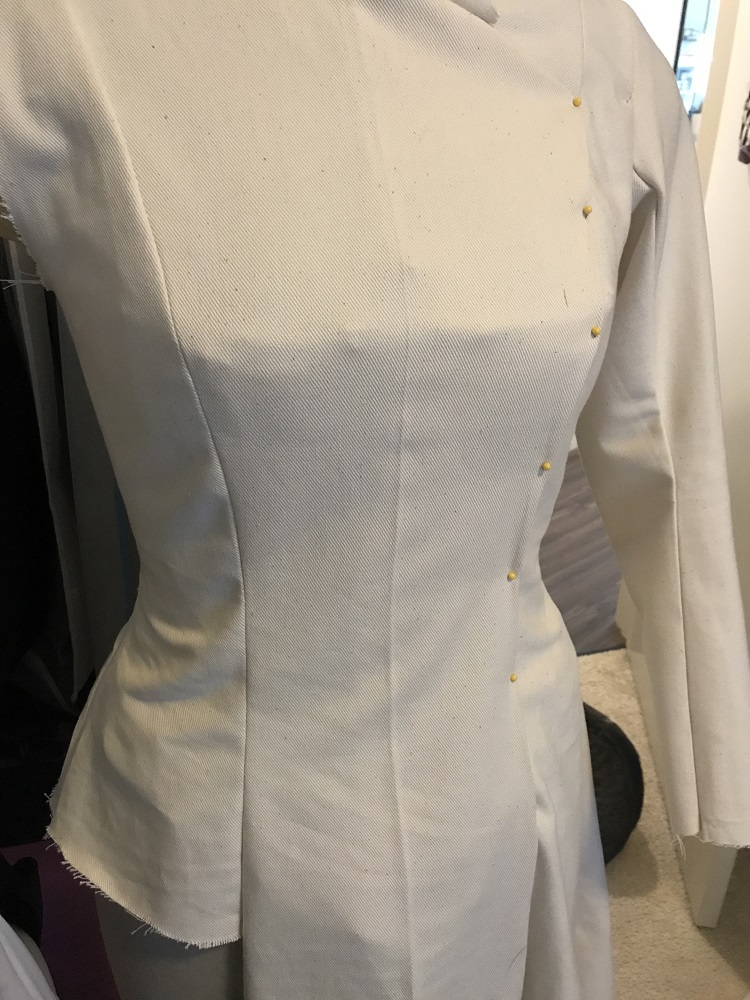
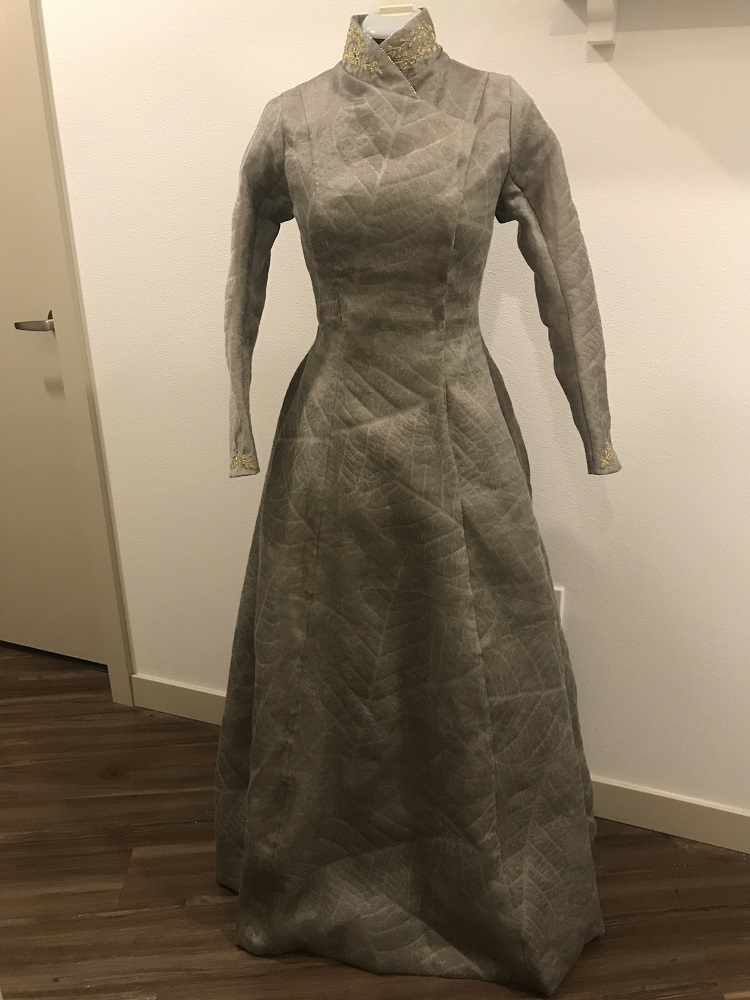
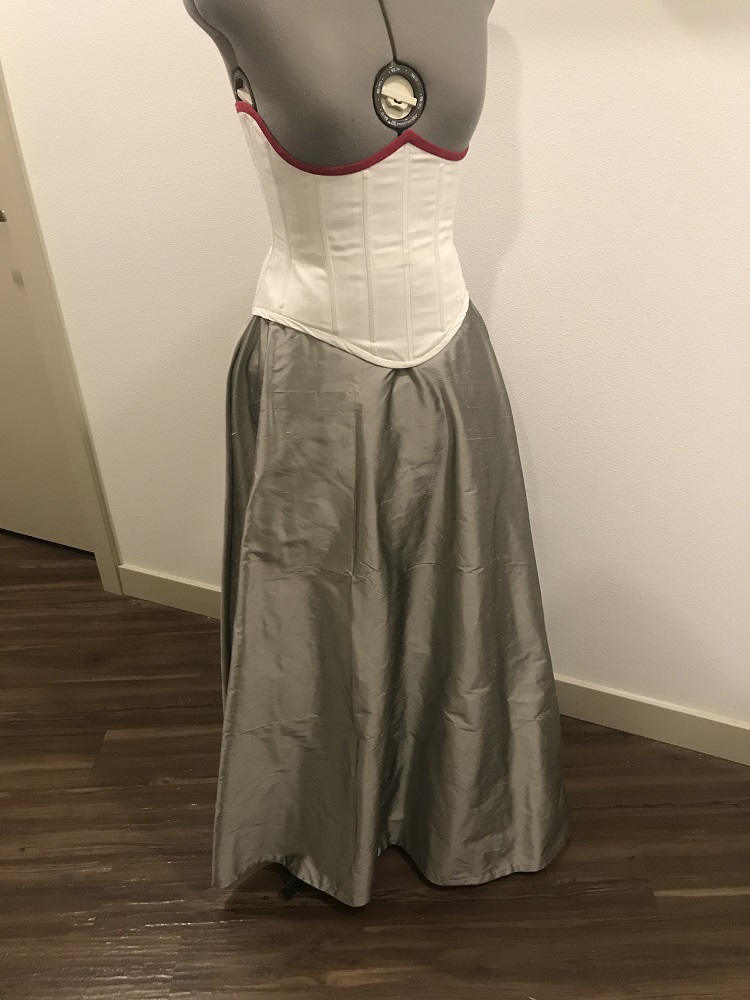
I mocked up the gown base on my dressform out of twill. I think I may have used one of the Simplicity GOT patterns as a starting point (which I also used for my other season 8 Sansa). Under the gown I wore an underbust corset I made years ago, and a simple petticoat made from silver silk.
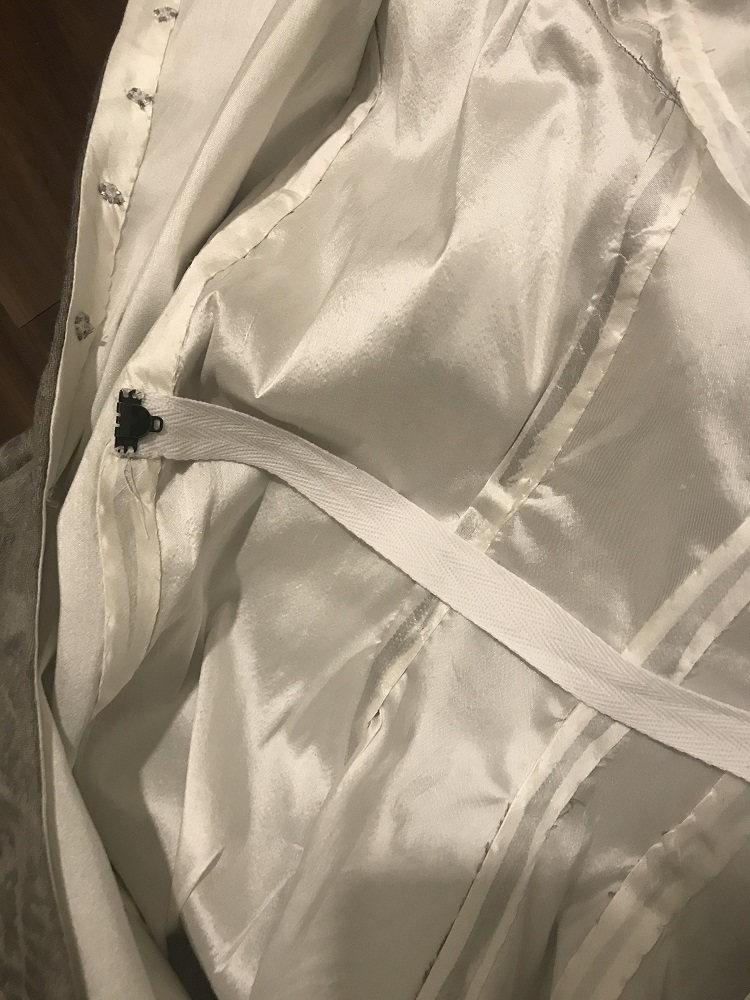
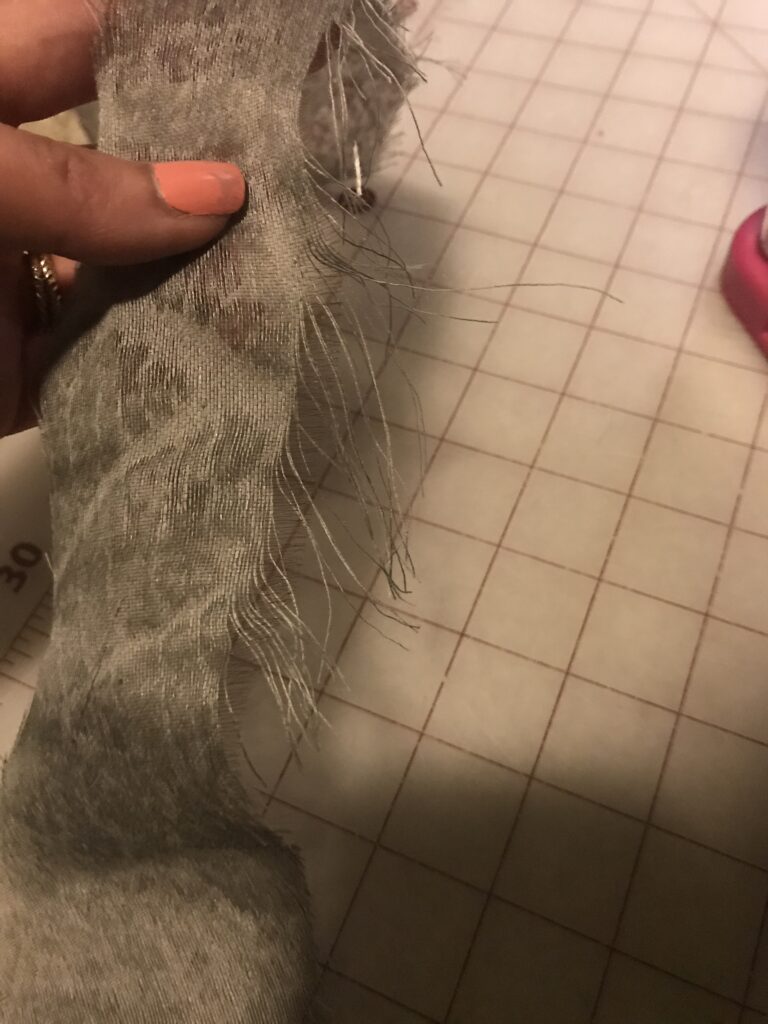
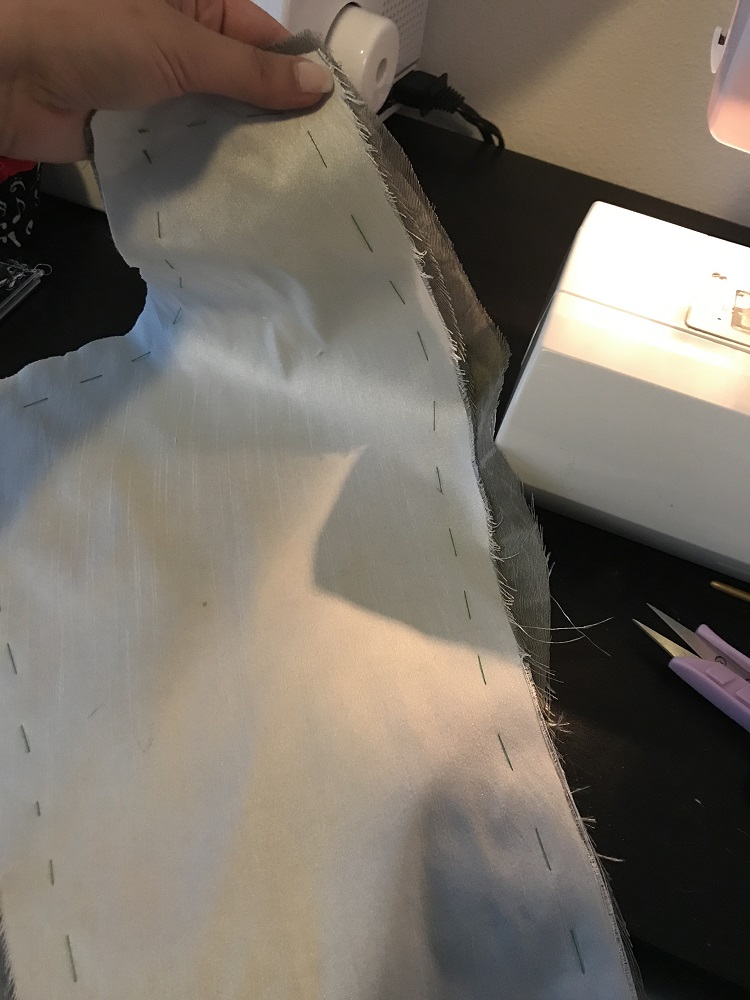
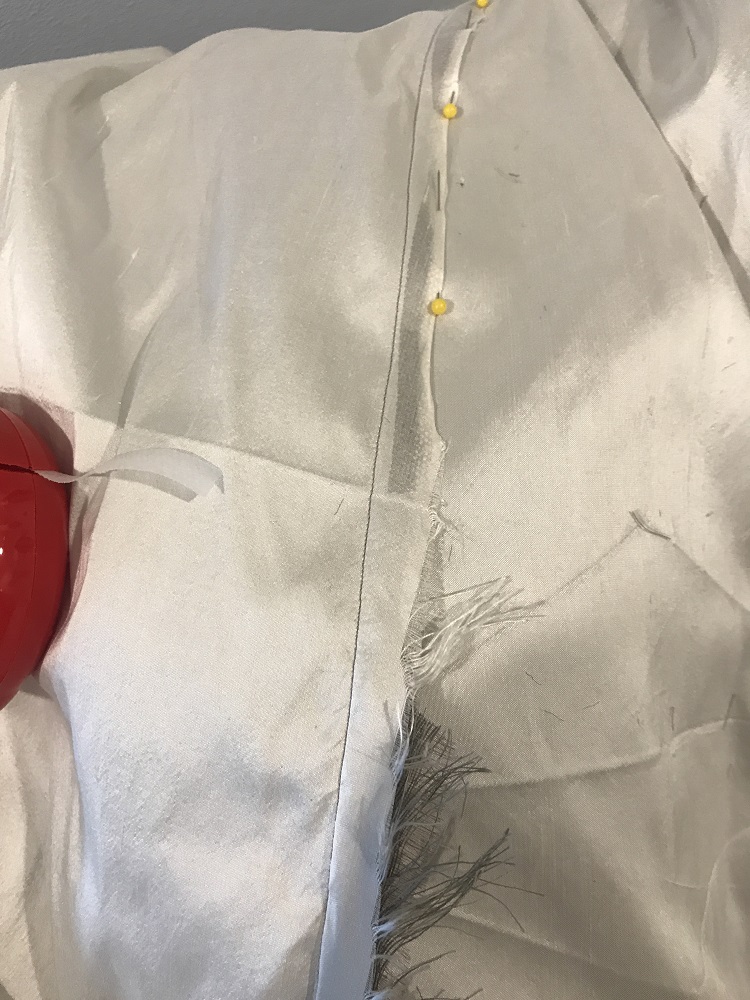
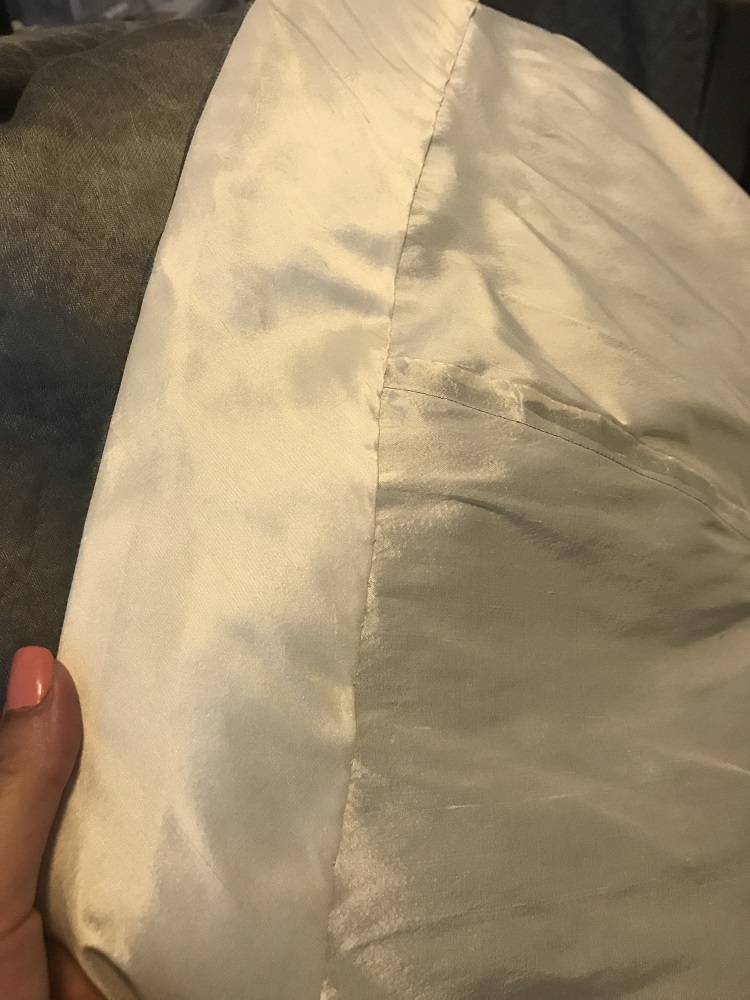
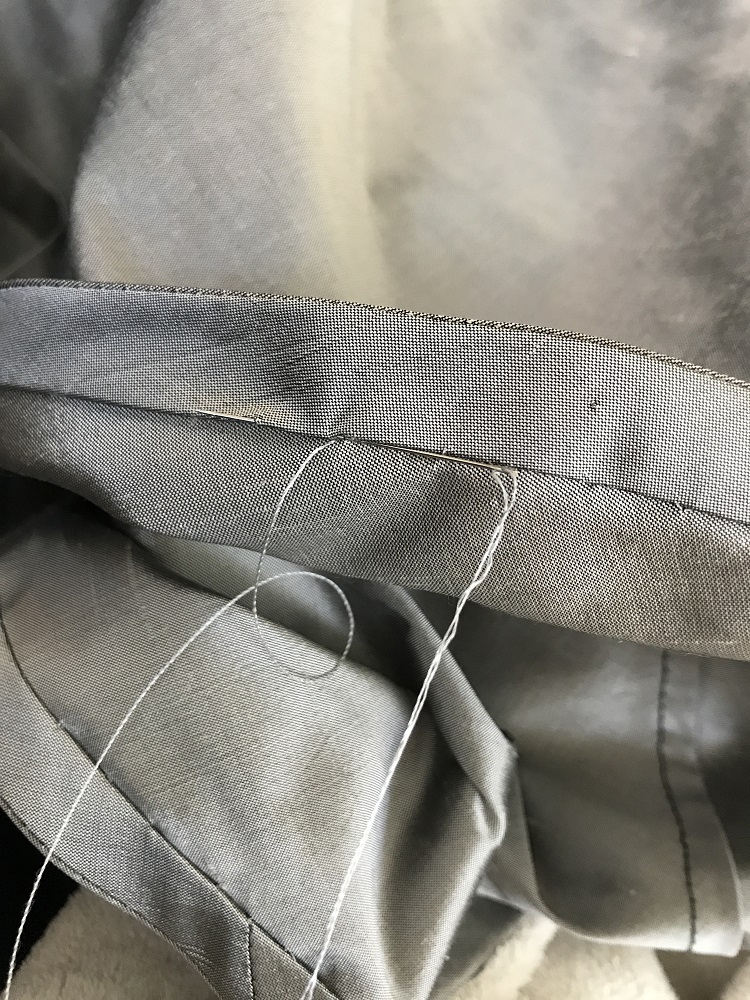
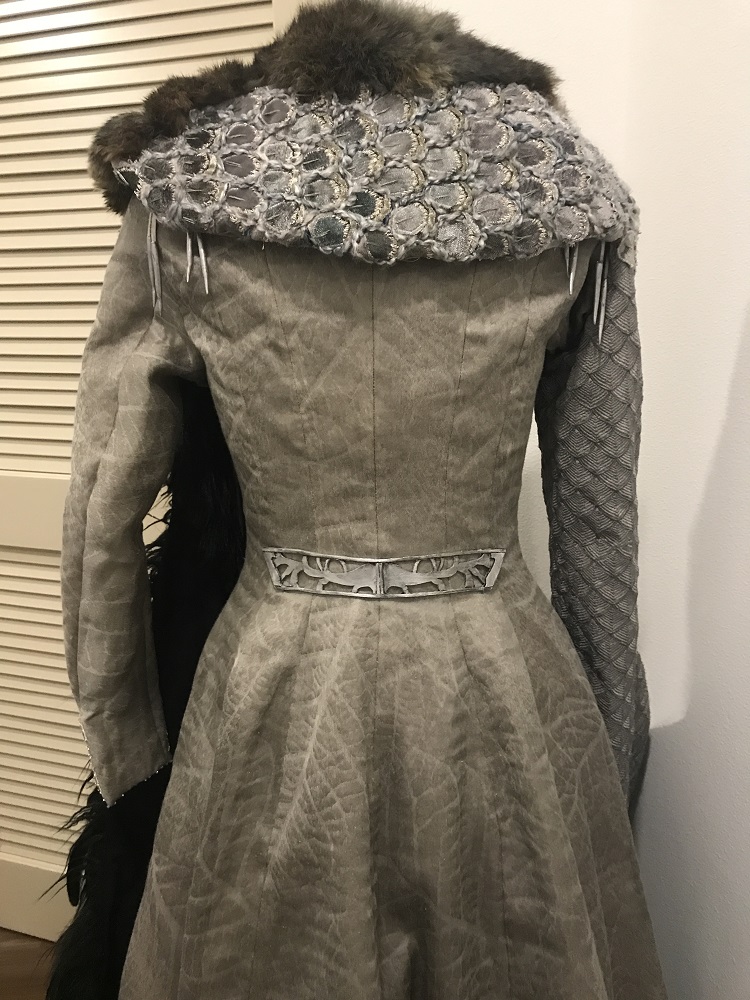
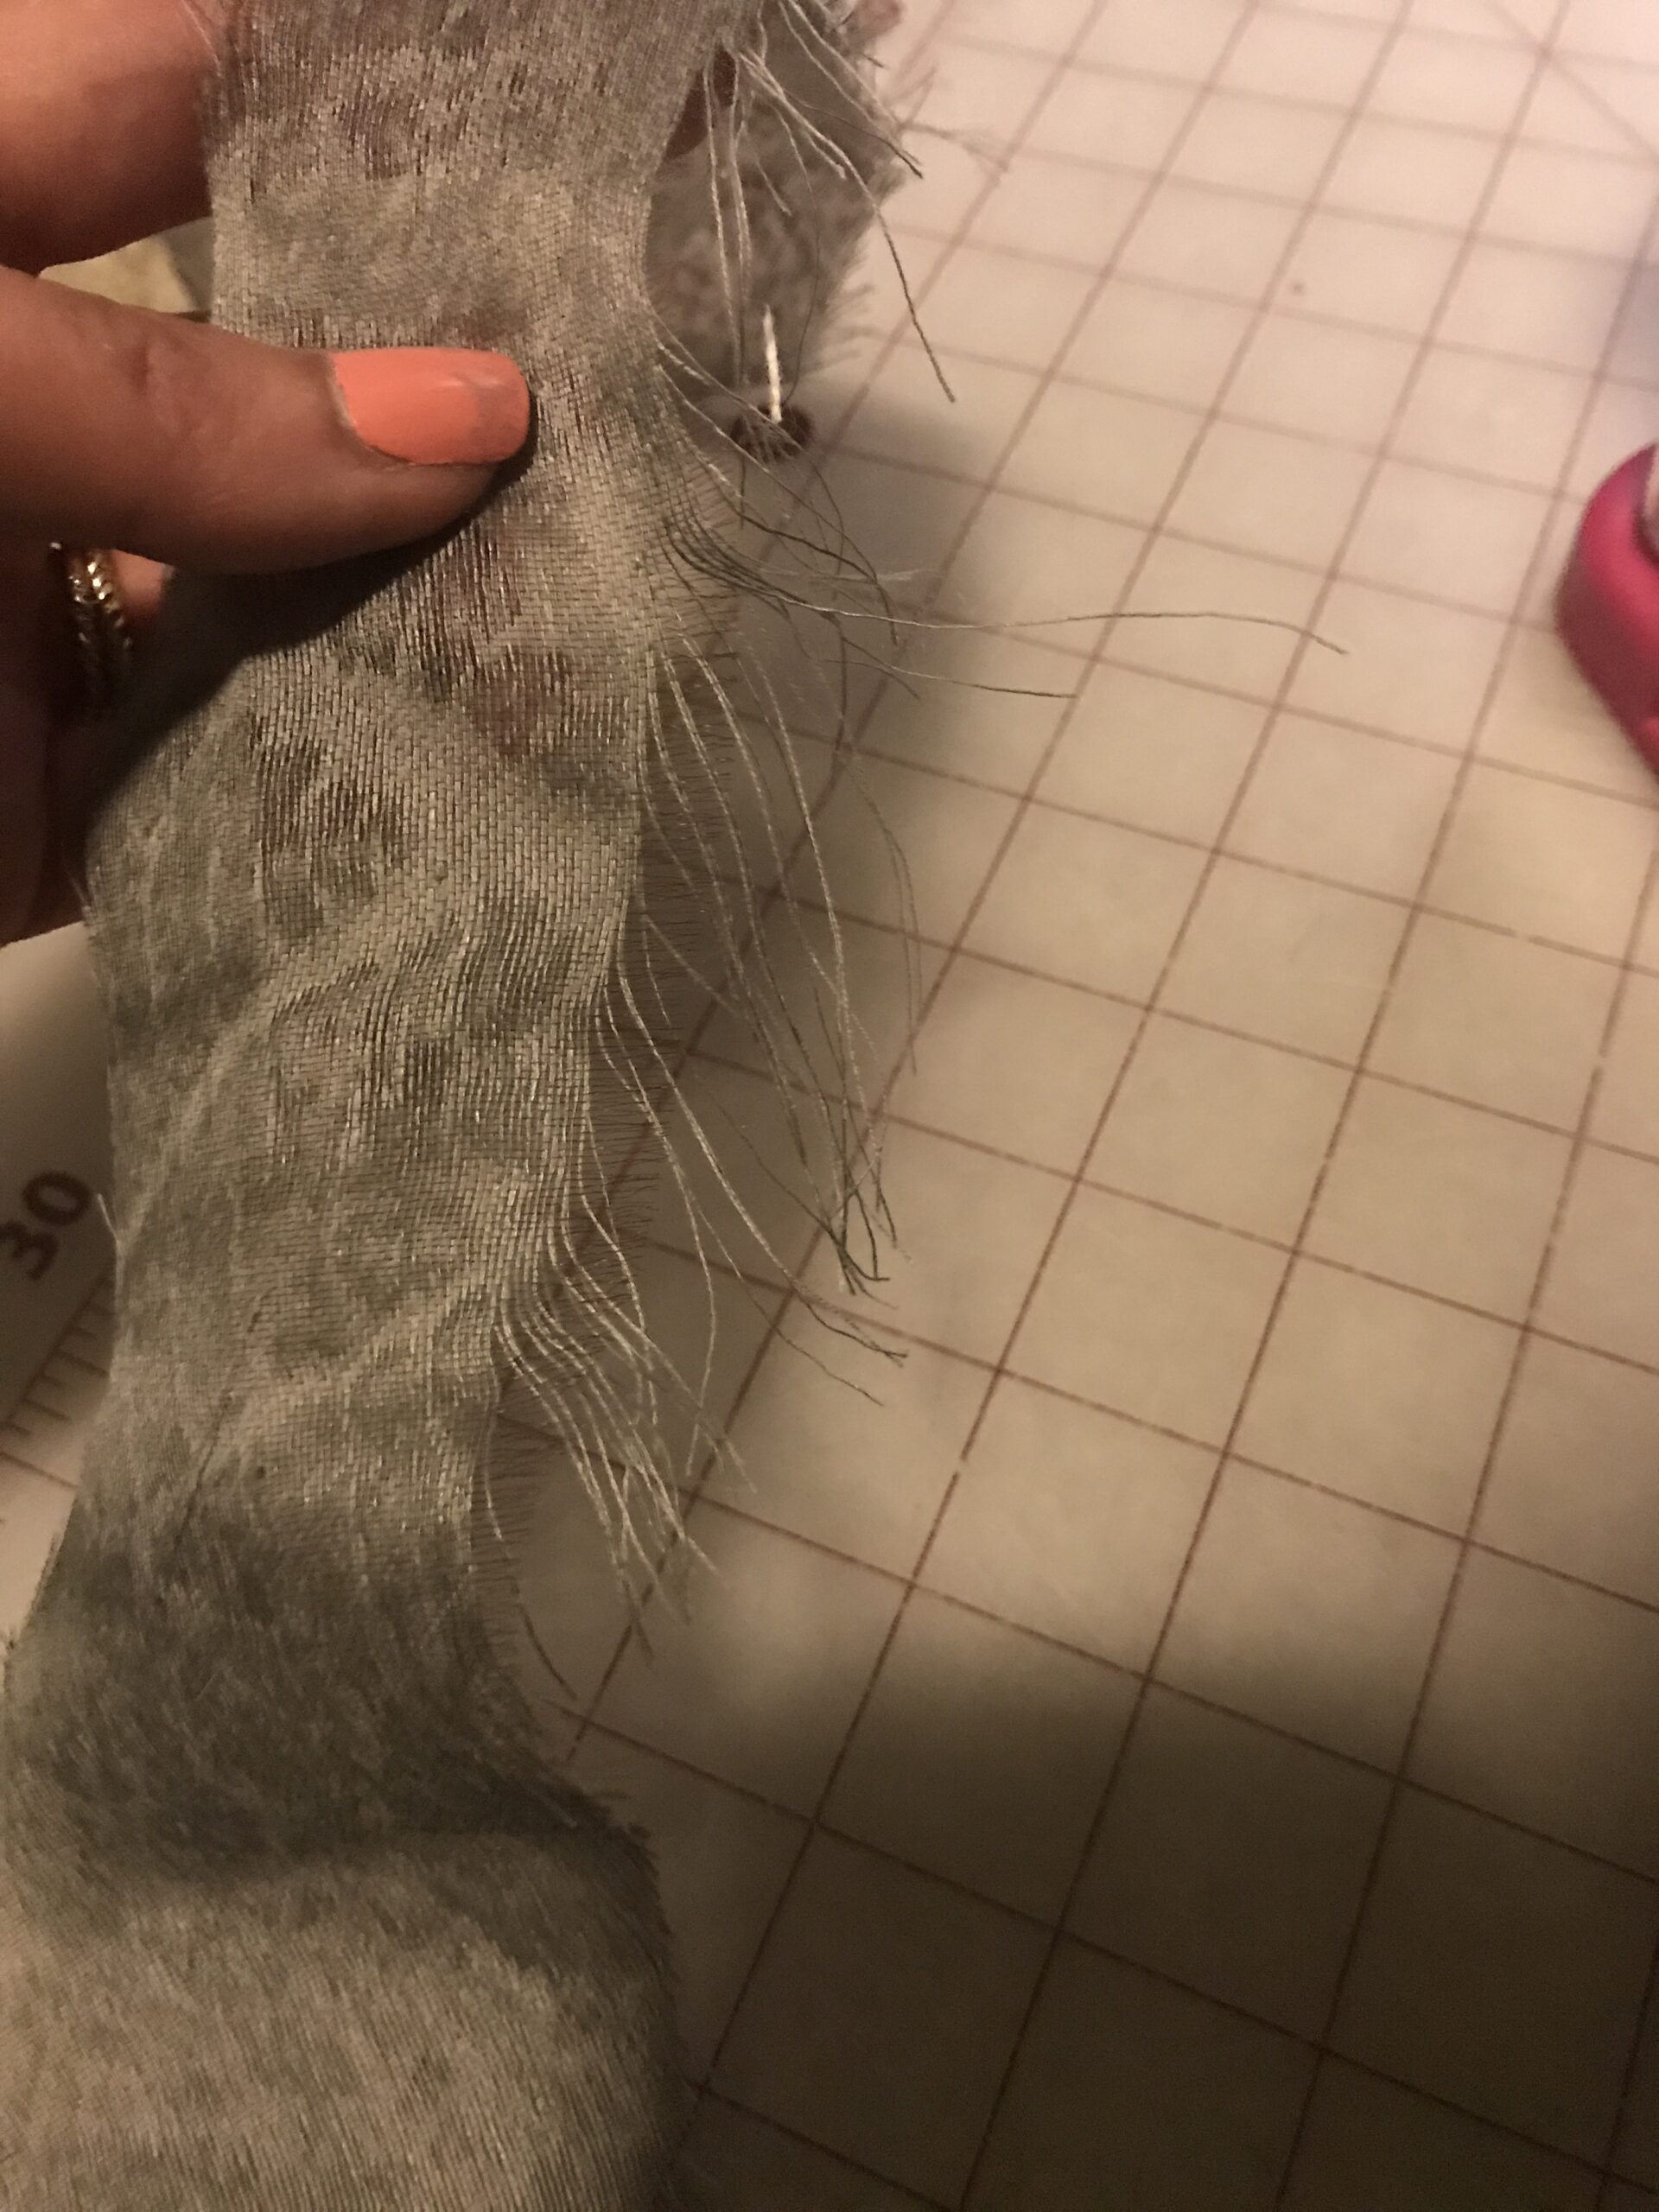 Unfortunately for the main gown, the precious fabric was incredibly difficult to work with. As soon as I made a cut, the threads would split wide apart. Even after sewing a seam together, the threads would start warping apart from each other. When I constructed the gown, I flatlined it with silk for structure, then used hem tape on the inside to attempt to fuse the seams and keep the fibers from shifting apart on the outside. I covered that with bias tape made from the lining silk. It felt gross to do it this way, but seemed to do the trick. Well… after wearing it at the con for a bit, the fibers in the back seams all started splitting apart anyway. With hindsight, I realized I should have just done fusible interfacing under all of the fabric like I did with the cape train.
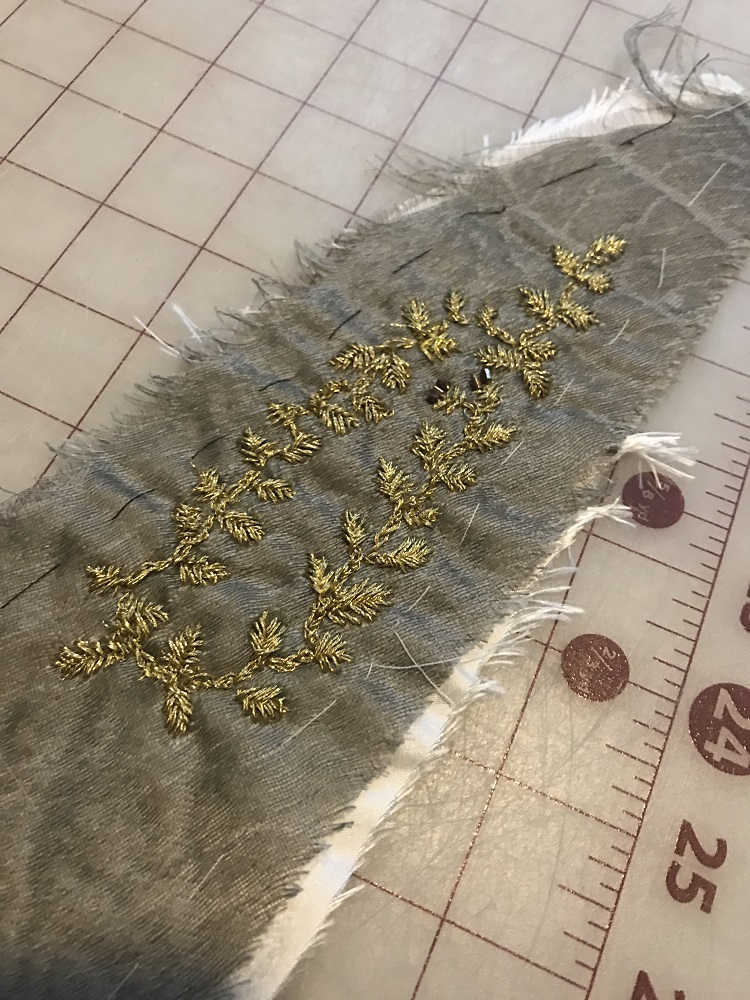
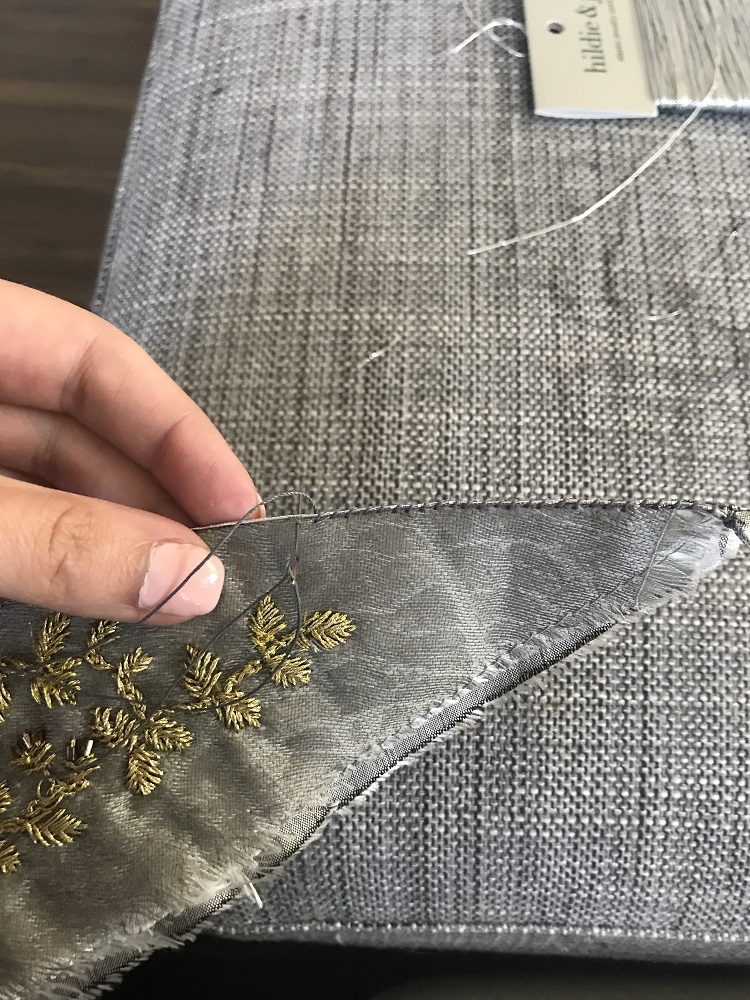
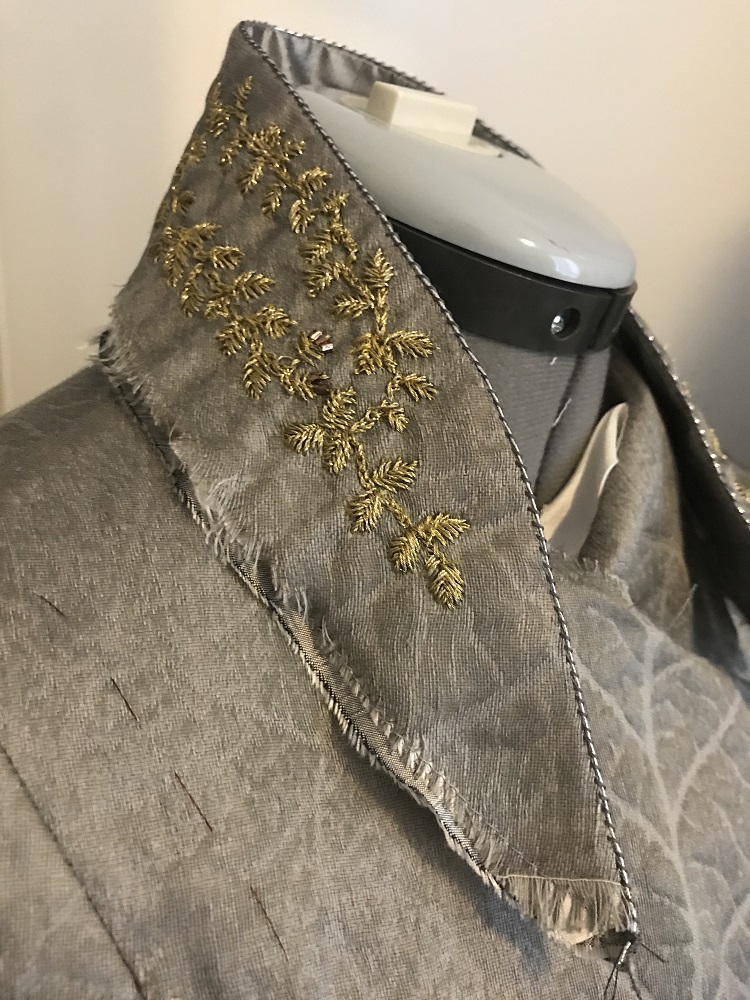
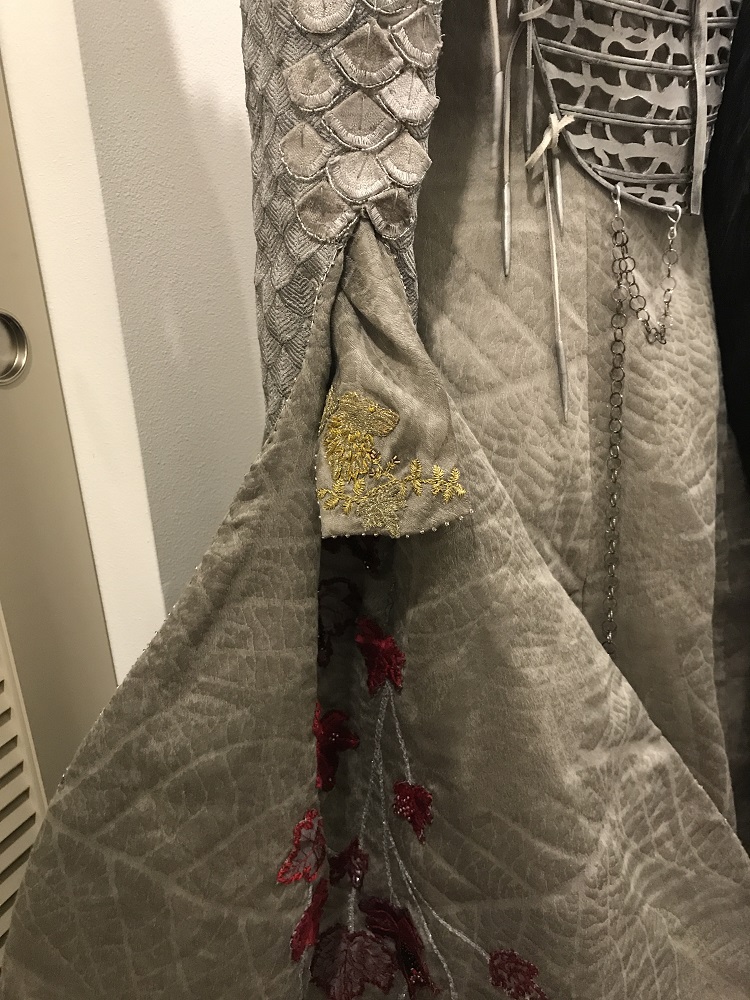
For the collar embroidery, I stitched it freehanded with gold embroidery floss. For the sleeve cuffs, I used my machine to create the base direwolf shapes, then went back over it by hand and added the rest of the flourishes. The collar is lined with an extremely fine silver cording, and the cuff edges are beaded. (A quick note on the collar: I did not have the full references when I made this and wasn’t aware of an entire embroidery motif on the back of the collar. I also got the shape wrong.)
The armor
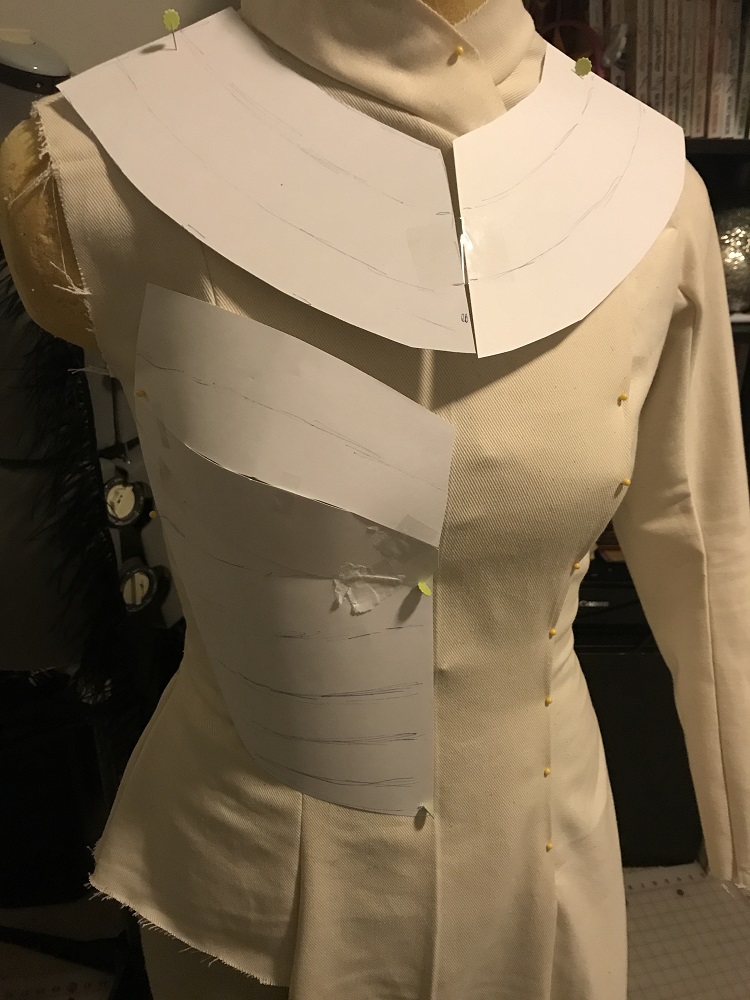
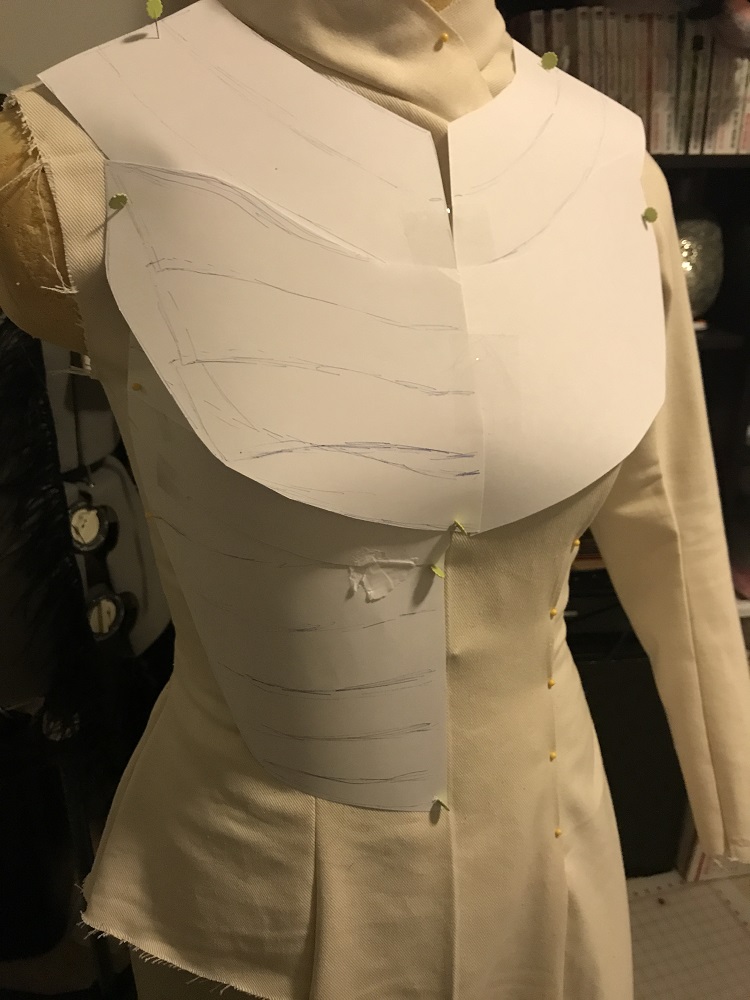
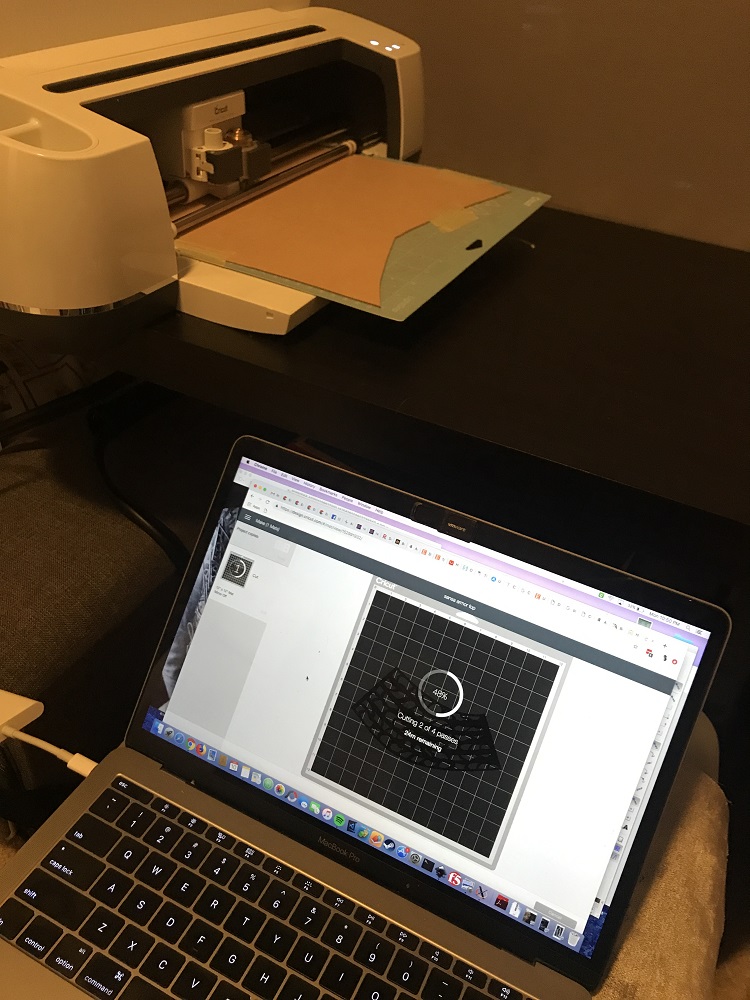
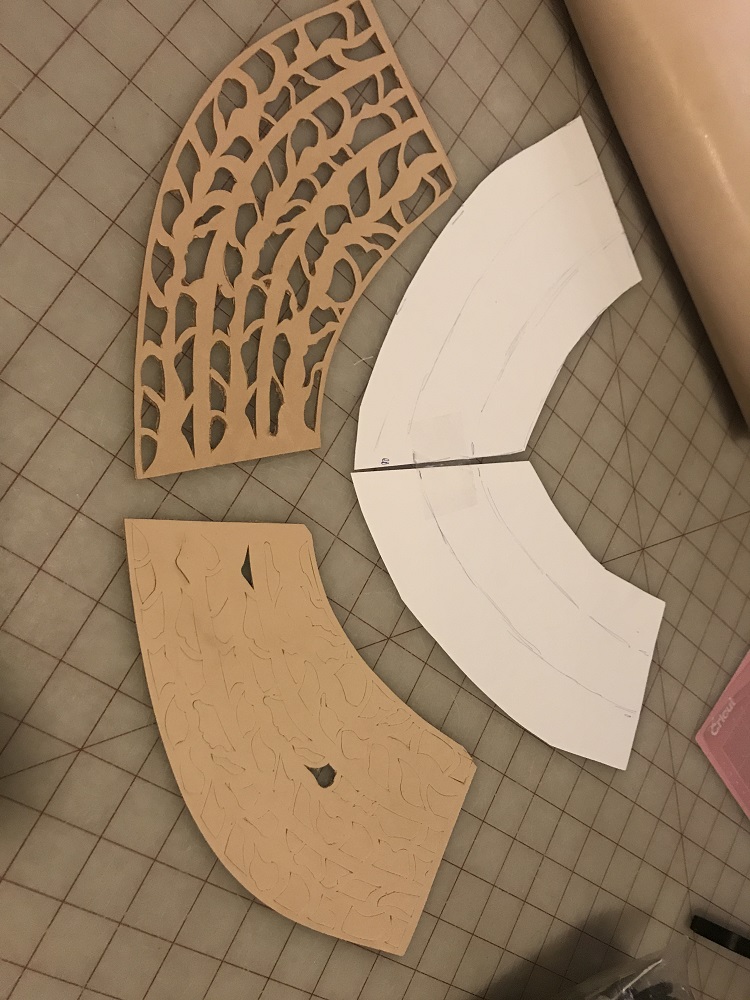
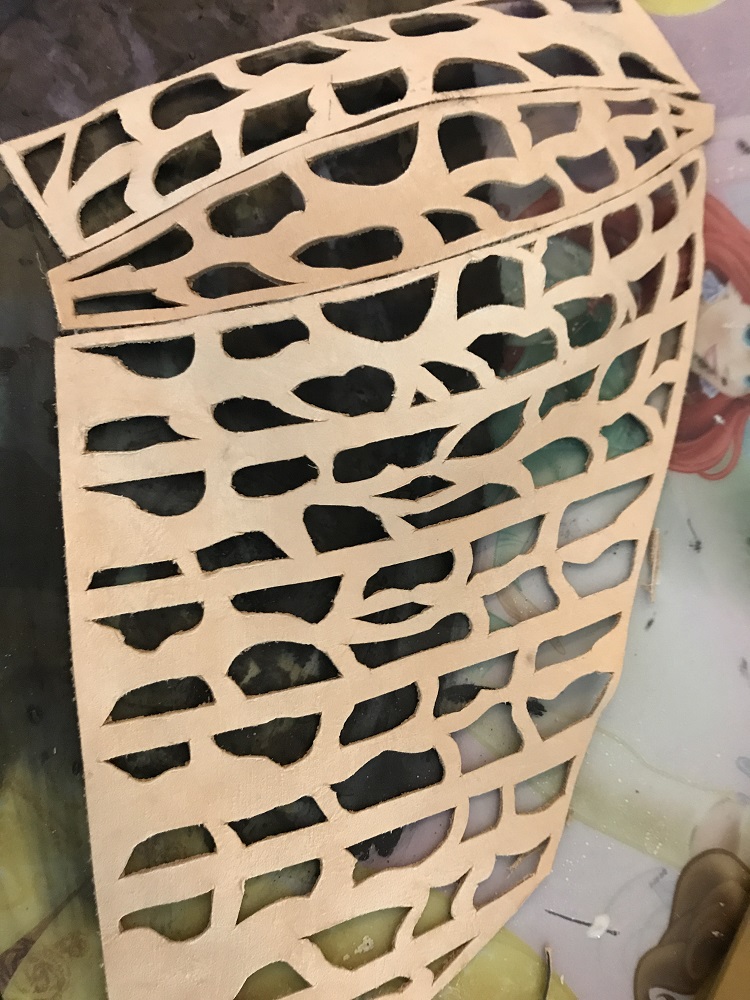
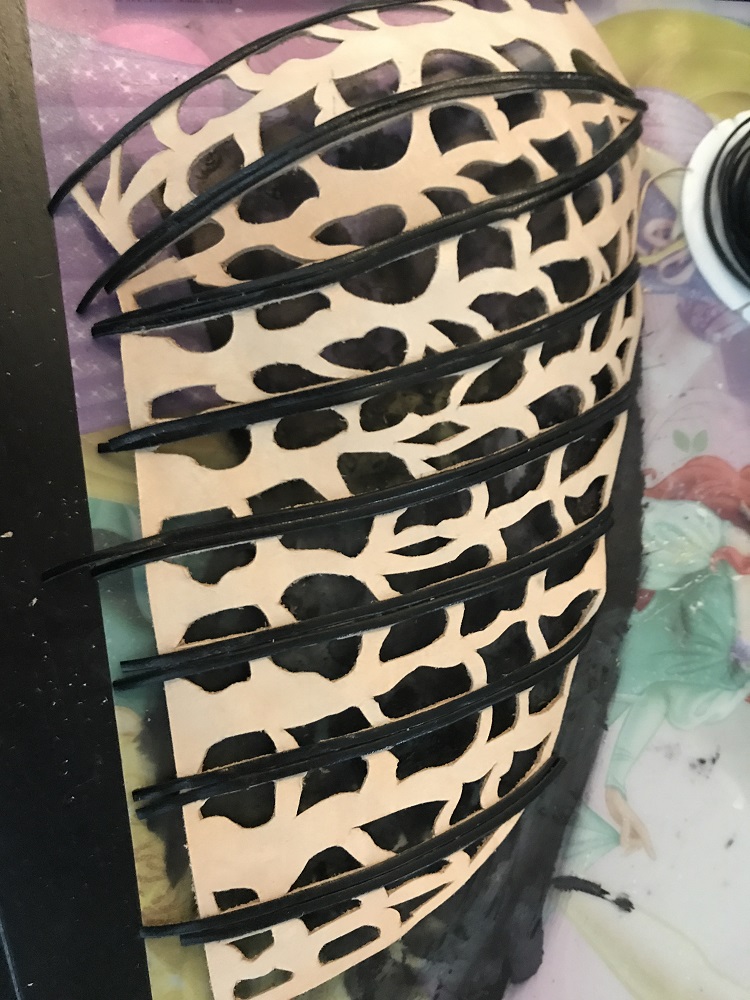
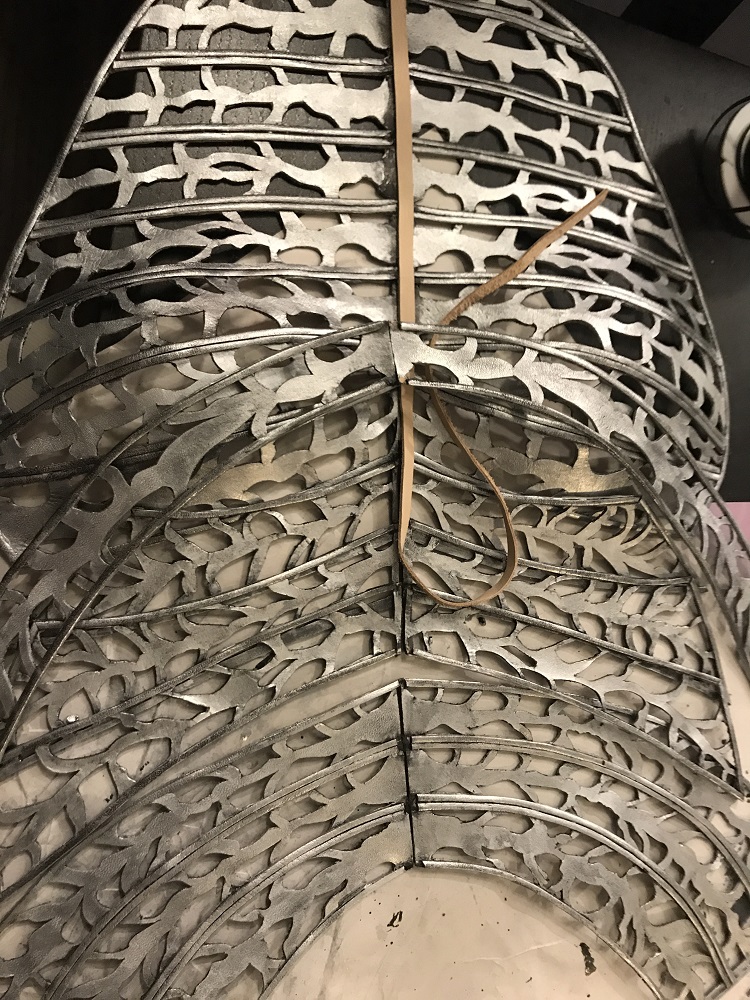
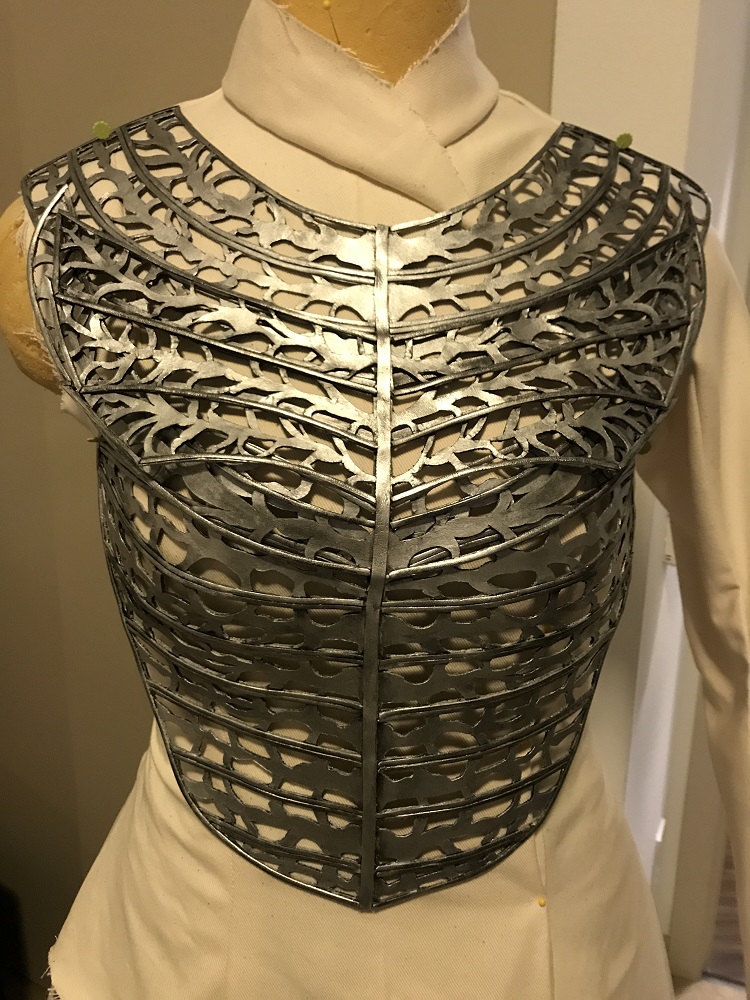
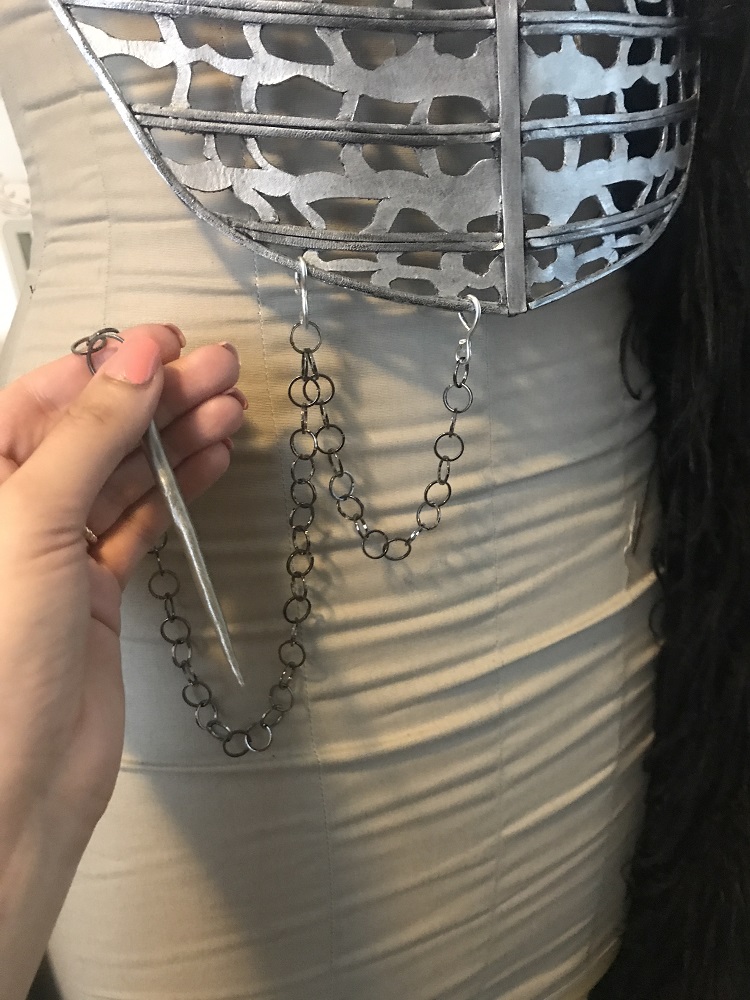
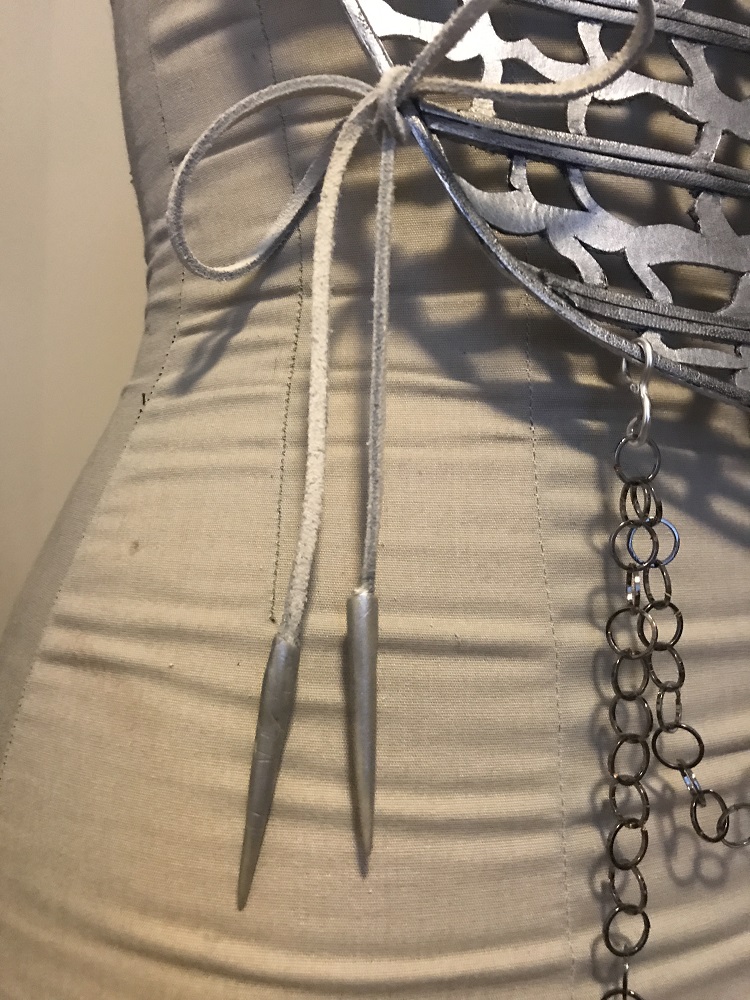
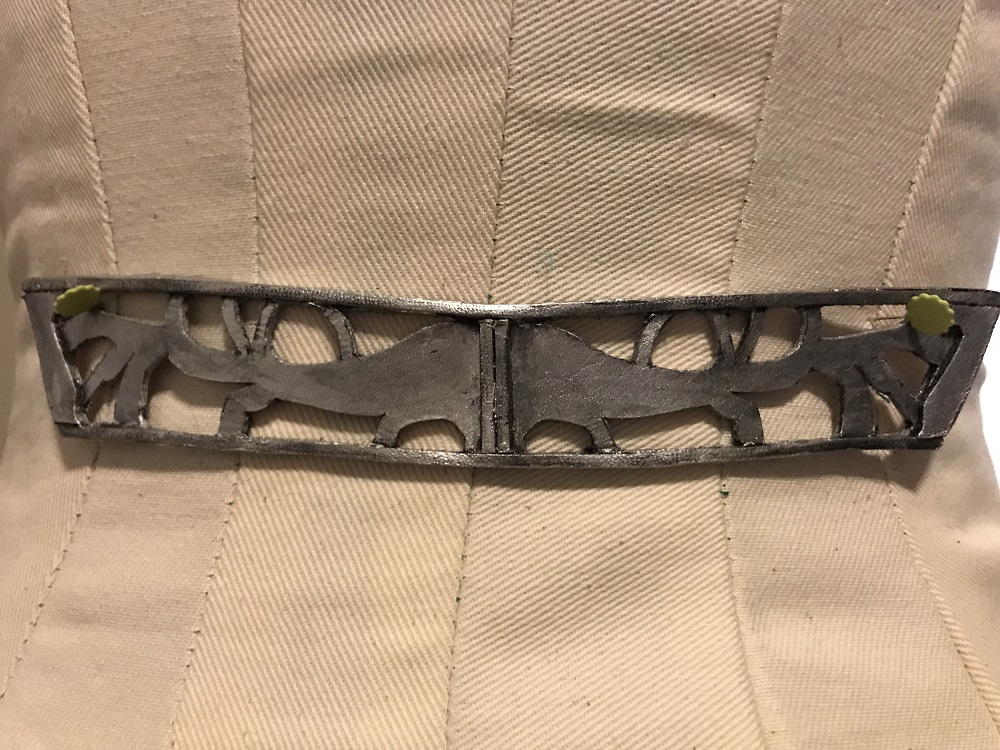
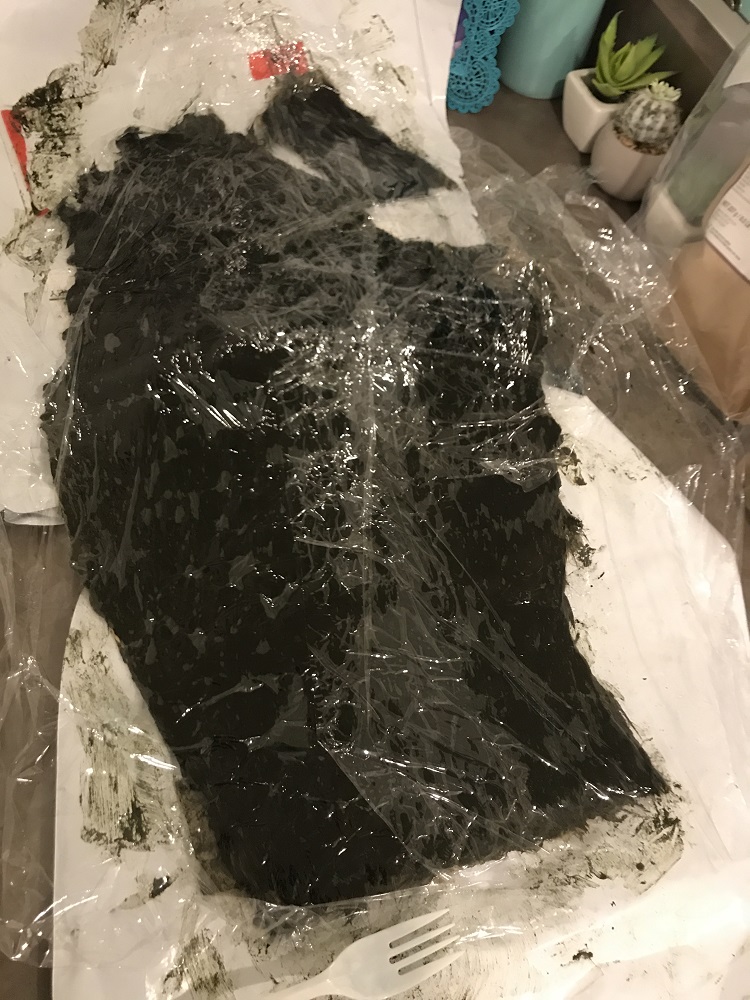
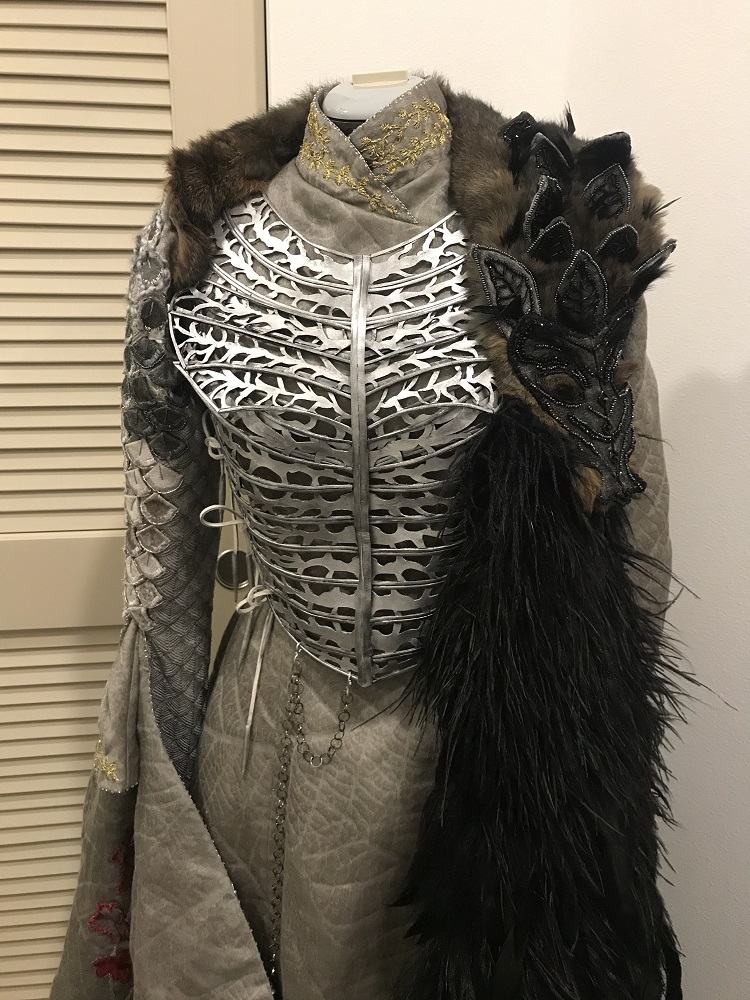
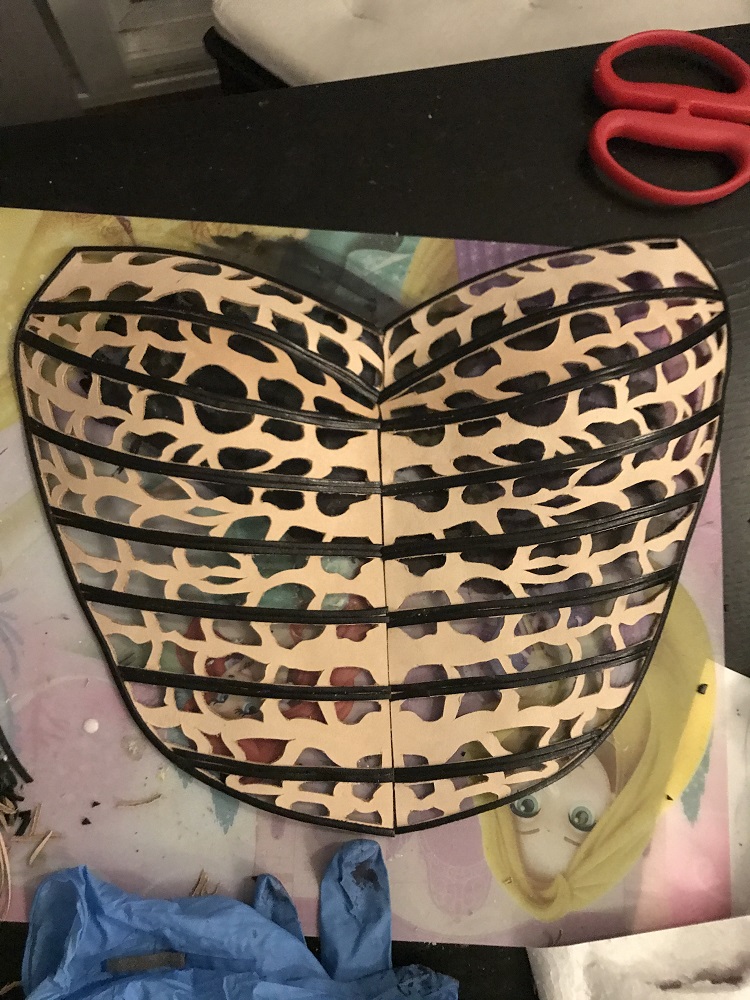 I made the chest armor from 2-4oz veg tan leather. I chose this material because I could cut it with my Cricut and use water to mold the pieces to my dressform (covered with saran wrap). I created the vectors for the Cricut myself by tracing the armor details from reference photos. Once it was all cut out and pieced together with leather cement, I used alcohol based stain to dye it black, then used silver and pewter Rub n’ Buff to make it look like metal.
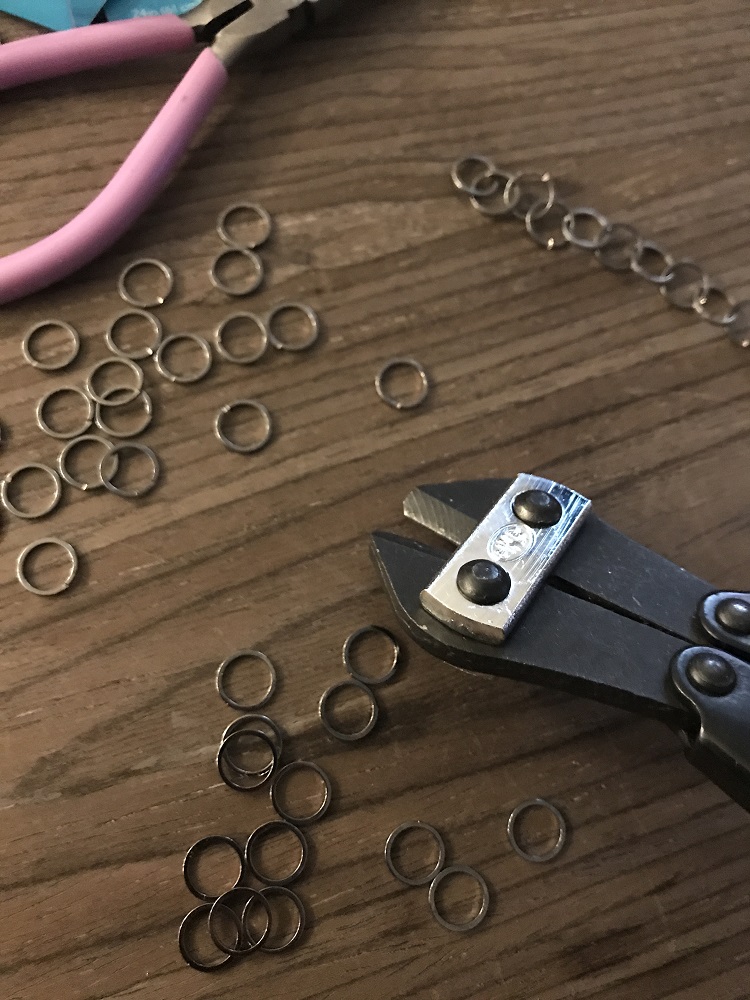
I used pre-made rings for the chain and made the needle from Apoxie Sculpt. I also similarly made the aglets at the end of the leather ties.
The cape
I don’t actually know what to call it – a cape, a train, a very complex scarf… But I’ll refer to it as a cape. This was the most complex piece of the whole ensemble.
Cape base
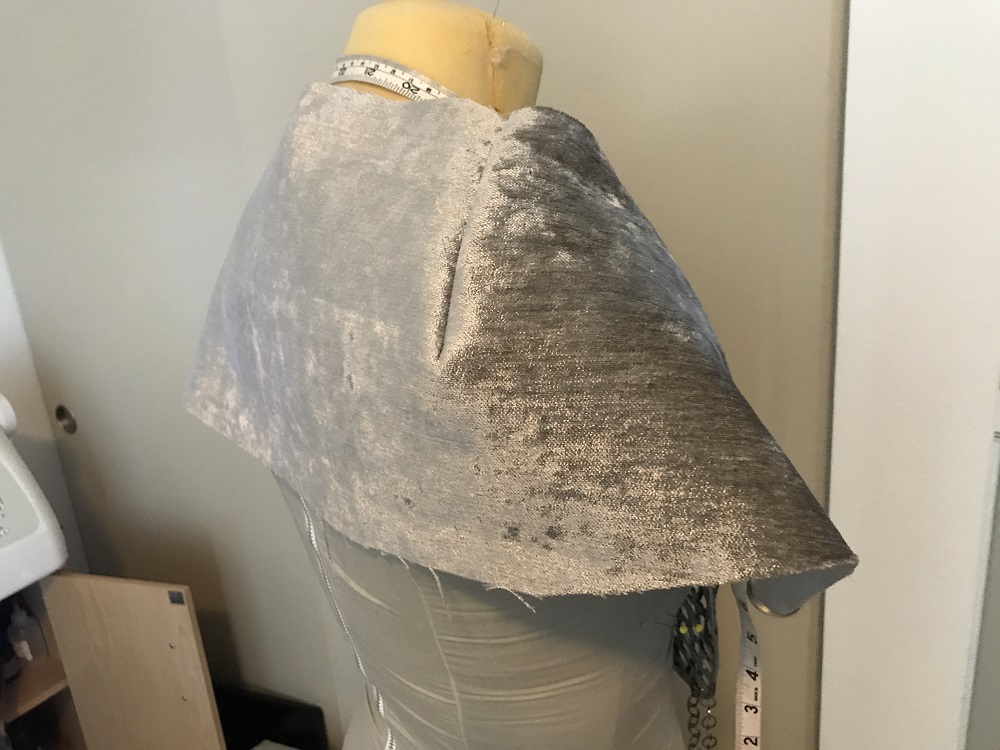
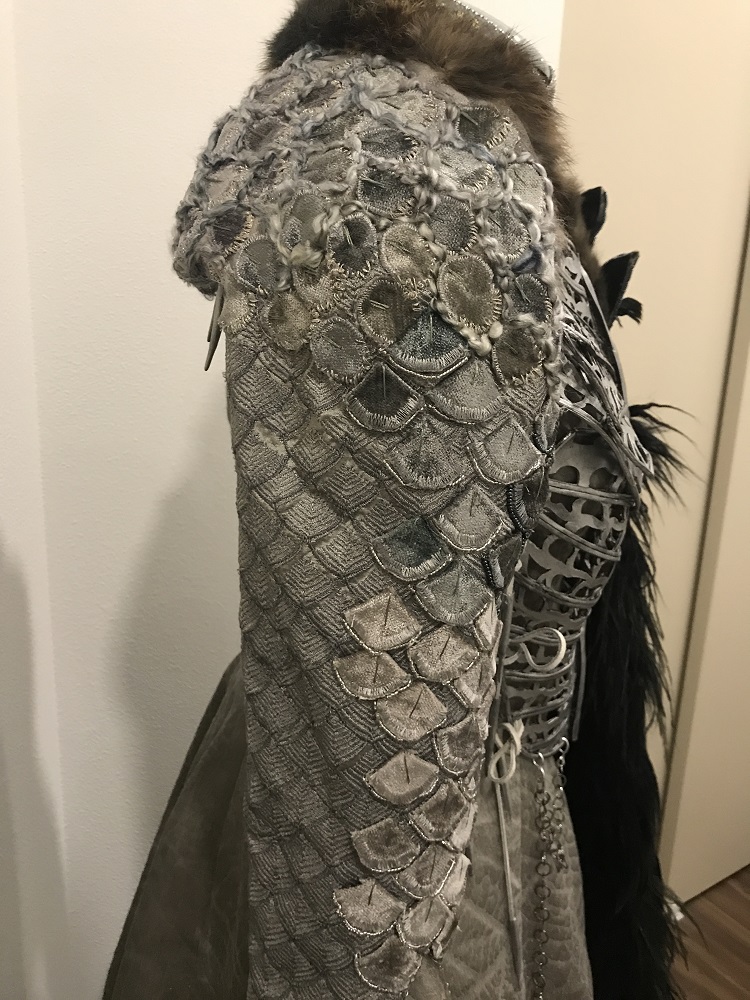
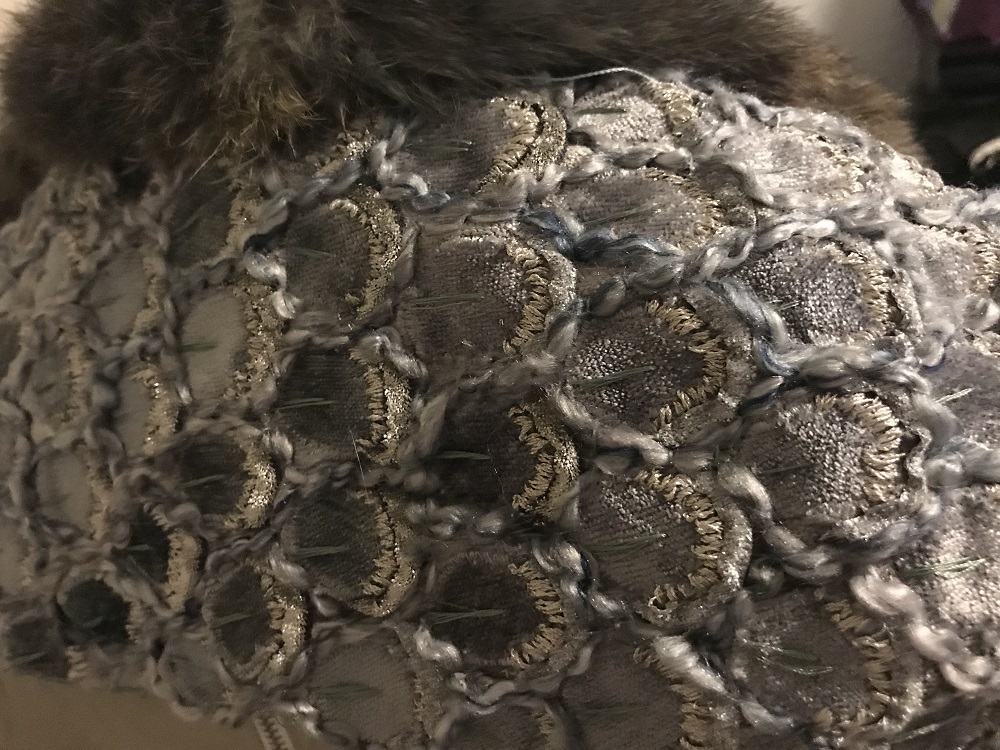 I made the top of the cape that goes around the shoulders out of a silver cotton velvet. I dyed some velvet pieces different colors to form a gradient for the scales. They are machine satin-stitched onto the base, and then hand stitched with embroidery floss on the ends along with some silvery velvet ribbon to create the shadows/depths. I stitched on a fluffy yarn in between to add the wooly texture as well. As the scales move down towards the arm, there is some seed beading, and they are more spaced out from each other.
Left train
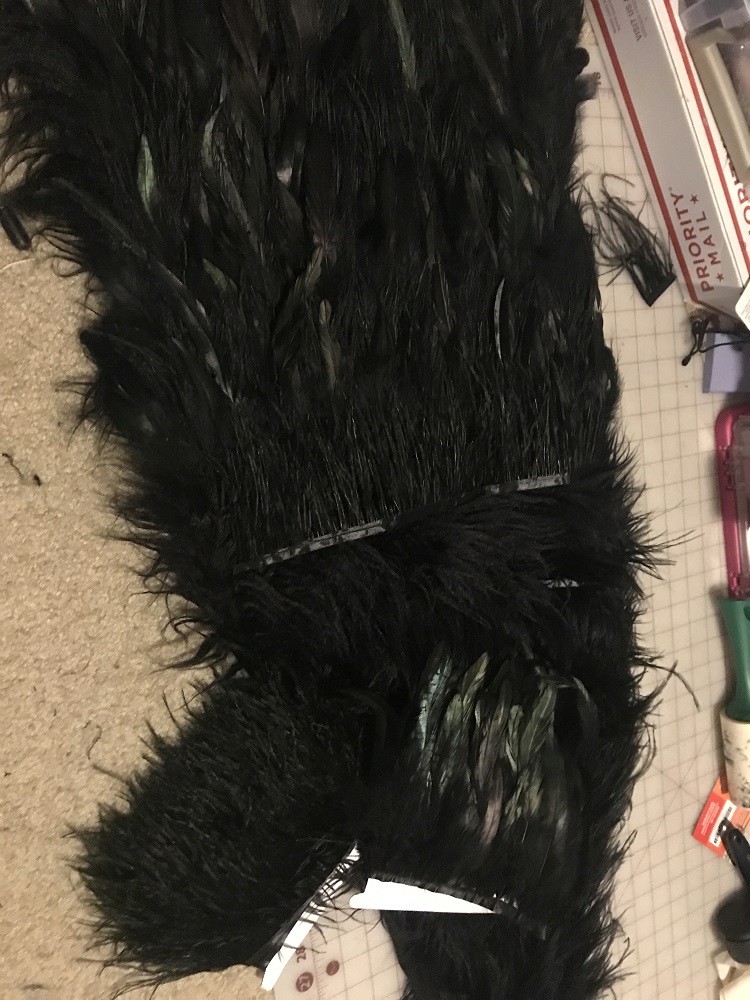
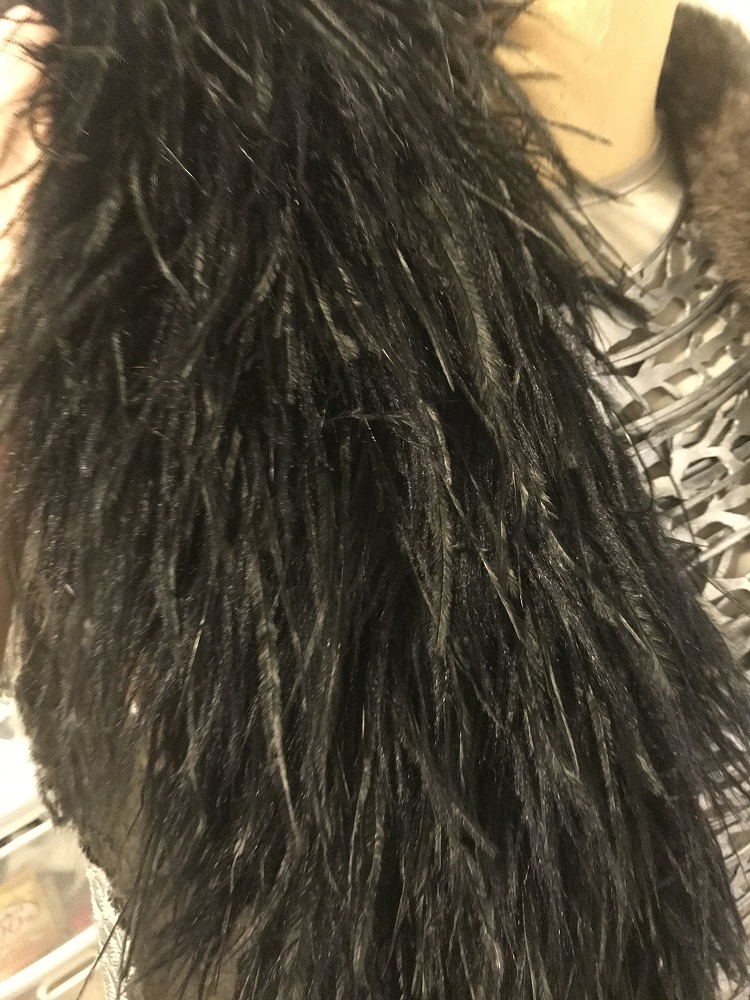
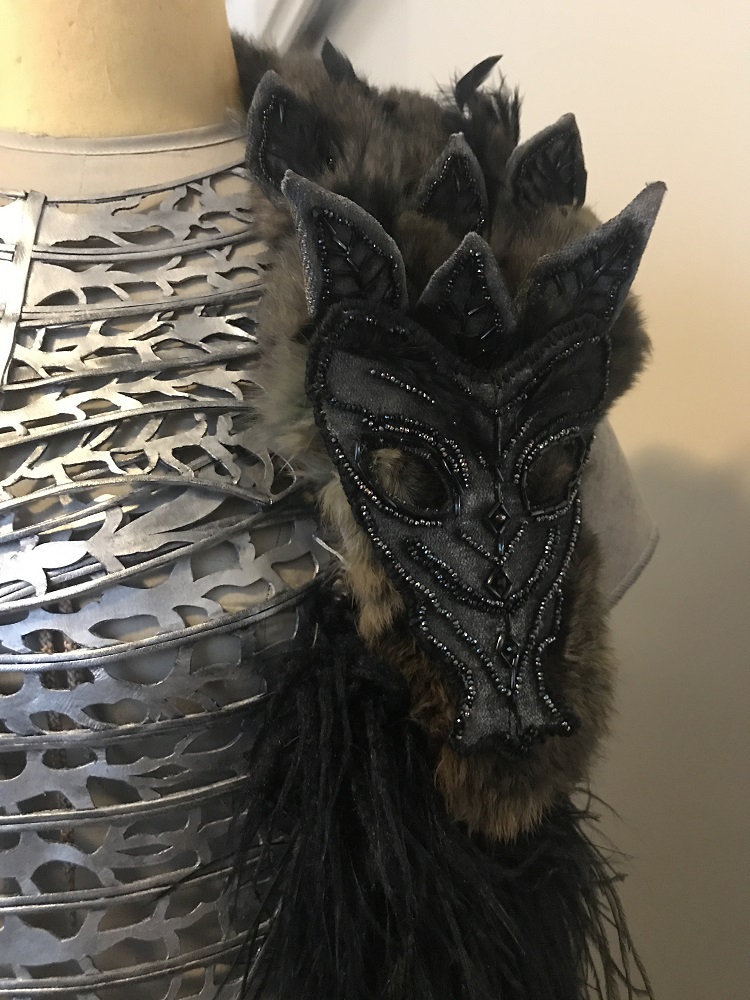 The left side of the cape has a long feathery/fur mix draping down to the ground. For the base I got black faux fur fabric with long wavy fur strands (very similar to the Night’s Watch furs). Starting towards the middle and moving up, I blended in some thin and stringy black feathered trim. Then in the middle blending down, I added in thicker iridescent crow feathers.
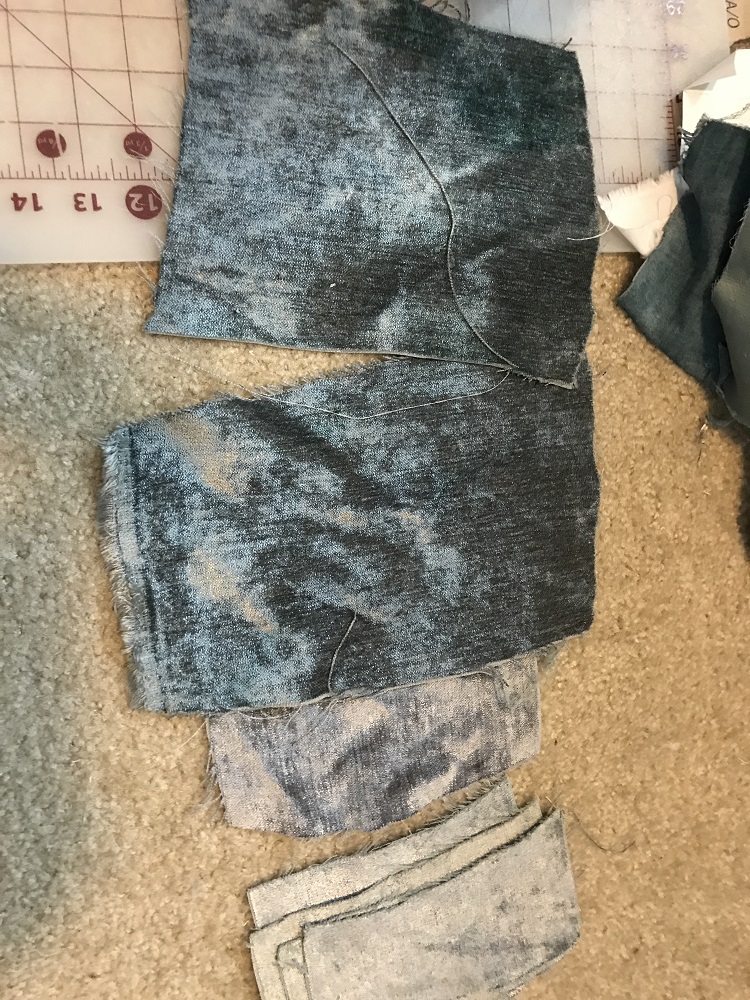
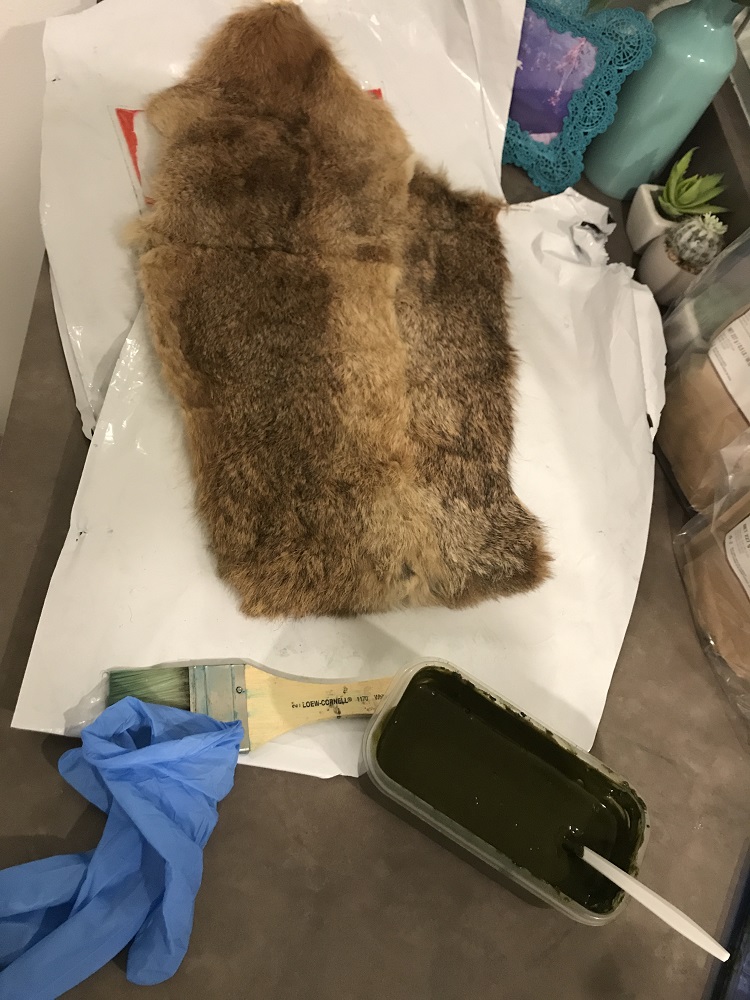
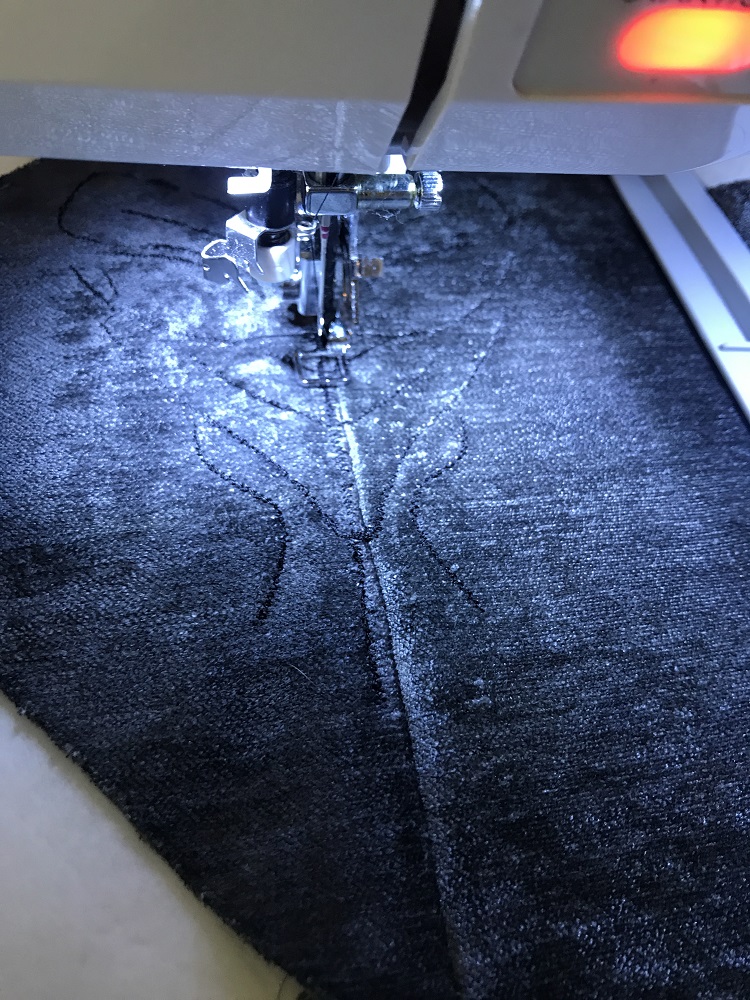
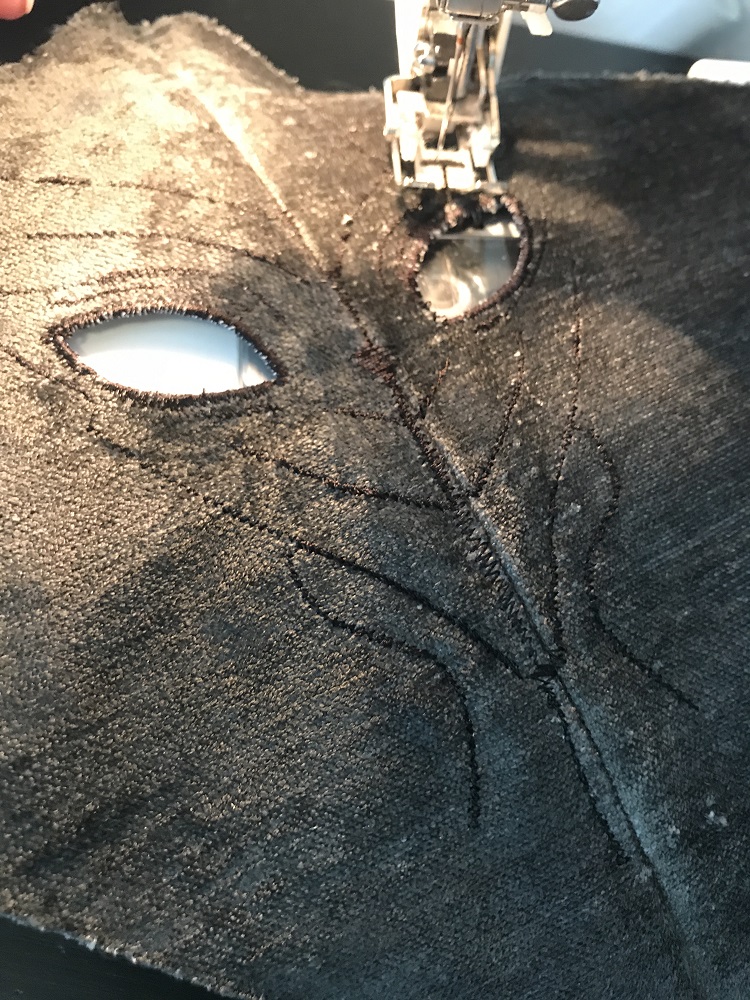
At the very top of this left piece, connected to the velvet back piece, is the wolf’s head. I had some old brown rabbit fur I harvested from an ancient fur coat I found at a flea market. I used henna to dye the fur a darker gray because I wanted it to stay soft and natural. (I had to learn about dyeing hair with henna, its a whole thing!! 😅). For the face I dyed the cotton velvet darker, and used my machine to stitch out the primary lines. I went over it by hand with various beading. (This is another big part where I had to do some guessing because I only had blurry ref photos – and I missed some crazy detailing here.)
Right train/sleeve
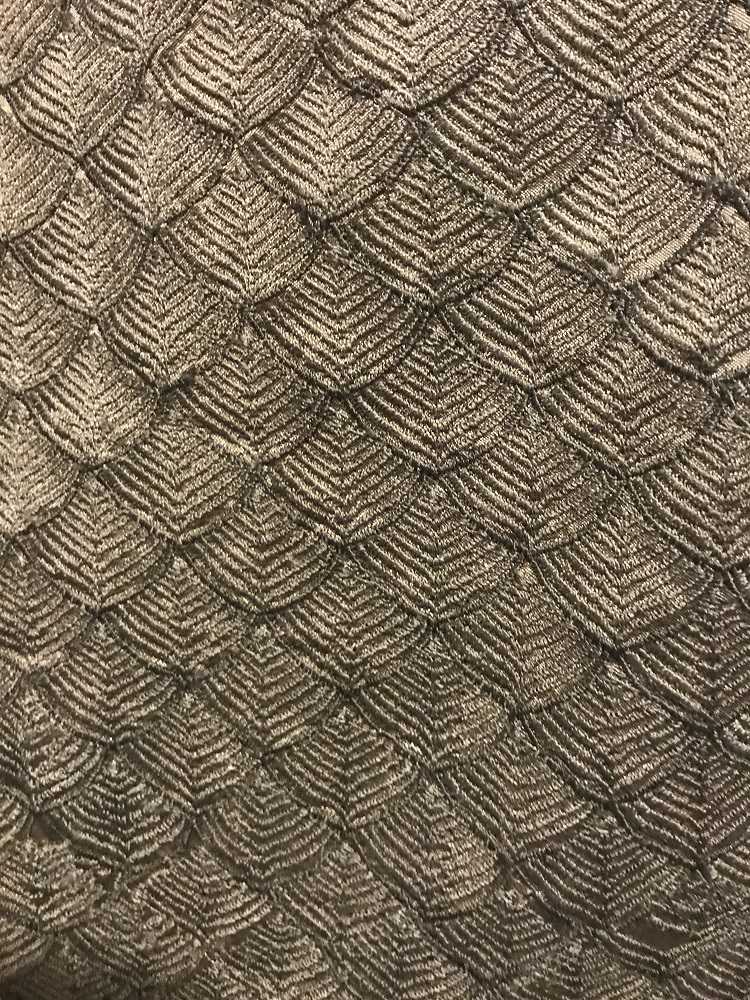
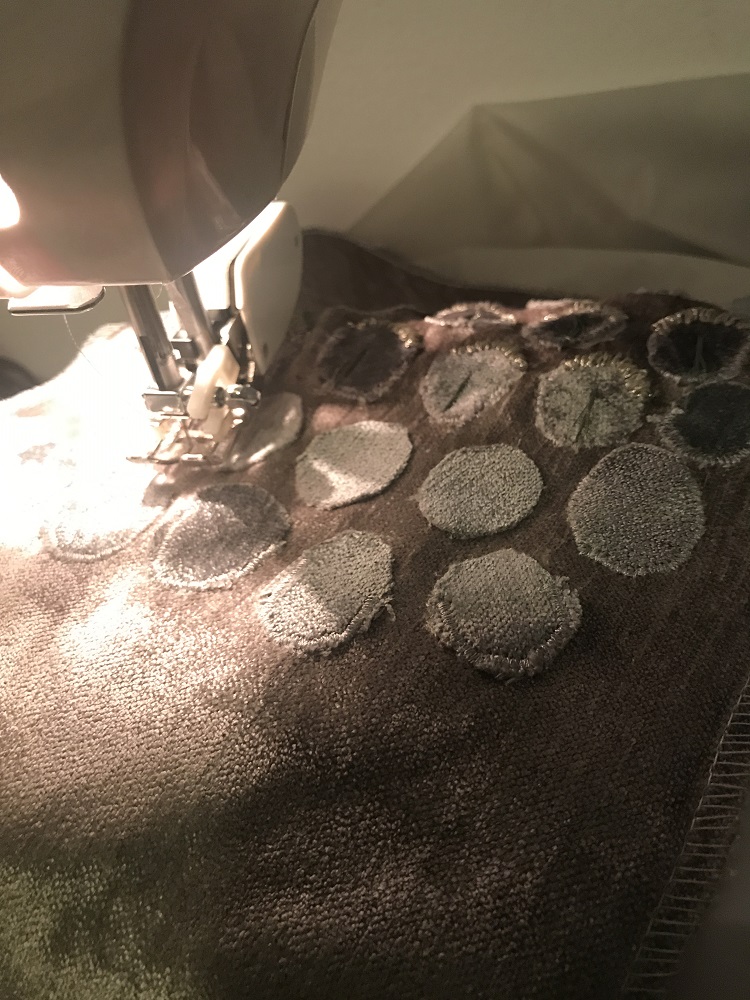
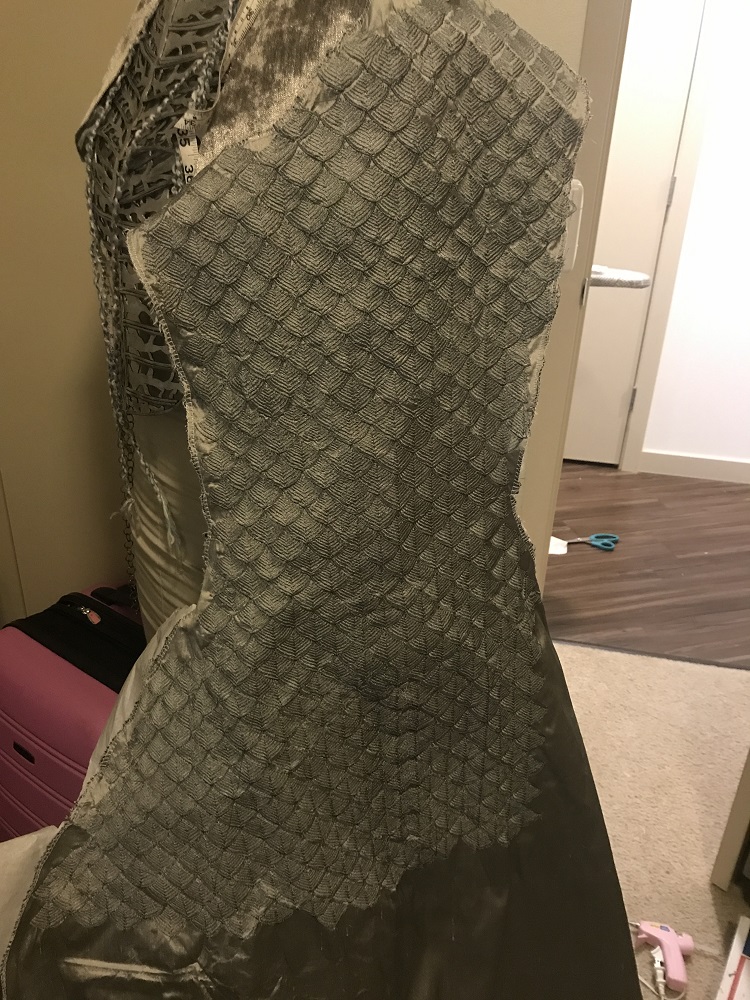
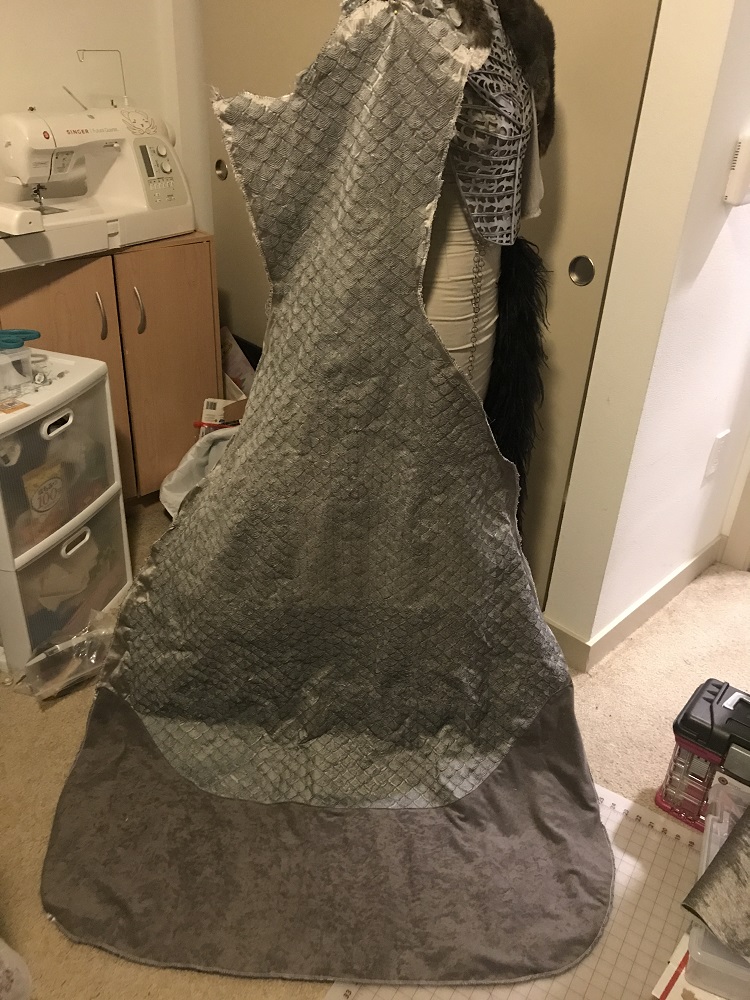
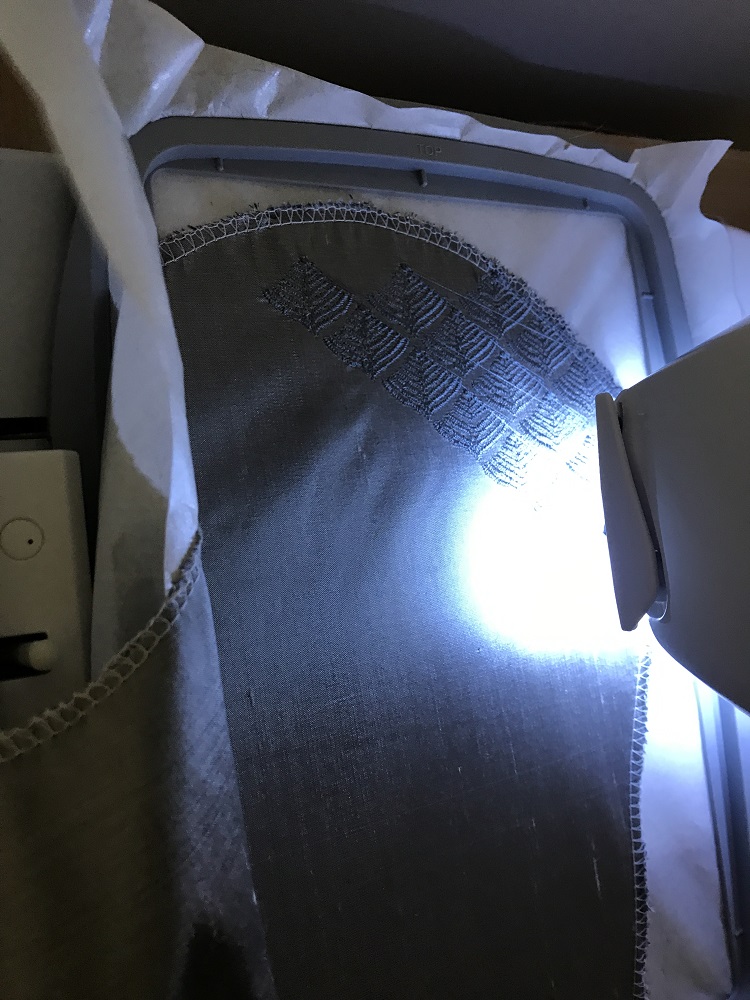 There is a single, very long right sleeve that turns into a train. The outer fabric is a kind of woven scale pattern. I could not find the source or anything close enough so I made it myself with my embroidery machine. This meant lining up many panels in rows and columns, and it took quite a awhile for my (really poor quality) machine to finish. But in the end it turned out shockingly well. (You can tell its mine because of the small misalignments. 🤣). Since the bottom of the train drags along the ground, I didn’t embroider that part.
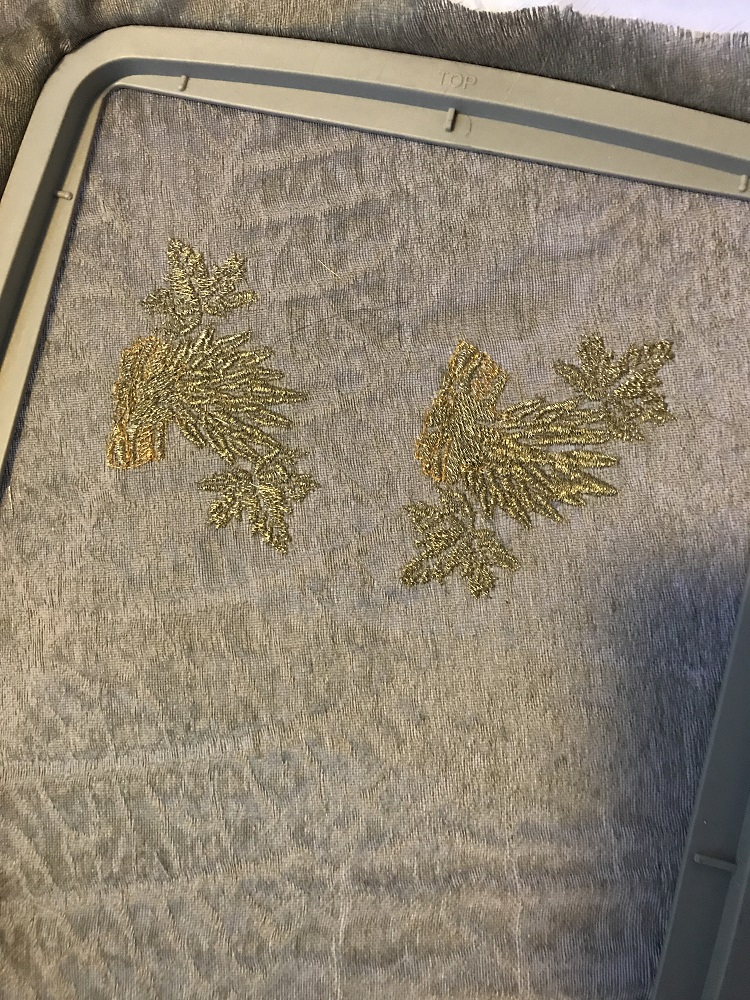
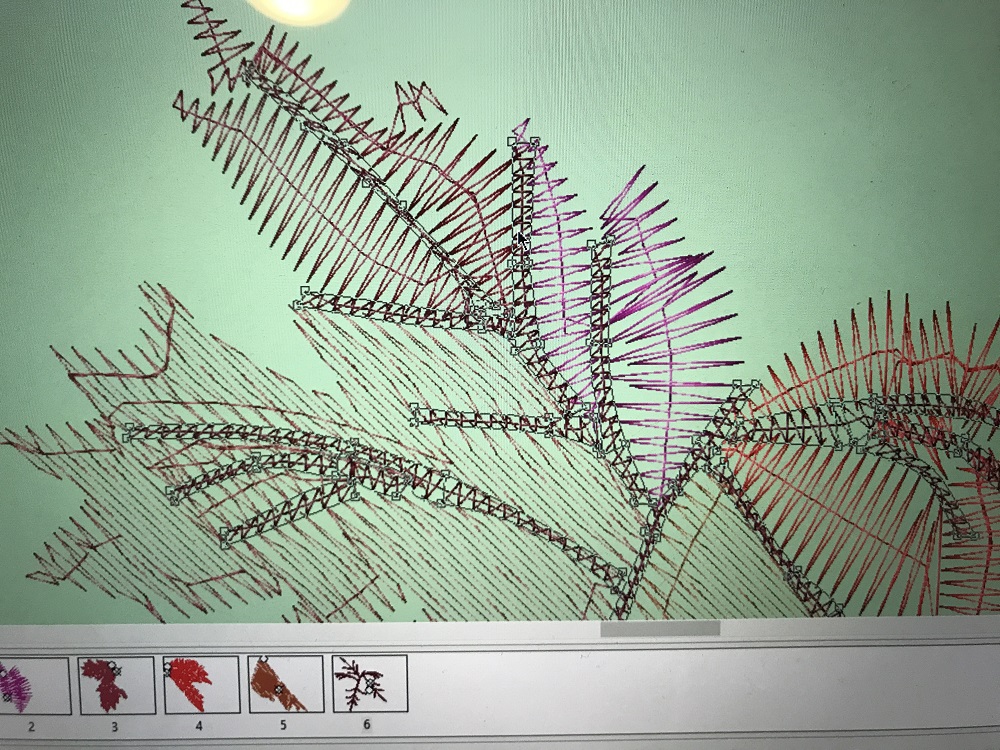
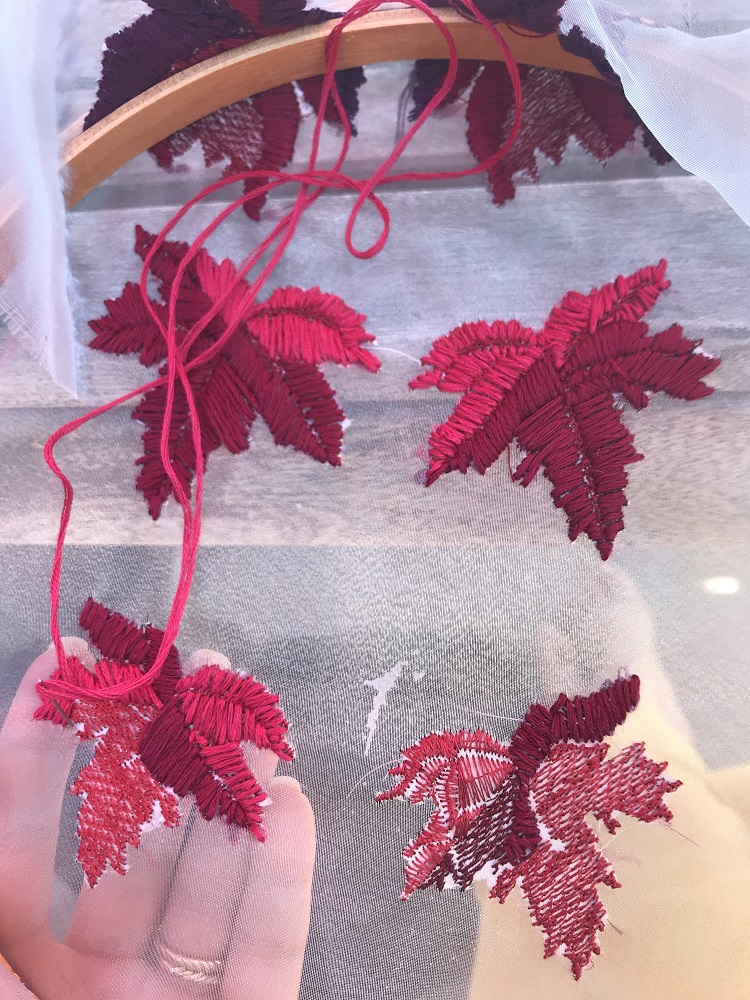
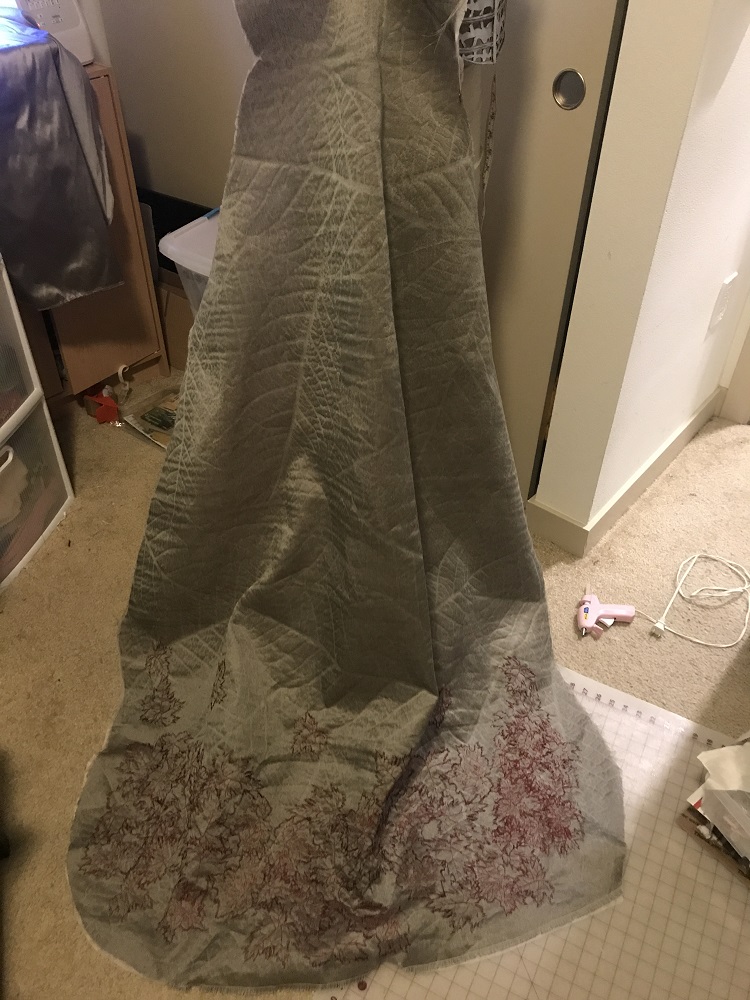
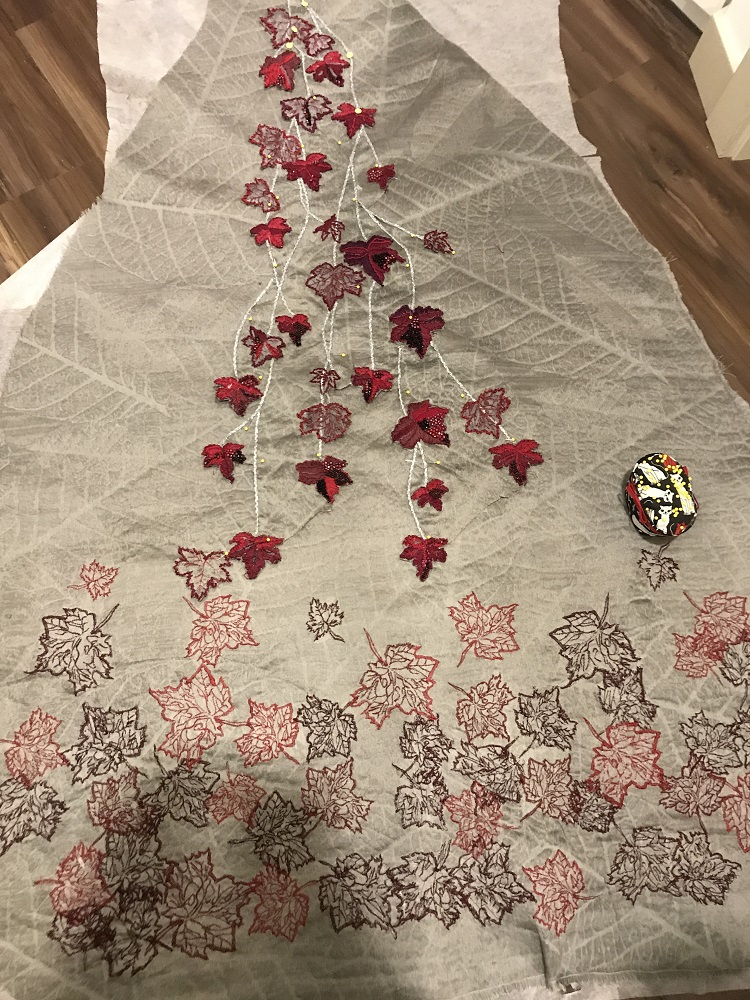
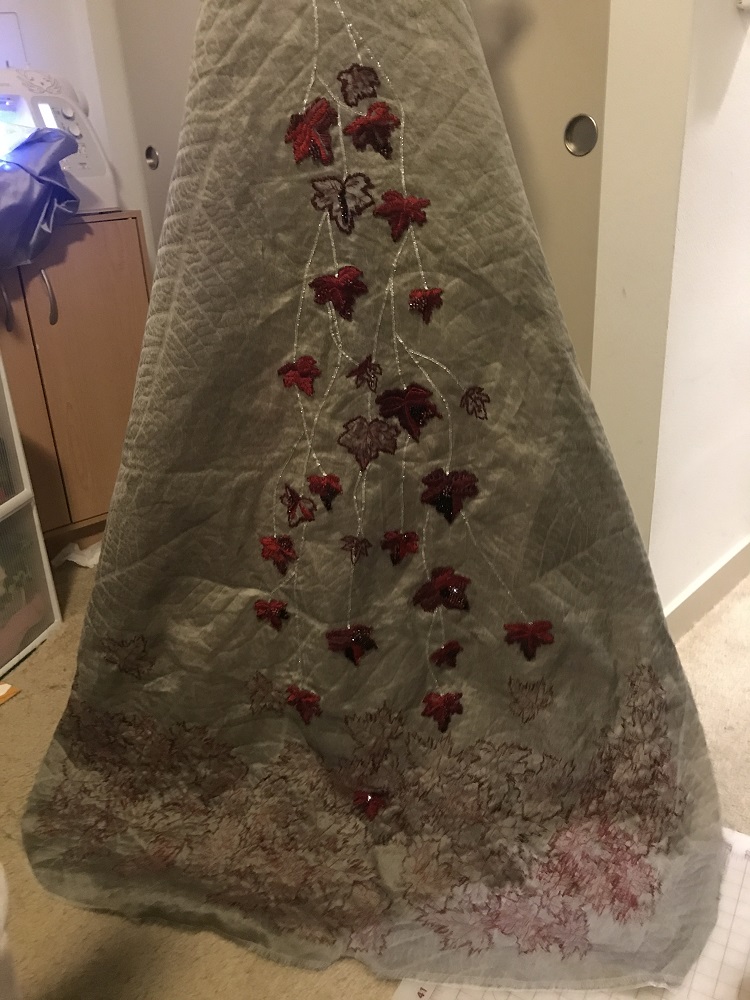
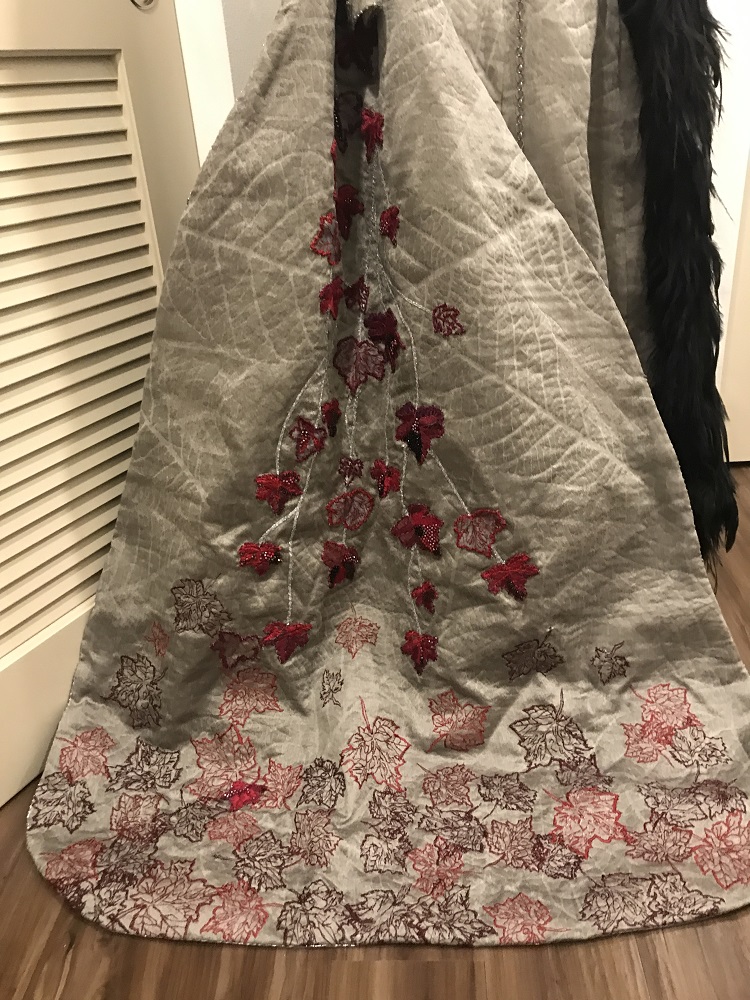
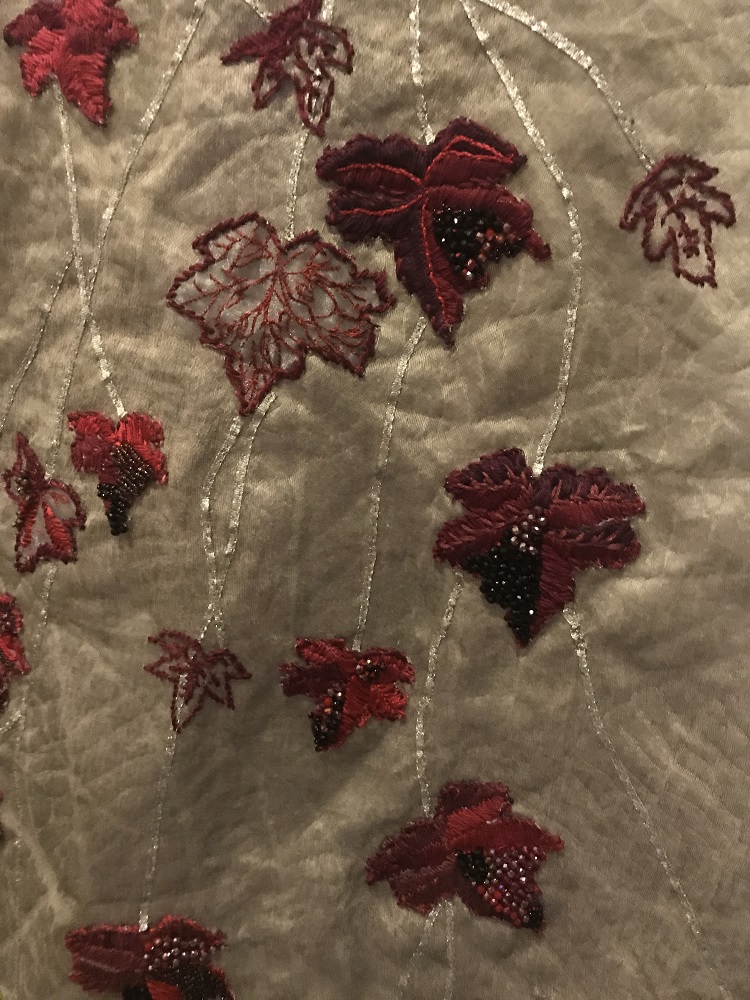 The front/inner part of the sleeve is the Fossil fabric. Because I was embroidering it, I fused it with interfacing. (What I should have done with the main gown.) I directly embroidered a pile of leaf outlines onto the bottom of the train as kind of a base for the more intricate leaves. Separately, I used my machine to make outlines of leaves onto tulle. I individually embroidered and beaded these by hand, then cut them out and stitched them onto the train. I stitched down thin silver ribbon for the vines going up the train.
After I attached the front and back of the train together, I lined the edges with thin silver cording and seed beads.
The crown
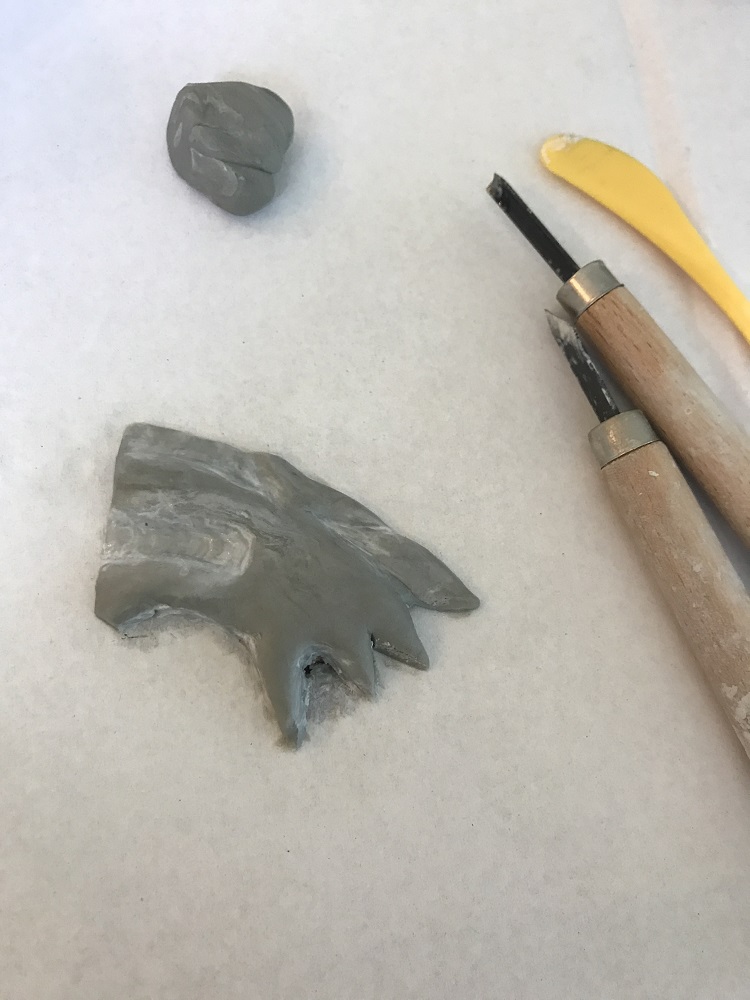
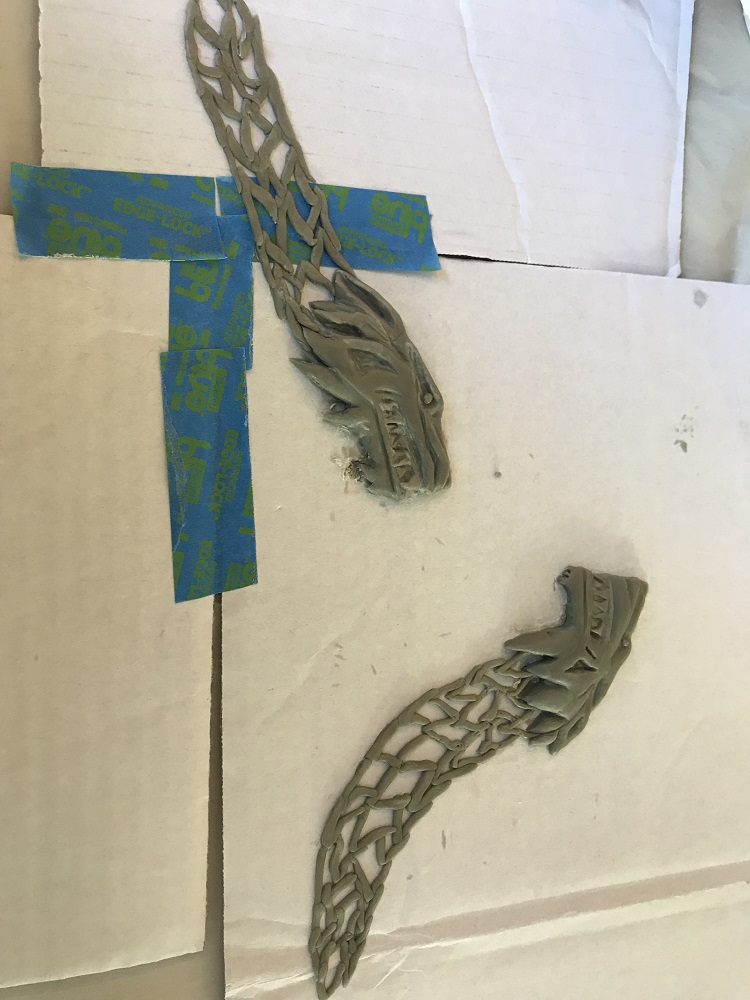
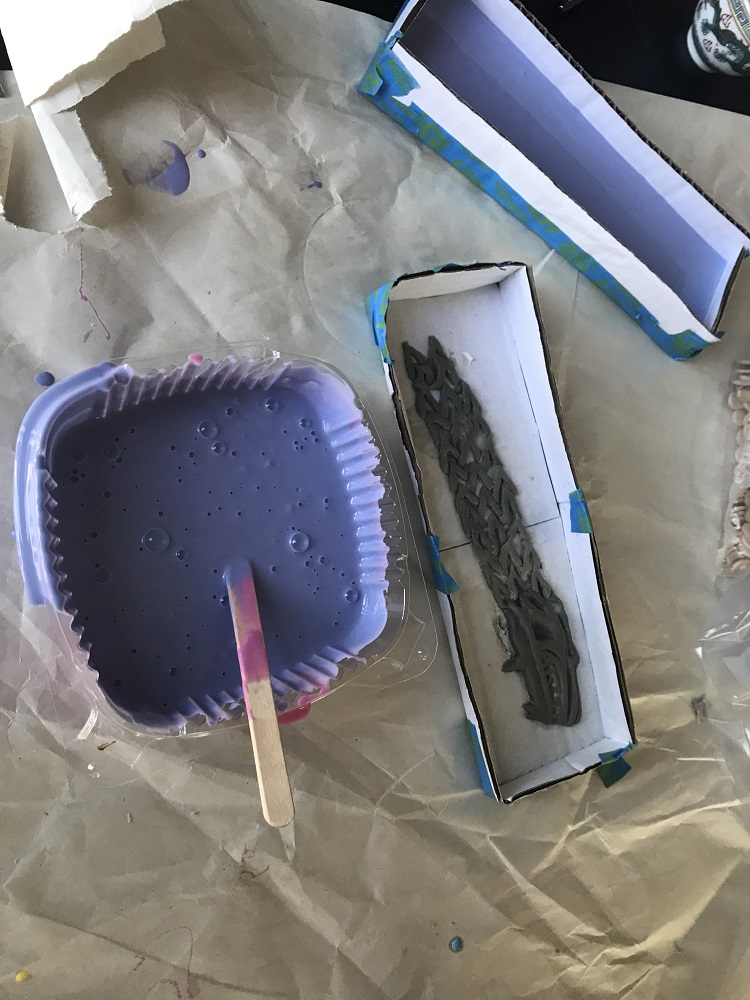
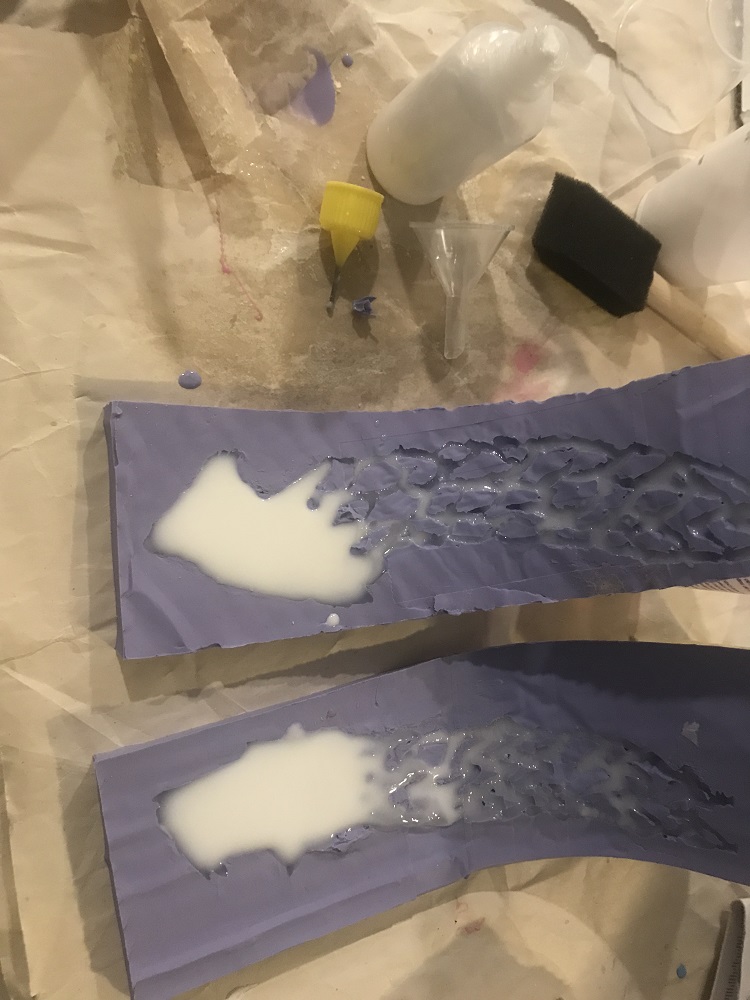
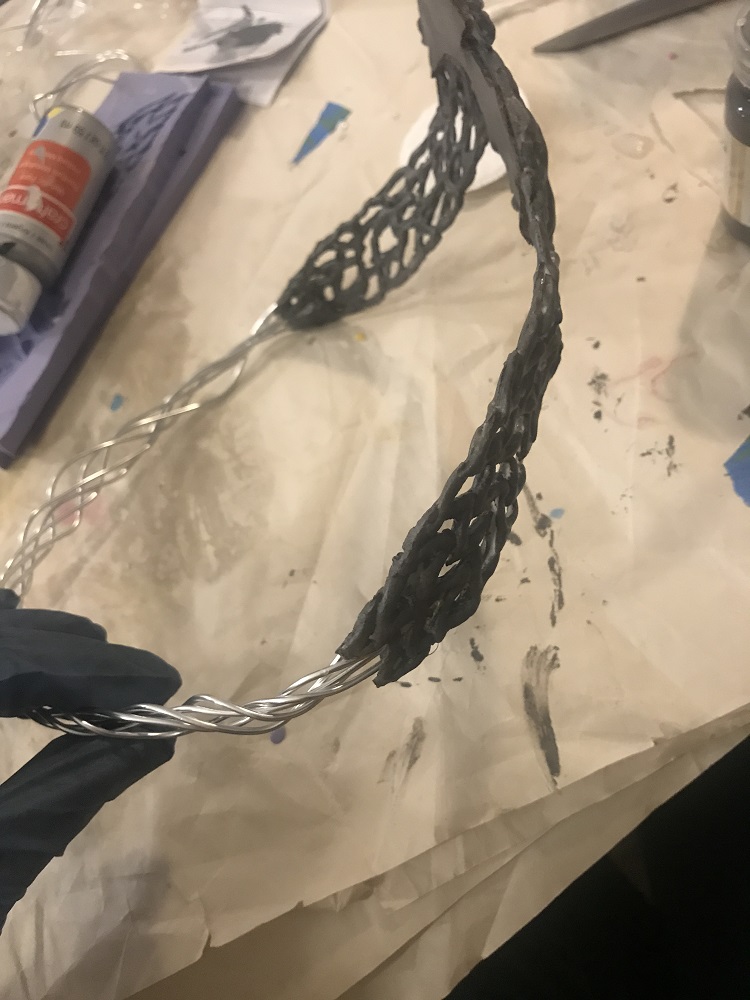
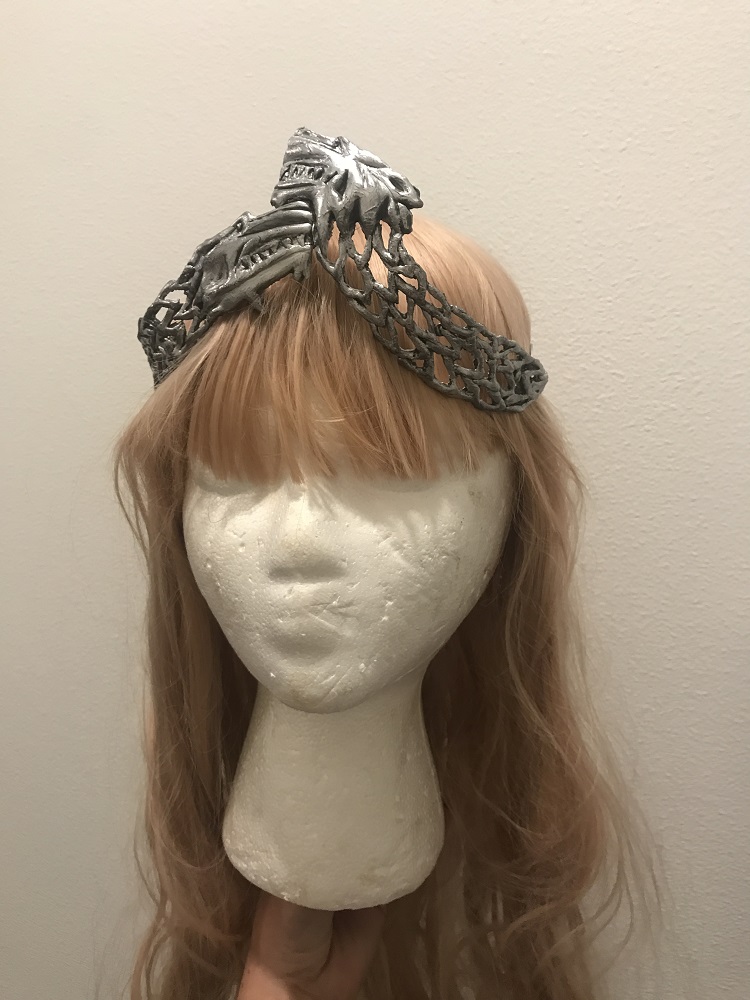
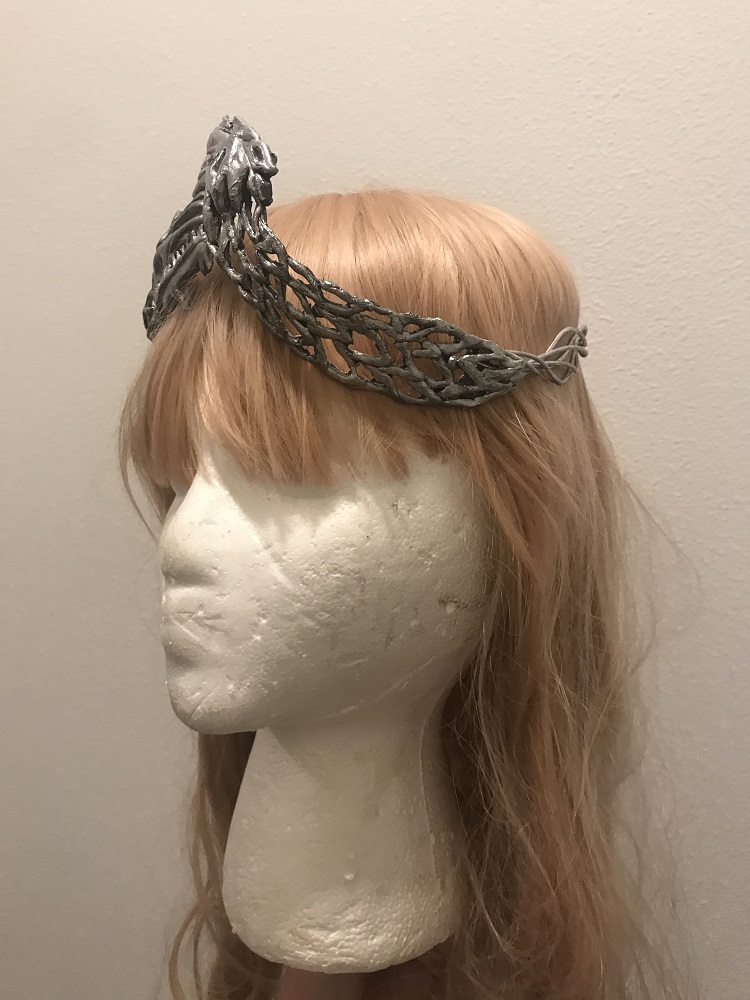
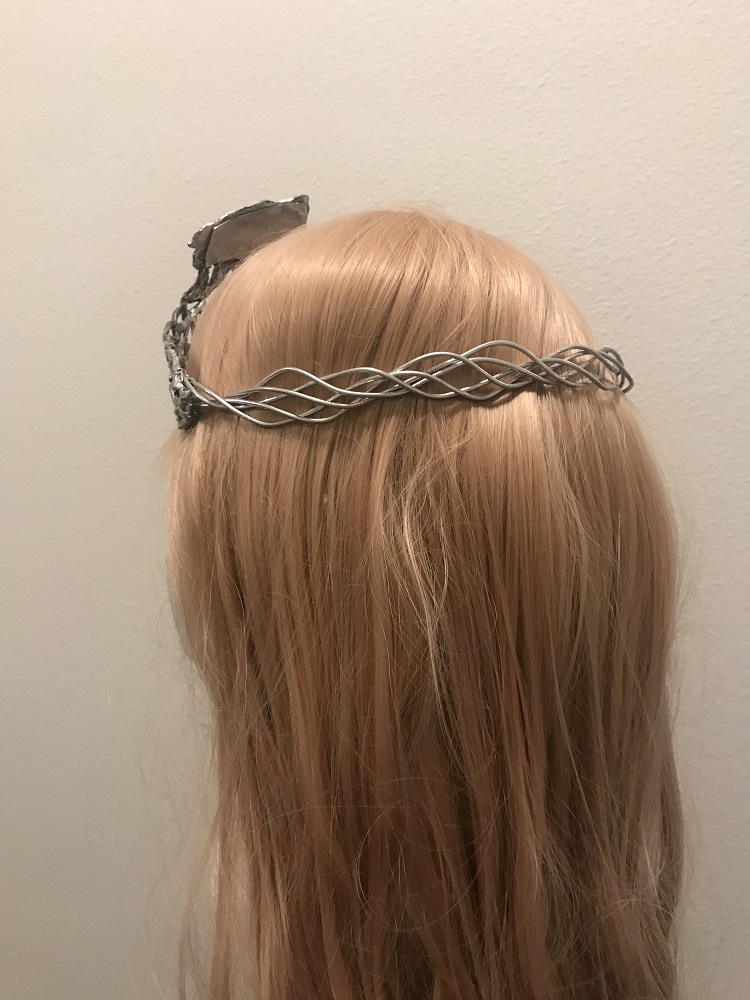
I sculpted the base of the crown from Apoxie sculpt, then made a mold the pieces flat and cast them from resin. As the resin cured, I belt the pieces into shape. The back of the crown is thick wire that I twisted and connected to the cast pieces. It is painted with pewter Run n’ Buff.
