
This costume is my baby! I’ve mentioned it several times in other posts. I originally did this one for Dragon*Con 2012 and entered it in the Friday Night Costume Contest. It didn’t win, but I got great tips. Read the details about the contest here. However, I later went to AWA 2012 and won Best in Show Journeyman! My first ever costume award!!! Read about it here.
Anyway, I made a PDF that I printed out for the judges. Instead of posting tons of images in this post, here is the link.
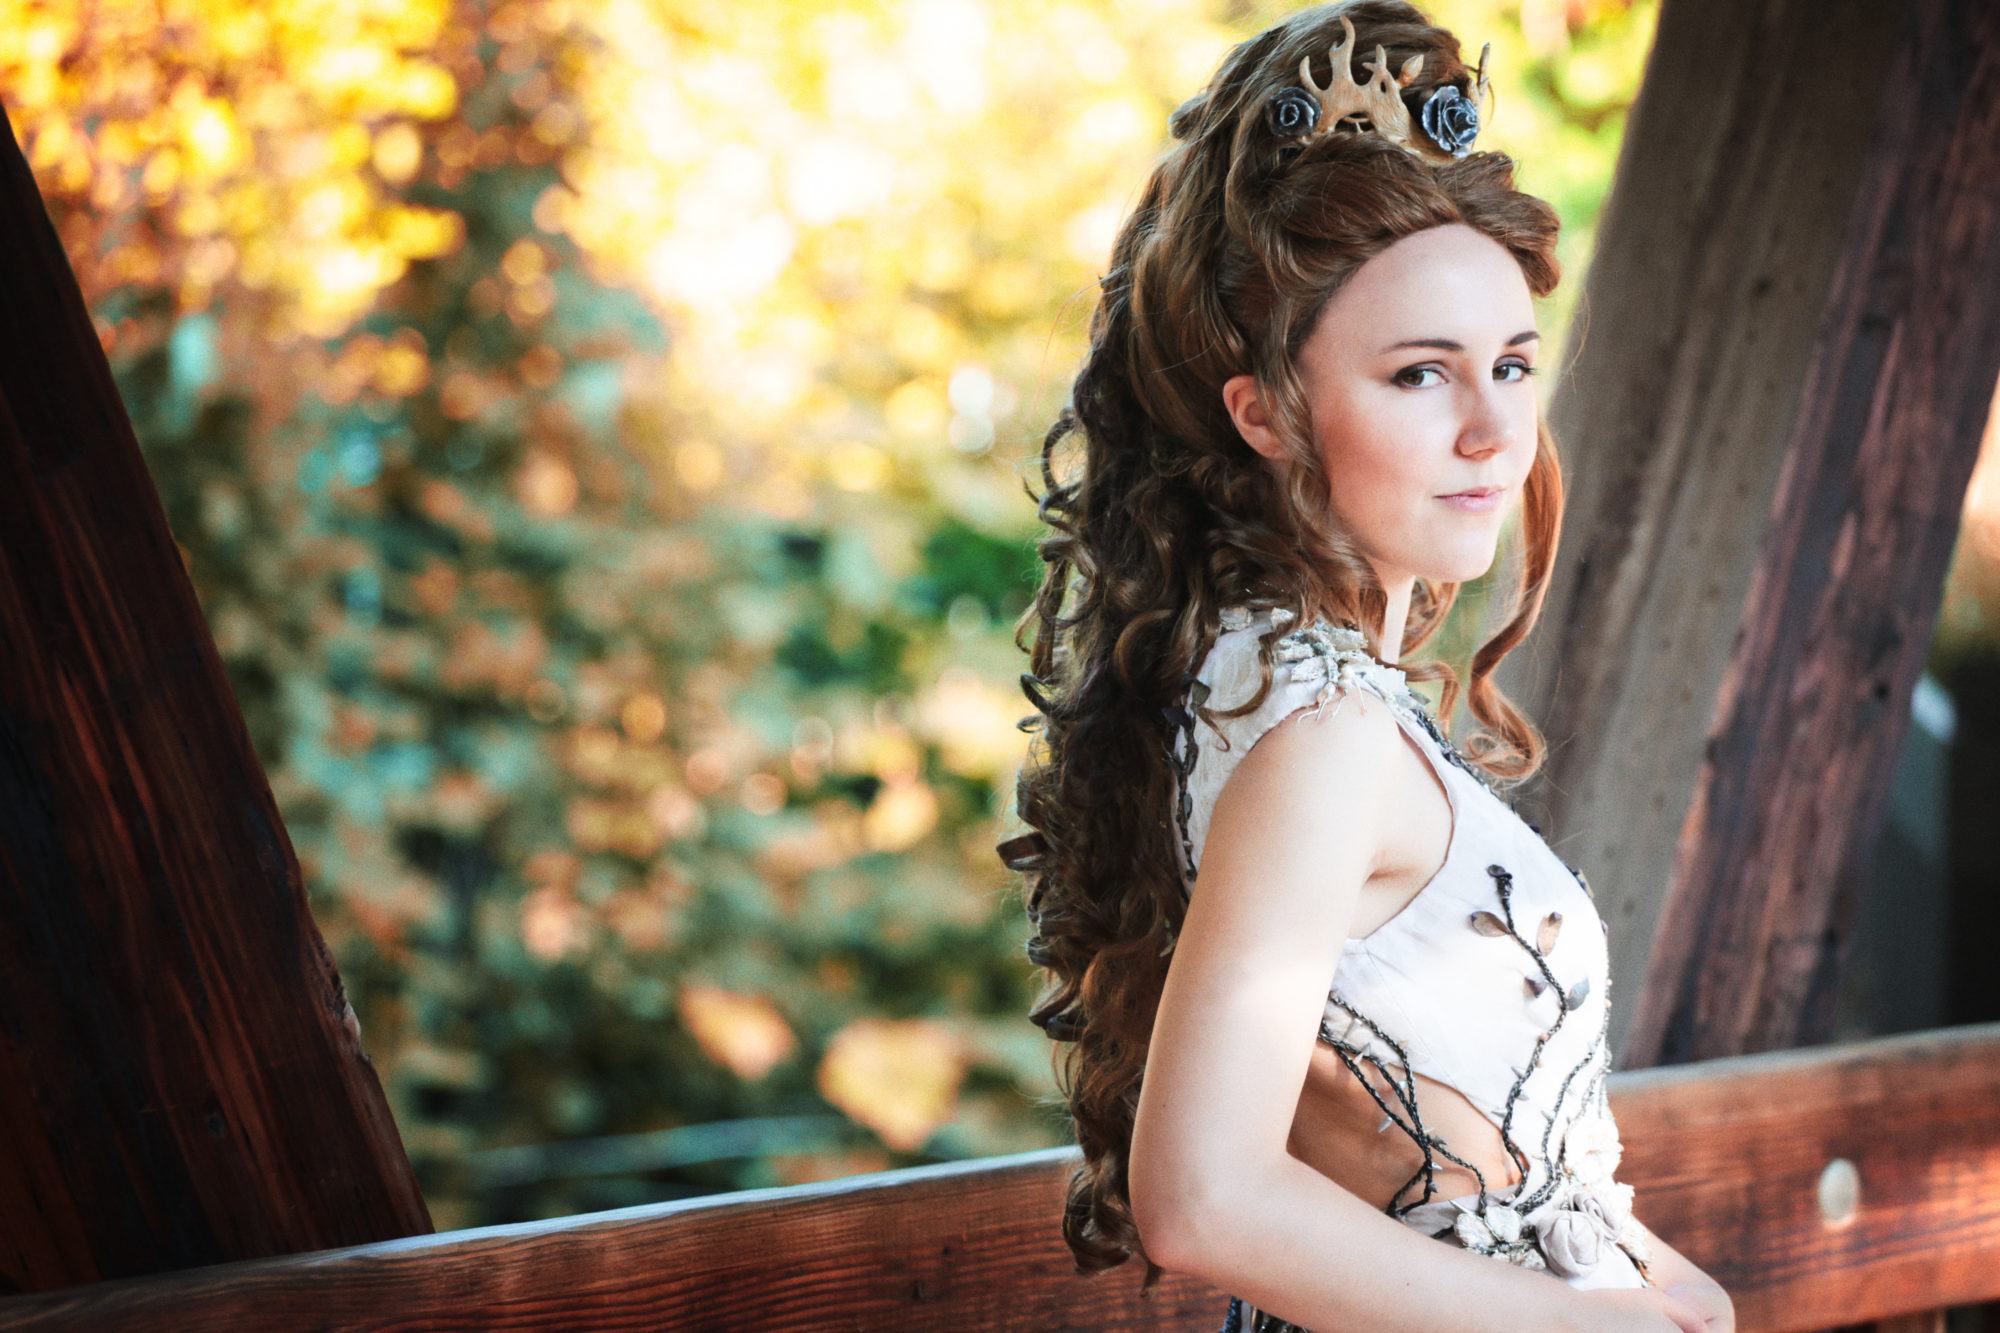
Lydia Skyrim Costume
I will write a more detailed explanation here though, split up by parts of the costume. If you need a visual, its probably in the PDF.
Armor

 This was the hardest, most time consuming part. I bought sheets of cheap craft foam, cut them out into the shapes I needed, used an Xacto knife for the fancy cutouts (that I first sketched on paper by eyeing screenshots), and shaped them over the stove. I then glued on fabric backing and sealed it with 7-8 layers of a glue mixture (the main contributor to the armor taking so long). If you’d like more details, this is the tutorial I followed. Then I spray painted a layer of grey primer and a layer of a shiny steel color. I brushed on some pewter paint to get the dull scratchy look and accented the nooks and crannies with a mixture of black and green paint for a tarnished look. To finish it off, I cut out wire mesh inserts and glued them in with a strong vinyl glue. Doing this was a pain in the butt, but made it so that the mesh stood out and didn’t get spray painted over. To secure the cuirass sides together to take on and off, as well as securing the giant armored belt pieces together, I used stick on velcro circles, secured by thread where possible. Velcro sounds silly, but I found it to be strong enough to hold, but not so strong it ripped the foam. By doing a careful sideways pull I could take it off without damaging the armor. I threaded leather belts through the armor belt thing, which served both a decorative and practical purpose (holding it on).
Tunic
I used an upholstery fake leather material for this, as well as for the rest of the outfit. It wasn’t the most amazing stuff, but it had a layer of something like felt on the underside, which was great for sewing hems without piercing through (as well as catching sweat :-P). I basically made a rectangle-ish pattern tapering down to the waist, sewed it together by hand (sewing machine was broken) with normal thread, put darts for the chest, and put a zipper on the side. I folded under the arm holes until they looked about right and sewed them down. After folding back and sewing the hems into the felt underside, I went over every seam with a decorative stitching to make it look more like from the game. I used circle head pin things (usually for securing those giant manilla envelopes) as the rivets, which I painted to look like steel screws.Then I sewed on rabbit fur to the arm holes.
Skirt
 I’m not really sure what this thing is, I’m just calling it a skirt. Anyway, I cut out 2 copies of the skirt shape, glued down lighter colored strips, and hand sewed the front and back together with another long strip. Then I marked the lines in between the leather strips and did the decorative stitching, sewed on the armor panels, and sewed on painted foam rivets to finish it off. At this point when I tried to put it on it was flat on both sides. So I glued poster board strips on the inside to flatten out the edging part, cut wire from hangers, bent them into a C shape, then sewed them in the bottom. That’s how I got the sides to curve around my legs. I used snaps in the back for the skirt connection for ease of putting on and taking off.
Gauntlets
 For the guantlet base, I used a basic glove pattern I already had and left off the fingers and most of the thumb. I added decorative stitching to the seams here, too. In the game it looks like the part that goes around the arm is stuffed with fur, but I only had enough fur to sew on as trim. So I added a layer of scrap cotton underneath stuffed with polyfil to make the poofy effect. I tied/glued leather string around the gauntlets, then glued the armor on top. To secure it, I sewed into the rivets where the screw head lines were (I did this technique all over the outfit, it cleverly hid the sewing lines!).
Boots
 I got super duper lucky and found these boots on my first try at a Goodwill. They were the perfect color and shape, and only $7! They had decorative belts wrapped around, which I took off and used for the giant armor belt piece. I wrapped around leather string and glued/sewed on the armor pieces like I did for the gauntlets. Then I sewed on the fur lining, tucked in by the armored leather strip over it.
Pants
These were supposed to be fur. Pssh yeah right, not in the Summer in Hotlanta! So I used brownish leggings and sewed/glued the armor pieces on. Easy peezy.
Helmet
 I didn’t use the helmet much because it was shaped funny, plus Lydia doesn’t wear one. Anyway, I used a kids foam pirate hat as a base and cut off the rim. Then I cut foam strips and glued them on and added the metal rivets (manilla envelope things). For the horns I got creative. I used a round styrofoam planter thing and cut off what I needed. Then I whittled it down with a knife into points and etched the lines. I secured it snugly into holes in the helmet. The rest of the helmet was just the same painting techniques as the armor.
For the AWA contest, I fixed it up a bit by re-securing some pieces and sewing snaps to make the skirt and tunic stay together.
That’s it! It took me 4 months from beginning to end, and it was quite a journey. I worked so dang hard on it, I kept saying “I’m never doing this again!” Though I probably will. :-P
Pictures
I didn’t take any pictures of myself, doh. Both at Dragon*Con and AWA I was too busy to think about it. I may do a photoshoot in the future, but for now I’ll link to good pics that other people took of me.
AWA 2012 Contest:
– http://photo.davenelson.com/Anime-Weekend-Atlanta-AWA/2012-AWA-Costumes/25732177_Qn2mPd#!i=2127625115&k=c6mTc8v
– http://photo.davenelson.com/Anime-Weekend-Atlanta-AWA/2012-AWA-Costumes/25732177_Qn2mPd#!i=2127625420&k=2bqkPfW
– http://photo.davenelson.com/Anime-Weekend-Atlanta-AWA/2012-AWA-Costumes/25732177_Qn2mPd#!i=2127718914&k=t98MZFV
– http://nerdcaliber.com/wp-content/gallery/awa2012-ayden/mg_2464.jpg
– http://nerdcaliber.com/wp-content/gallery/awa2012-ayden/mg_2467.jpg
– http://nerdcaliber.com/wp-content/gallery/awa2012-ayden/mg_2471.jpg
– http://nerdcaliber.com/wp-content/gallery/awa2012-ayden/mg_2705.jpg
Dragon*Con Parade:
– http://25.media.tumblr.com/tumblr_m9ozj9ij4Z1rf35cxo8_1280.jpg
– https://www.facebook.com/photo.php?fbid=3648617381054&set=a.3648533018945.2133936.1443055823&type=3&theater
– https://www.facebook.com/photo.php?fbid=3648617621060&set=a.3648533018945.2133936.1443055823&type=3&theater
Dragon*Con Contest:
– http://photo.davenelson.com/DragonCon/DragonCon-2012/25185466_WLpf6B#!i=2067004793&k=2CN2LnF
– http://photo.davenelson.com/DragonCon/DragonCon-2012/25185466_WLpf6B#!i=2067004594&k=62zdv2r
– http://www.flickr.com/photos/rnewquist/7935092010/in/pool-dragoncon2012/